So I was referred here by Dave after asking him what happened to "the other site", cause it seems like it lost its following...
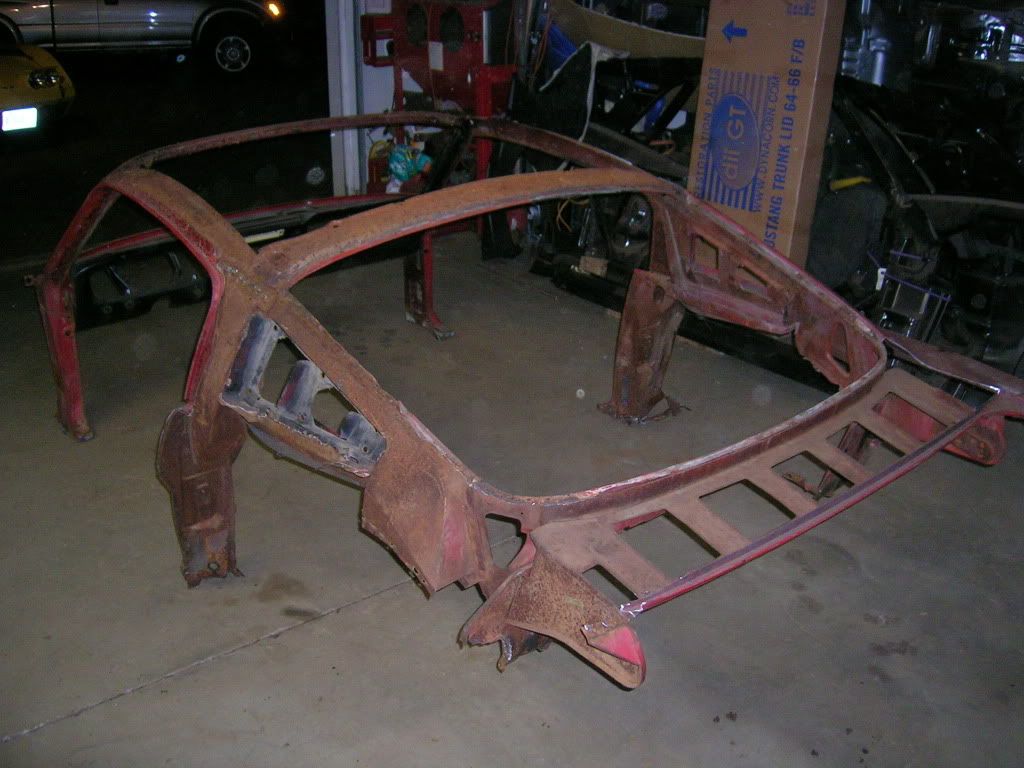
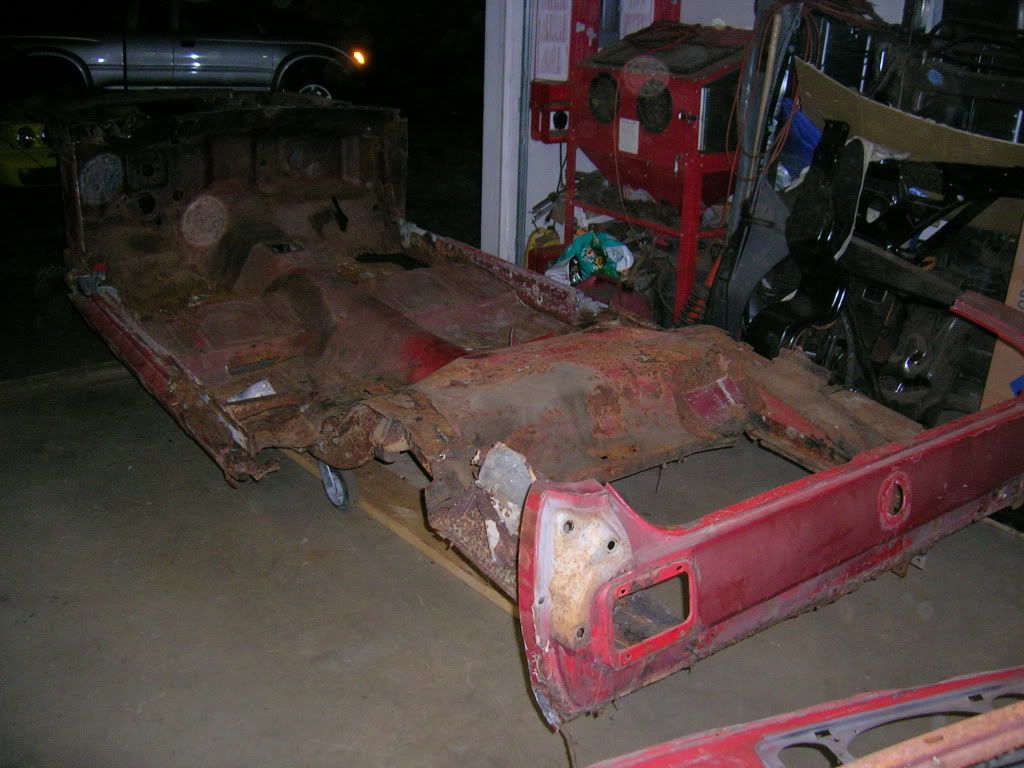
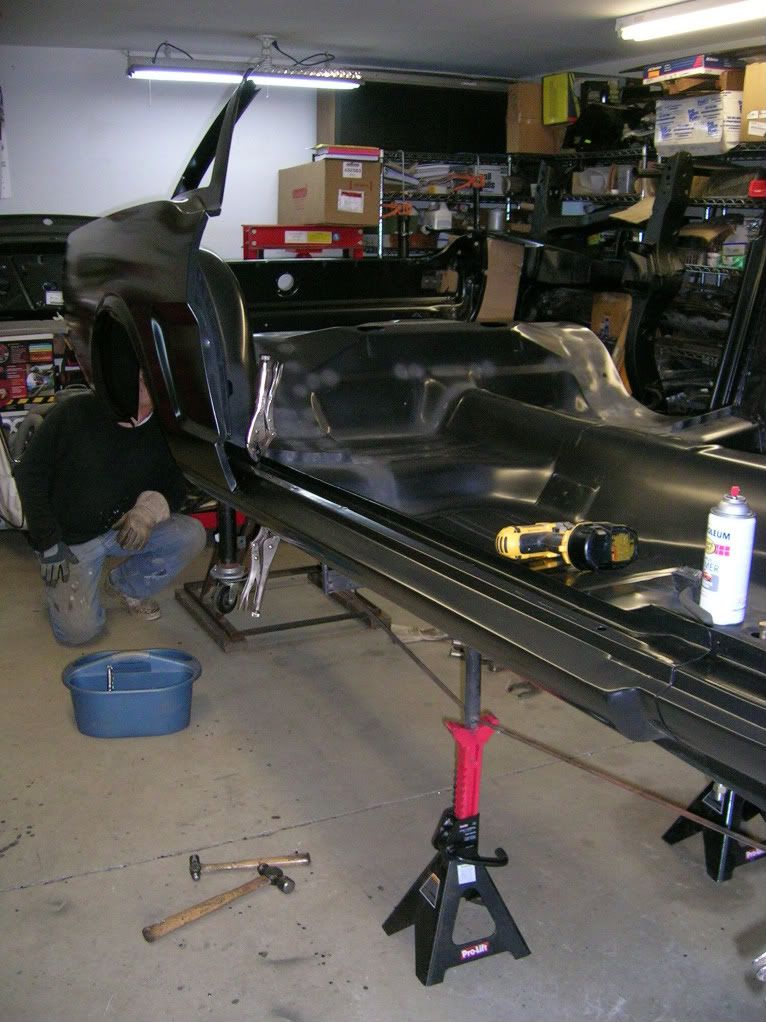
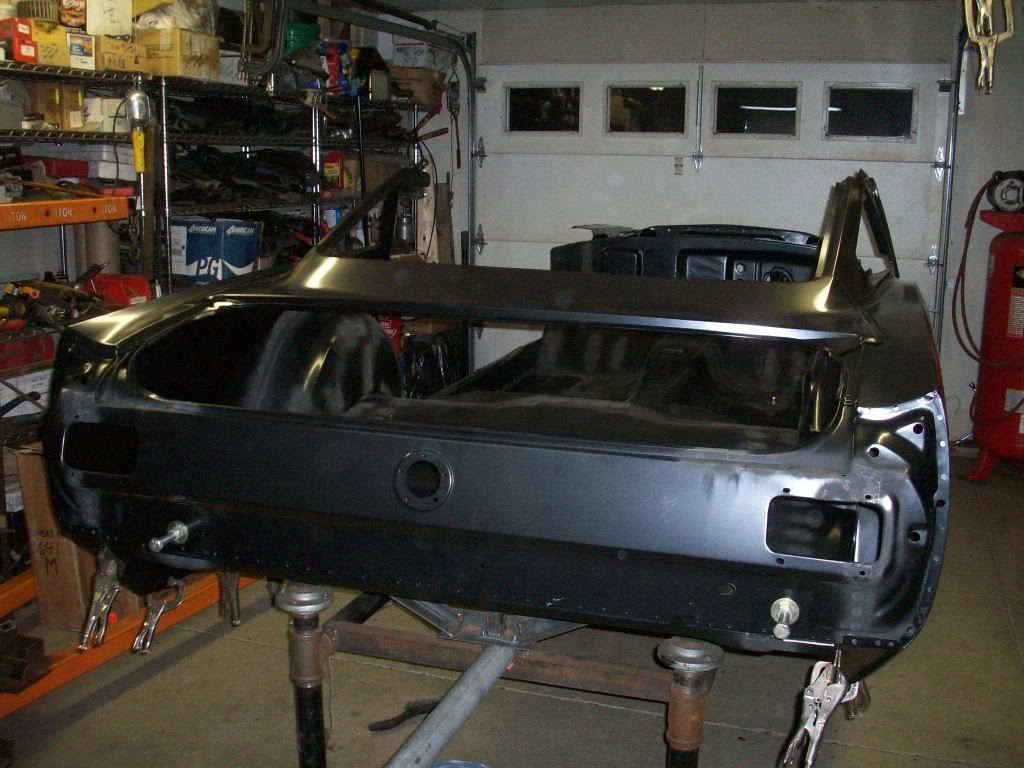
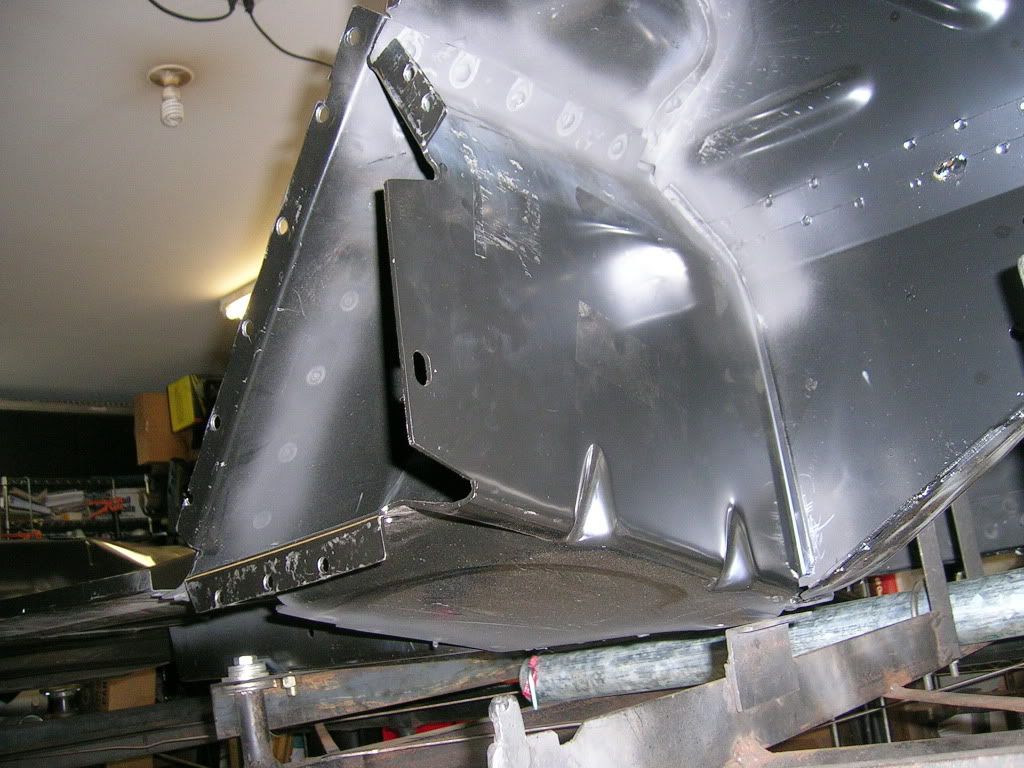
Anyways, I have posted pics of my shell build over there, so some of you may have seen these, but in case you haven't, here is the story (with pics to prove it):
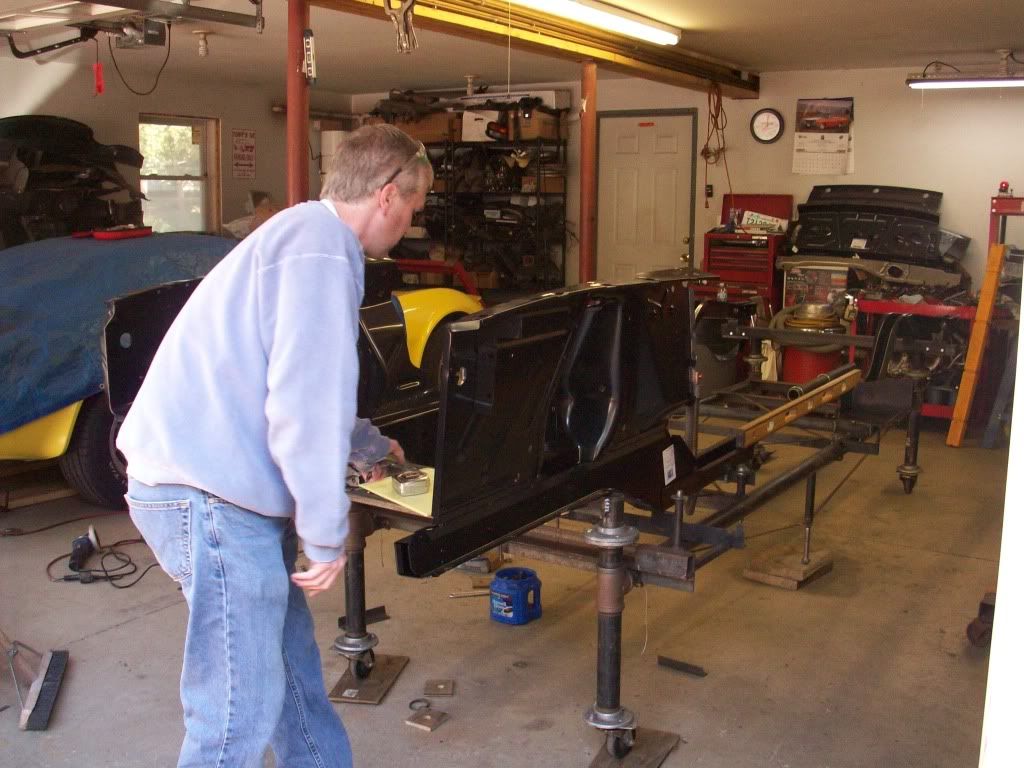
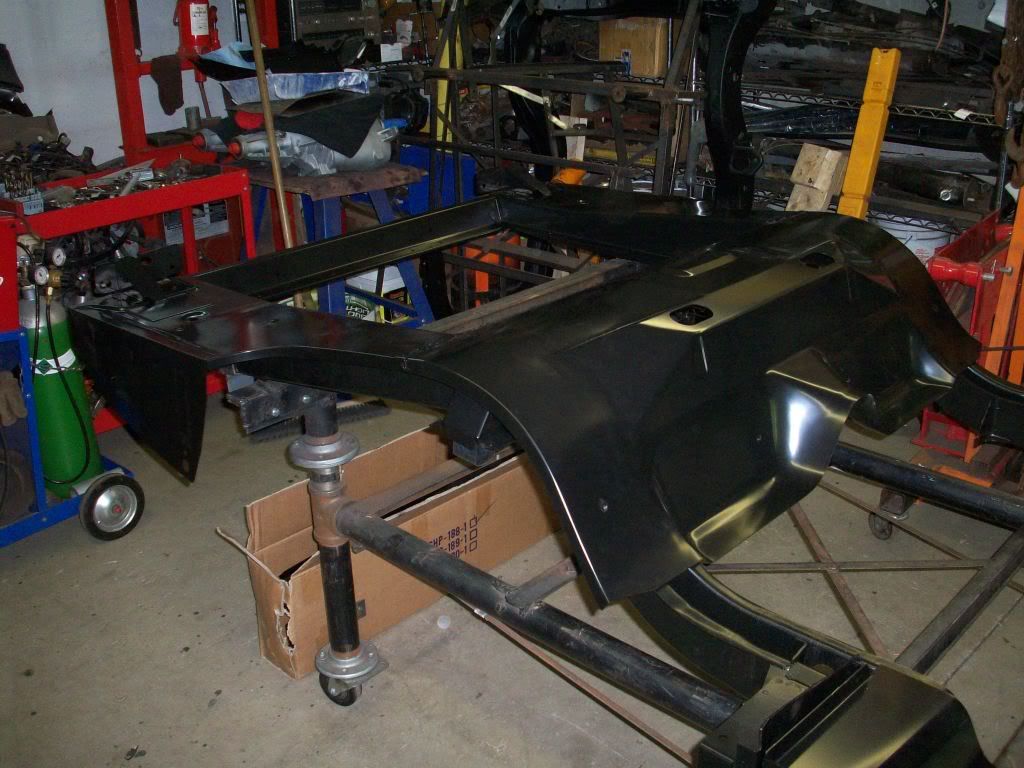
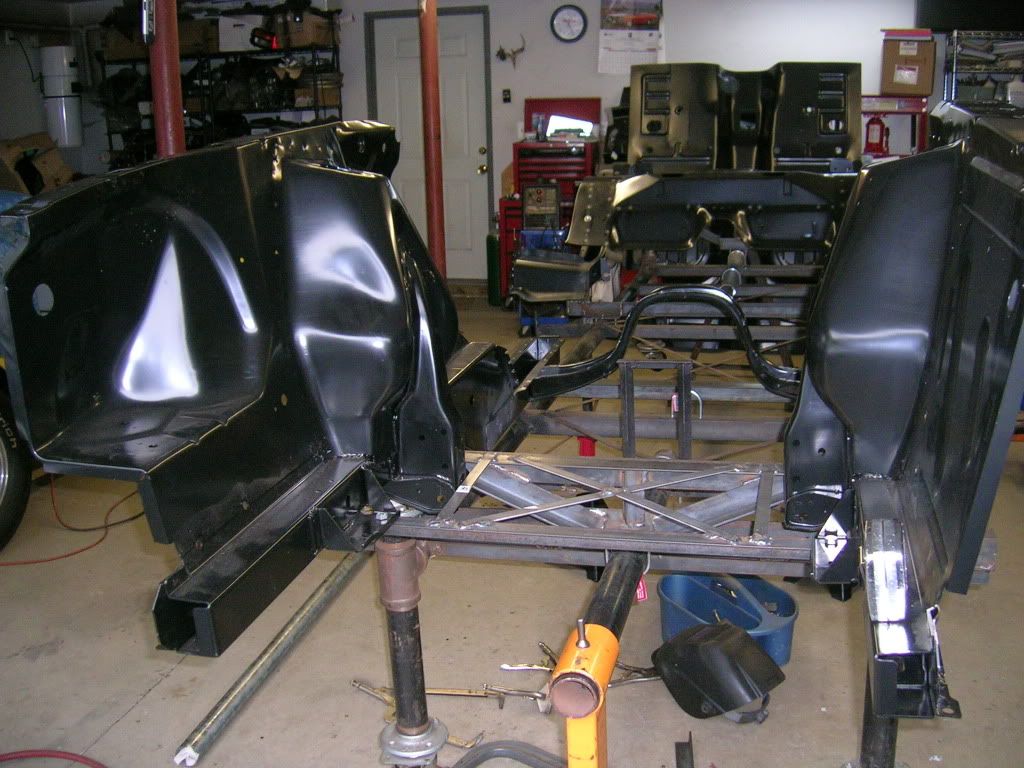
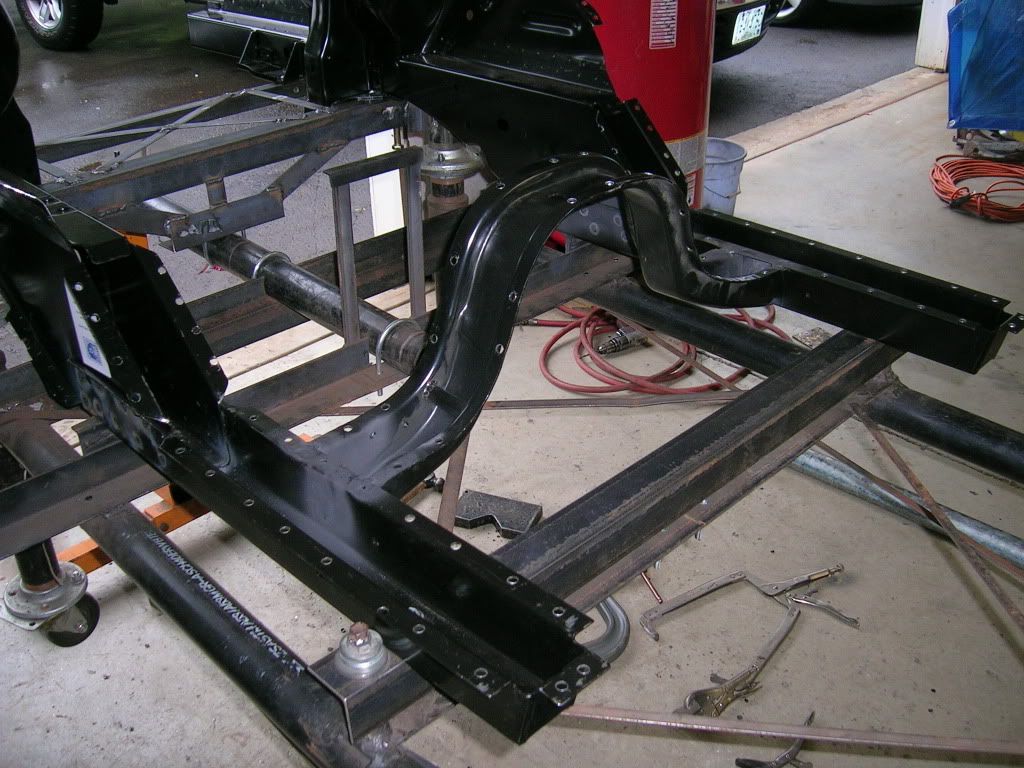
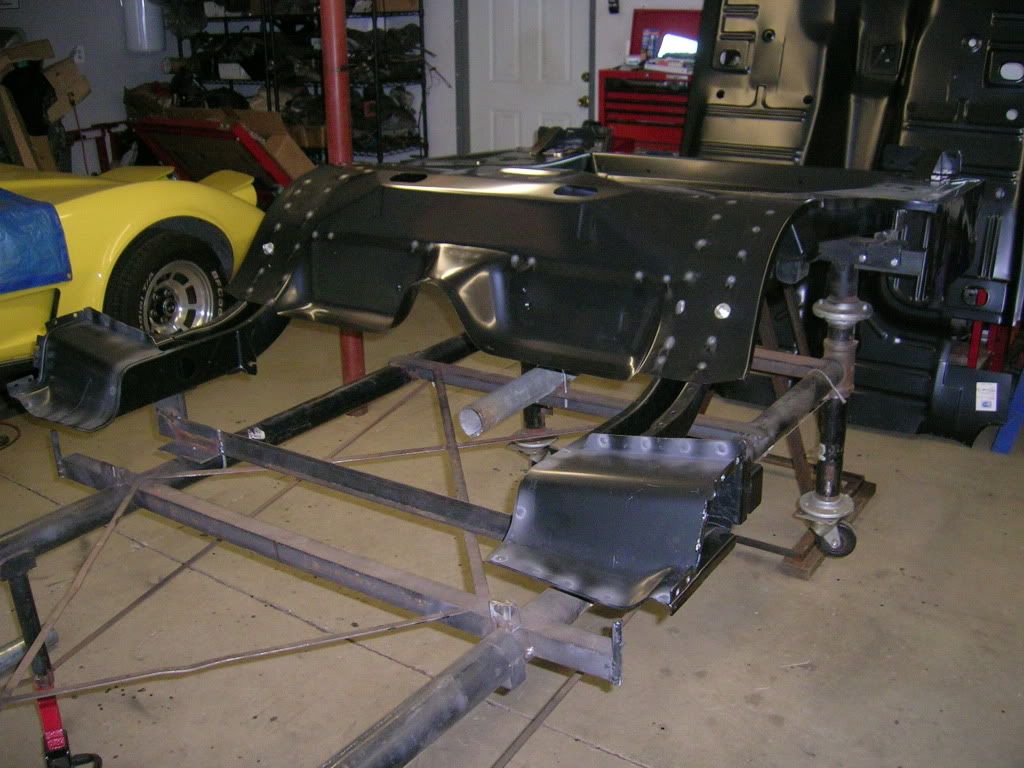
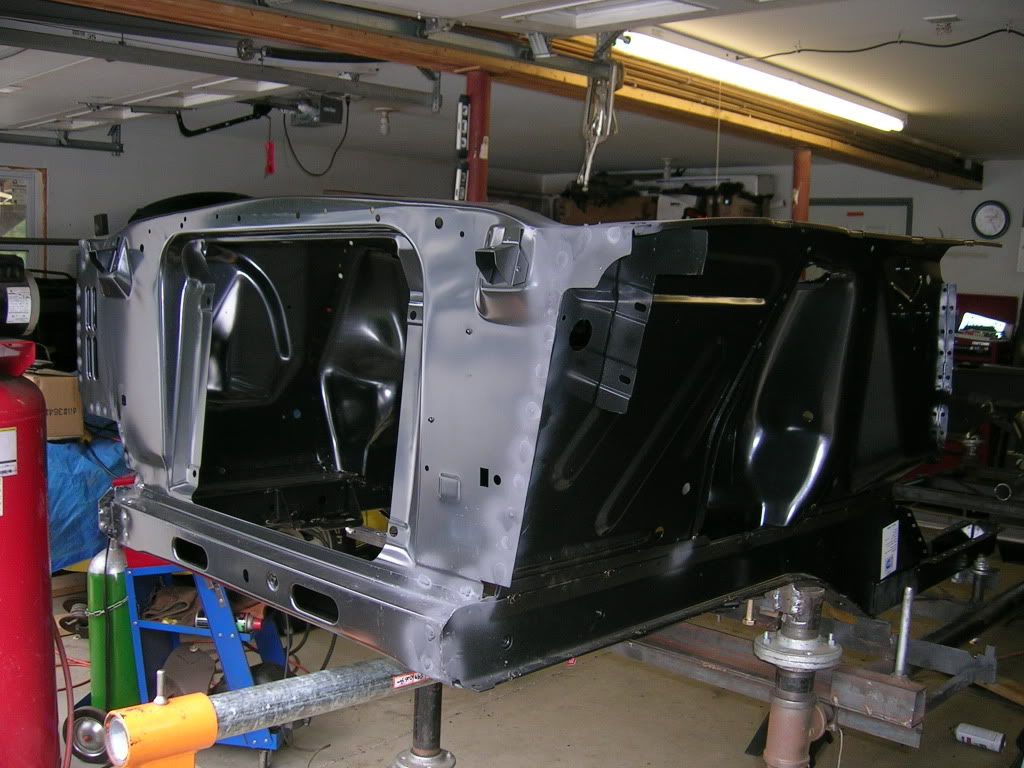
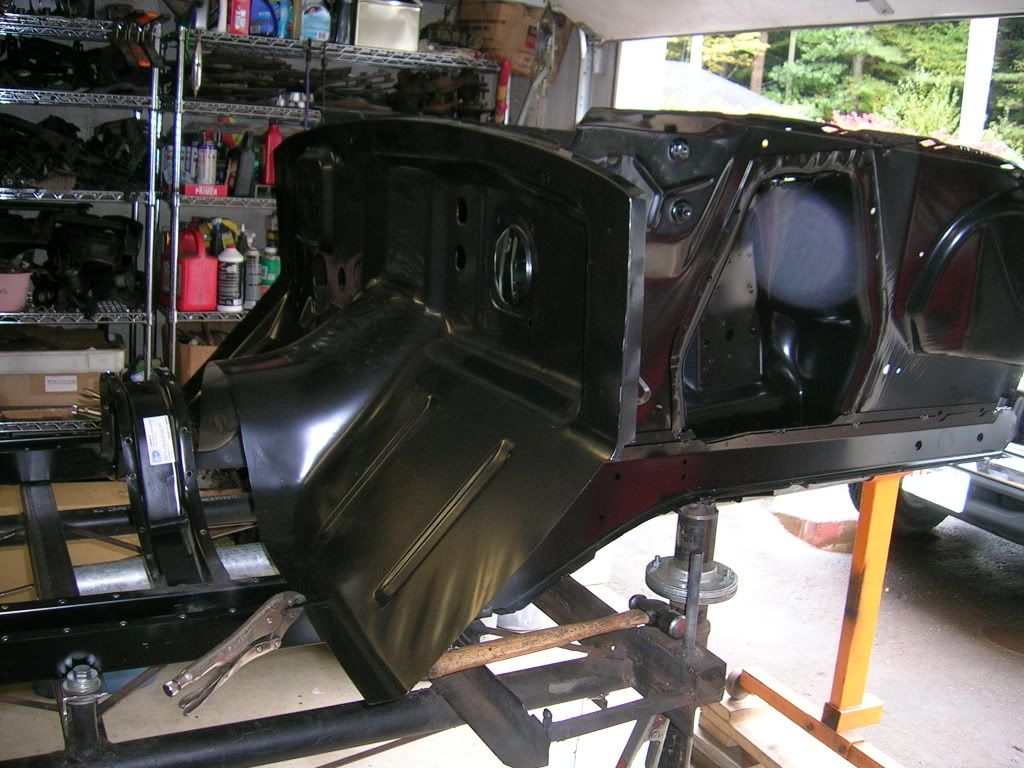
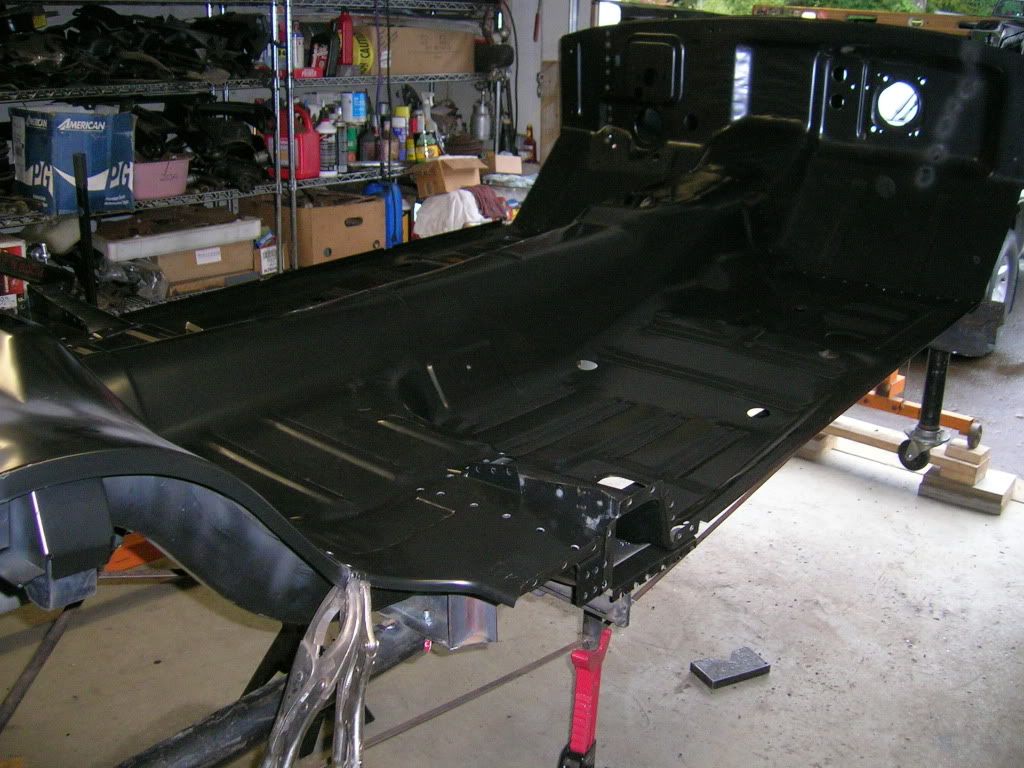
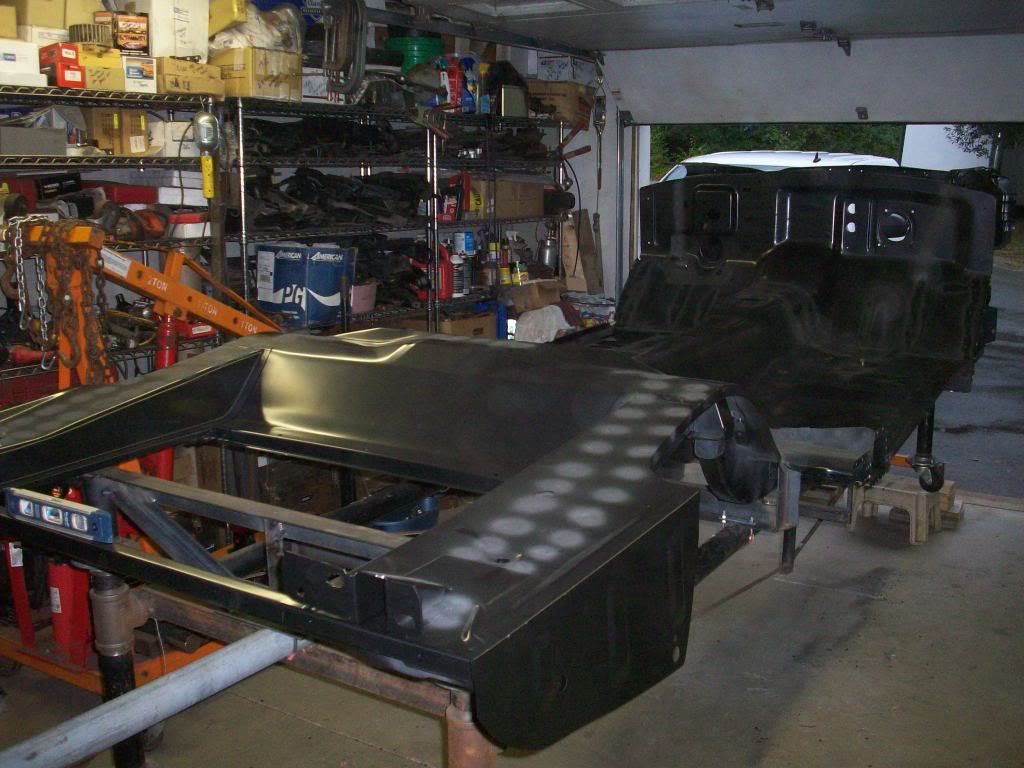
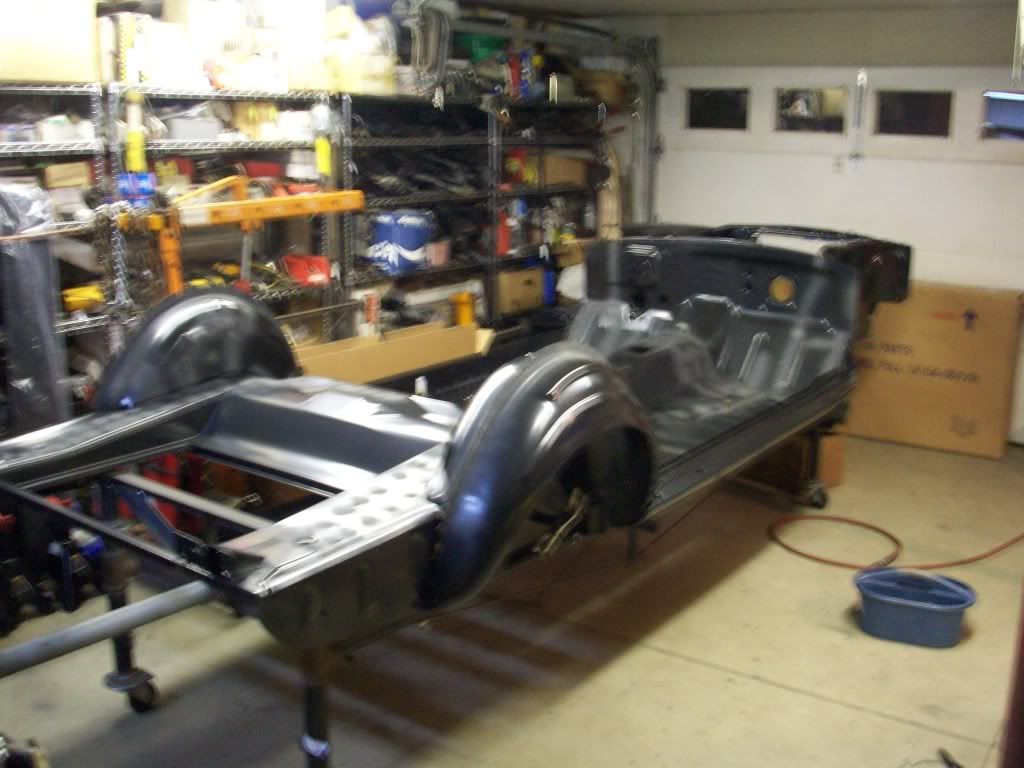
I work with Tony P. of musclecarmetal (Seabrook NH.). We recently built a new 65 fastback body from Dynacorn 90% reproduction parts. Tony is a Mechanical Engineer who, like most ME’s, loves cars and can’t leave well enough alone. A few years back, after restoring a Camaro with his son, Tony decided that with a solid engineering background and a thorough understanding of unibody design and construction he could build new Camaro bodies and infact, it would be easier and take less time than to trying and cut out, save, patch, etc, old rust buckets… Since then he has built a slew of 1st gen camaro bodies on his frame jig (of his design) from scratch.
Anyways, Tony and I work together at a semi-conductor equipment manufacturing company designing precision wafer handling robots (building cars is his side passion). I had been looking for a mustang for some time and getting thoroughly discouraged by $10-$15K “driver� fastbacks with rotten floors that basically need total restoration. Turns out, Tony was half interested in trying to build a mustang and my plight seemed to push him over the edge to the "dark side" as he calls it… So my car was his prototype to modify his jig and prove the process.
It was a great experience, I learned a ton... Here are pics of the build, enjoy:


Last edited by a moderator:

