• Hello there guest and Welcome to The #1 Classic Mustang forum!
    To gain full access you must Register. Registration is free and it takes only a few moments to complete.
    Already a member? Login here then!

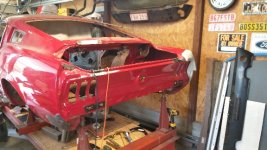
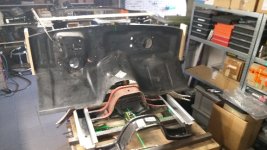
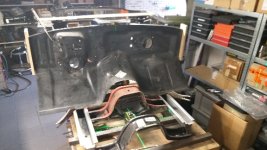
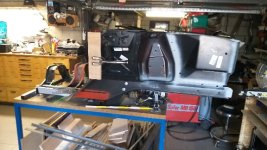
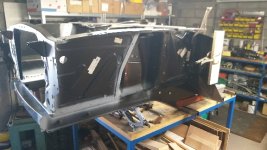
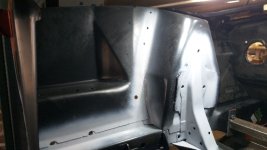
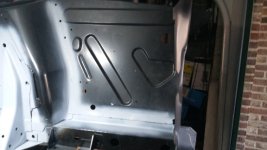
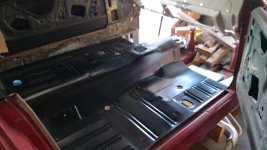
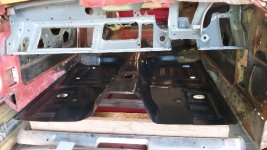
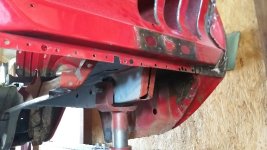
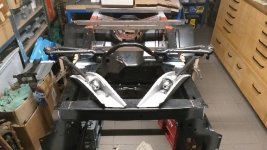
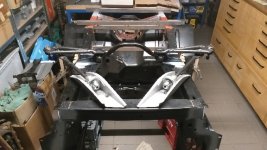
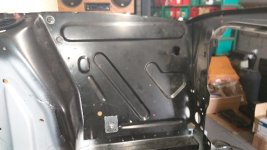
Had some me time

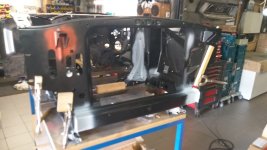
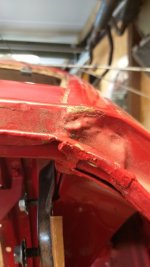
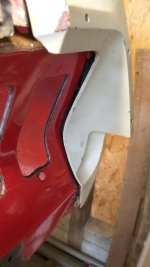
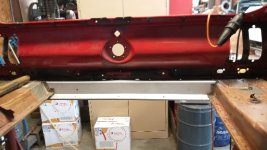
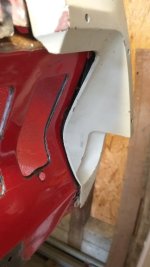
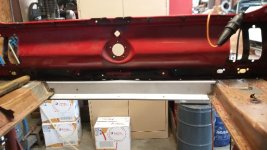
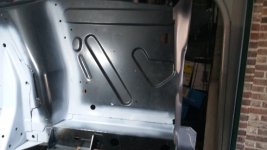
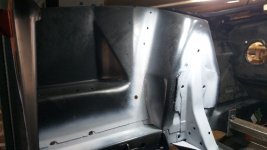
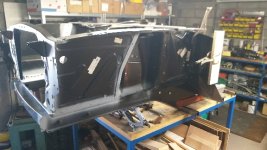
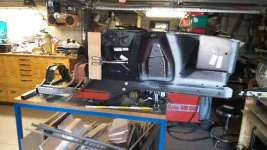
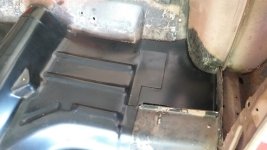
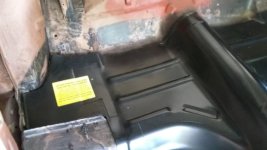
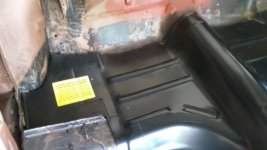
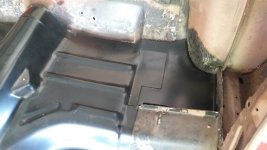
More pics. Welding will be a pain in the a$$. All those small welds with low amps.
But it fits !
000b884b8df54524fc32fbbeb78e2afe.jpg12918db012208d4021edc0ee320a95a1.jpg6a946105673d517dea82f9687b374992.jpg

Verstuurd vanaf mijn SM-A605FN met Tapatalk
 

Attachments

  • 000b884b8df54524fc32fbbeb78e2afe.jpg
    000b884b8df54524fc32fbbeb78e2afe.jpg
    133.7 KB · Views: 0
  • 12918db012208d4021edc0ee320a95a1.jpg
    12918db012208d4021edc0ee320a95a1.jpg
    135.2 KB · Views: 0
  • 12918db012208d4021edc0ee320a95a1.jpg
    12918db012208d4021edc0ee320a95a1.jpg
    135.2 KB · Views: 0
  • 6a946105673d517dea82f9687b374992.jpg
    6a946105673d517dea82f9687b374992.jpg
    142.5 KB · Views: 0
  • 000b884b8df54524fc32fbbeb78e2afe.jpg
    000b884b8df54524fc32fbbeb78e2afe.jpg
    133.7 KB · Views: 0
Last edited:
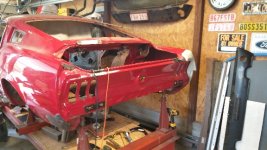
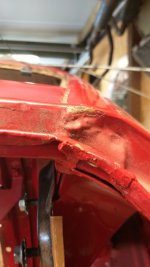
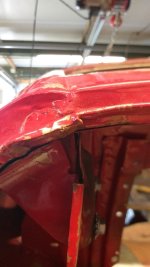
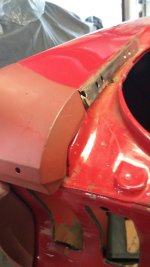
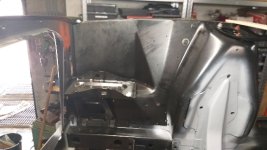
Today a friend of mine came by and we discussed what to do on the rear , tail light panel. Previous the tail light panel was replaced but fitment wasn't right. So we discussed what and how to tackle the job.
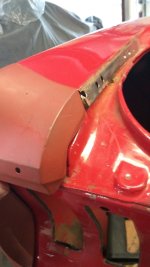
At the rear left extension, the bodypanel had to be lifted a bit so it matches the top of the extension.
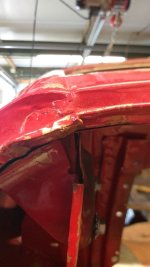
At the left hinge , the panel under the rear window had to be raised together with the left quarter panel.
At the right hinge everything was ok.
At the rear right extension , the tail light panel has to be dropped for 1/4 inch.
They did a terrible job in the past.
Time to make it right.
I gonna do this with my friend who has some experience in this kind of work. It will take longer cause he also is very busy.dc50d026eaef7d5b027280d1920b1d79.jpg6c97a08830cb73eef7b7b88d1930cc9f.jpgc8e77dd944c7cbddfde4141b01817822.jpgc104cfc708e680687c3f2d1d67a08920.jpgc00de61da99eb9552742175814d16417.jpg8ecb2c4edd236f8830e9438eaf911635.jpg

Verstuurd vanaf mijn SM-A605FN met Tapatalk
 

Attachments
  • c00de61da99eb9552742175814d16417.jpg
    c00de61da99eb9552742175814d16417.jpg
    23.5 KB · Views: 0
  • 8ecb2c4edd236f8830e9438eaf911635.jpg
    8ecb2c4edd236f8830e9438eaf911635.jpg
    154.6 KB · Views: 0
  • c00de61da99eb9552742175814d16417.jpg
    c00de61da99eb9552742175814d16417.jpg
    23.5 KB · Views: 0
  • c104cfc708e680687c3f2d1d67a08920.jpg
    c104cfc708e680687c3f2d1d67a08920.jpg
    133.1 KB · Views: 0
  • c104cfc708e680687c3f2d1d67a08920.jpg
    c104cfc708e680687c3f2d1d67a08920.jpg
    133.1 KB · Views: 0
  • c8e77dd944c7cbddfde4141b01817822.jpg
    c8e77dd944c7cbddfde4141b01817822.jpg
    135.7 KB · Views: 0
  • dc50d026eaef7d5b027280d1920b1d79.jpg
    dc50d026eaef7d5b027280d1920b1d79.jpg
    175.7 KB · Views: 0
  • 6c97a08830cb73eef7b7b88d1930cc9f.jpg
    6c97a08830cb73eef7b7b88d1930cc9f.jpg
    134.9 KB · Views: 0
  • 6c97a08830cb73eef7b7b88d1930cc9f.jpg
    6c97a08830cb73eef7b7b88d1930cc9f.jpg
    134.9 KB · Views: 0
  • dc50d026eaef7d5b027280d1920b1d79.jpg
    dc50d026eaef7d5b027280d1920b1d79.jpg
    175.7 KB · Views: 0
  • c8e77dd944c7cbddfde4141b01817822.jpg
    c8e77dd944c7cbddfde4141b01817822.jpg
    135.7 KB · Views: 0
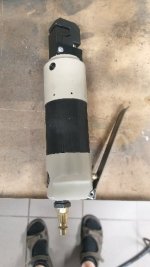
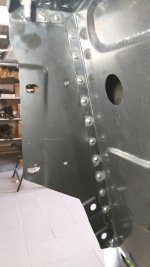
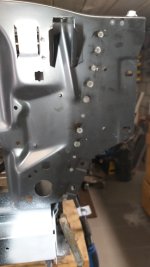
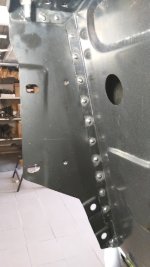
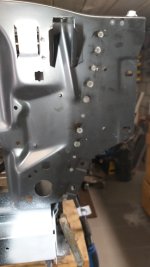
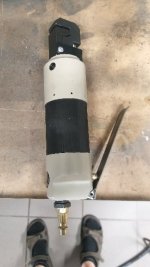
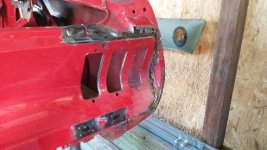
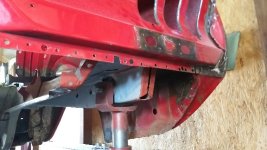
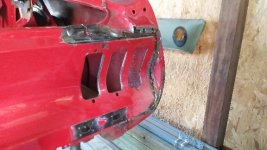
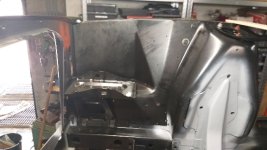
Meanwhile back to the front end. In the past I bought a pneumatic hole punch tool. Now is the moment how good I can weld those holes up. Last pic shows some spots aren't good.

7d29d4411fe73dd61536a71357fec3a8.jpgc47abaf102eef0c2702001d1588eda1a.jpgabf6ecdc80f8ea618ba887886d654ffc.jpg

Verstuurd vanaf mijn SM-A605FN met Tapatalk
 

Attachments
  • c47abaf102eef0c2702001d1588eda1a.jpg
    c47abaf102eef0c2702001d1588eda1a.jpg
    125.5 KB · Views: 0
  • abf6ecdc80f8ea618ba887886d654ffc.jpg
    abf6ecdc80f8ea618ba887886d654ffc.jpg
    116.3 KB · Views: 0
  • c47abaf102eef0c2702001d1588eda1a.jpg
    c47abaf102eef0c2702001d1588eda1a.jpg
    125.5 KB · Views: 0
  • 7d29d4411fe73dd61536a71357fec3a8.jpg
    7d29d4411fe73dd61536a71357fec3a8.jpg
    26.2 KB · Views: 0
  • 7d29d4411fe73dd61536a71357fec3a8.jpg
    7d29d4411fe73dd61536a71357fec3a8.jpg
    26.2 KB · Views: 0
Last edited:
I finally have time to work on this project .
No one is botthering me with problems on their cars. Half of Belgium is on vacation now !! And ...I am more relaxed now that I am retired.

Verstuurd vanaf mijn SM-A605FN met Tapatalk
 
Amazing all the care you are giving your build makes me think of how they were originally built...within seconds. Yours of course will be much better quality. Nice.
 
Back in 1967, my father worked as a foreman in Ford Genk Belgium. At the peak of Ford Genk Belgium , about 8000 people worked there. I always remembered the stories my dad told about the factory. And the problems with workers who didn't excicute their work properly which resulted in poor alignment of the body. Around 1972 my uncle ordered a new Ford car ( Taunus) and in that time my dad could find out which vin number the car would have. He then sorted out the best car body parts to assemble and weld on his conveyor belt. When the time was right , the vin number came out of the ( indoor telex) , he oversaw the welding of the chosen body parts. He said , the parts fel into the jig right away without any hassel , the clamps shut smooth and welding went perfect. He later oversaw the anti corrossion cycle the carbodies undergoing prior to prime by notifying a college foreman who he had good understanding. One of the inside stories in a Ford assembly plant . Anno 1972.

Verstuurd vanaf mijn SM-A605FN met Tapatalk
 
I'll keep an eyes on this guy 24/7 ! [emoji16]

Verstuurd vanaf mijn SM-A605FN met Tapatalk
 
[emoji1787]
Yeh , I wil tell him to keep the safety precautions in mind !!

Verstuurd vanaf mijn SM-A605FN met Tapatalk
 
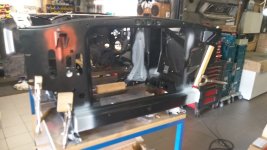
Made some more progress. Front approns grinded and painted. Assembled the rear approns together with firewall panel. Was a bit a pain to measure so it sits perfectly .
The rest of the week will be very slow cause had to work on other cars. Oil leak at my sons car. Glow plugs change. Wheelbearing.
And its hot. 86 to 95°F.
e6b535c98c2a469088a261b321fb876a.jpg1ee5aeff2dbb351e6c19523d0d5d5f86.jpgbf5bcb95b45a0698bd4743c69724d20a.jpga938206432dca626fce249f07f5426c5.jpg35a4e76e64b39d3de497440e56724ca4.jpg

Verstuurd vanaf mijn SM-A605FN met Tapatalk
 

Attachments
  • e6b535c98c2a469088a261b321fb876a.jpg
    e6b535c98c2a469088a261b321fb876a.jpg
    127.1 KB · Views: 0
  • 35a4e76e64b39d3de497440e56724ca4.jpg
    35a4e76e64b39d3de497440e56724ca4.jpg
    153.5 KB · Views: 0
  • a938206432dca626fce249f07f5426c5.jpg
    a938206432dca626fce249f07f5426c5.jpg
    162.9 KB · Views: 0
  • a938206432dca626fce249f07f5426c5.jpg
    a938206432dca626fce249f07f5426c5.jpg
    162.9 KB · Views: 0
  • bf5bcb95b45a0698bd4743c69724d20a.jpg
    bf5bcb95b45a0698bd4743c69724d20a.jpg
    156.1 KB · Views: 0
  • 1ee5aeff2dbb351e6c19523d0d5d5f86.jpg
    1ee5aeff2dbb351e6c19523d0d5d5f86.jpg
    127.7 KB · Views: 0
  • 1ee5aeff2dbb351e6c19523d0d5d5f86.jpg
    1ee5aeff2dbb351e6c19523d0d5d5f86.jpg
    127.7 KB · Views: 0
  • e6b535c98c2a469088a261b321fb876a.jpg
    e6b535c98c2a469088a261b321fb876a.jpg
    127.1 KB · Views: 0
  • bf5bcb95b45a0698bd4743c69724d20a.jpg
    bf5bcb95b45a0698bd4743c69724d20a.jpg
    156.1 KB · Views: 0
Last edited:
Didn't do much today. Dissembled the rear aprons and drilled holes. Its tricky on how to assemble the firewall together with the aprons.
Its not only enough that the firewall sits flush with the weldingstrips on the front frame rails. It has to be level and center also.
And the aprons to firewall fitment has to fit , the width of the hood with hinges , inlign with the front aprons , how high sits the firewall ? ...Do I miss something here ??
Or maybe its better to install the firewall on the body first. Both outer cowl side kick panels will do the alignment then.
Alot of measurements has to be taken here.
For now.
 
Last edited:
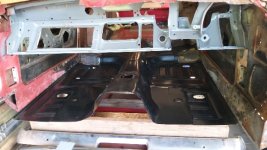
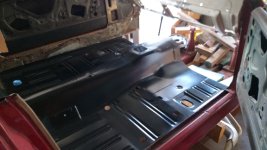
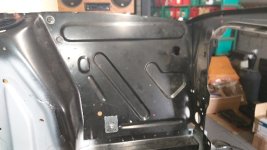
Today I didn't do much. Drilled out some parts of the old floorpan and test fitted the new floorpan. Not bad fitment in the rear.830e3927eceb771918fd1742cb0963ab.jpgf1c1b7227176ada87af51b47d21bfa0c.jpg539aeaaa7ca81e8c409edd3c5cf18241.jpg88f084f1f7c1b4d0a1888fe500cc7186.jpg

Verstuurd vanaf mijn SM-A605FN met Tapatalk
 

Attachments
  • 539aeaaa7ca81e8c409edd3c5cf18241.jpg
    539aeaaa7ca81e8c409edd3c5cf18241.jpg
    129 KB · Views: 0
  • 88f084f1f7c1b4d0a1888fe500cc7186.jpg
    88f084f1f7c1b4d0a1888fe500cc7186.jpg
    24.6 KB · Views: 0
  • 539aeaaa7ca81e8c409edd3c5cf18241.jpg
    539aeaaa7ca81e8c409edd3c5cf18241.jpg
    129 KB · Views: 0
  • f1c1b7227176ada87af51b47d21bfa0c.jpg
    f1c1b7227176ada87af51b47d21bfa0c.jpg
    161.1 KB · Views: 0
  • f1c1b7227176ada87af51b47d21bfa0c.jpg
    f1c1b7227176ada87af51b47d21bfa0c.jpg
    161.1 KB · Views: 0
  • 830e3927eceb771918fd1742cb0963ab.jpg
    830e3927eceb771918fd1742cb0963ab.jpg
    143.4 KB · Views: 0
  • 830e3927eceb771918fd1742cb0963ab.jpg
    830e3927eceb771918fd1742cb0963ab.jpg
    143.4 KB · Views: 0
Nothing much done except some clean up.

445d063b9f172252333b04a500c4b2c4.jpg32d60de07bf9bc02ab4ad43b56b27424.jpg

Verstuurd vanaf mijn SM-A605FN met Tapatalk
 

Attachments

  • 445d063b9f172252333b04a500c4b2c4.jpg
    445d063b9f172252333b04a500c4b2c4.jpg
    150.8 KB · Views: 0
  • 445d063b9f172252333b04a500c4b2c4.jpg
    445d063b9f172252333b04a500c4b2c4.jpg
    150.8 KB · Views: 0
  • 32d60de07bf9bc02ab4ad43b56b27424.jpg
    32d60de07bf9bc02ab4ad43b56b27424.jpg
    151 KB · Views: 0
Have alot of work beside the mustangs but did have some time to mock up the front LCA and strut rods from TCP to the new front.
Need to know where the strut rod brackets goes.

4682fdd2a1e4bfddb7ca66d5795ba6e5.jpg

Verstuurd vanaf mijn SM-A605FN met Tapatalk
 

Attachments

  • 4682fdd2a1e4bfddb7ca66d5795ba6e5.jpg
    4682fdd2a1e4bfddb7ca66d5795ba6e5.jpg
    153.2 KB · Views: 0
Back
Top