
-
Hello there guest and Welcome to The #1 Classic Mustang forum!
To gain full access you must Register. Registration is free and it takes only a few moments to complete.
Already a member? Login here then!
You are using an out of date browser. It may not display this or other websites correctly.
You should upgrade or use an alternative browser.
You should upgrade or use an alternative browser.
Had some me time
- Thread starter B67FSTB
- Start date
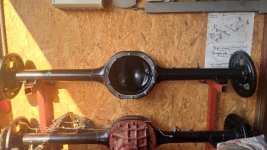
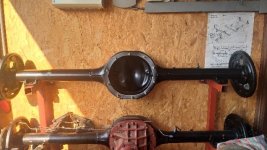


Well, at some point you have to pay for 2 months of fun , [emoji1787]Oh great now I'm doing yard work and you're having fun.
Verstuurd vanaf mijn SM-A605FN met Tapatalk

Please have the yard in tip top shape before we invade....I mean come to visit in peace.Oh great now I'm doing yard work and you're having fun.

Cat kicking contest?Oh I have something special you will hate.
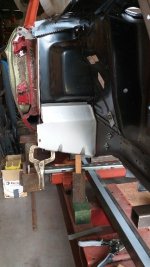
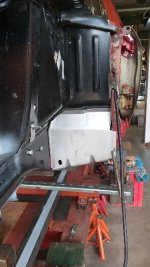
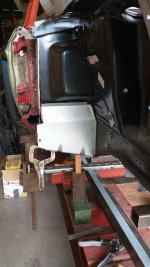
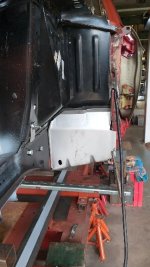
When time , still pre-assembling the new parts to the front and keep an eye on the measurements. Alot can go wrong with the alignment of sheetmetal.
So far so good.
Verstuurd vanaf mijn SM-A605FN met Tapatalk
So far so good.
Verstuurd vanaf mijn SM-A605FN met Tapatalk
Attachments


Looks good. Keep plugging along (welding pun intended).
Feel your pain. Currently building just about the entire bottom six inches of a 90+ year old car from scratch. Like classic mustangs, things were never exactly right from the start. Fun fun. That old axiom about "measure twice..." doesn't begin to cover it.
Feel your pain. Currently building just about the entire bottom six inches of a 90+ year old car from scratch. Like classic mustangs, things were never exactly right from the start. Fun fun. That old axiom about "measure twice..." doesn't begin to cover it.
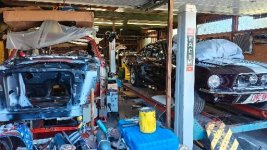
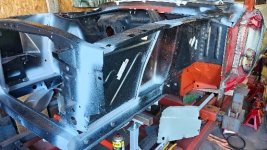

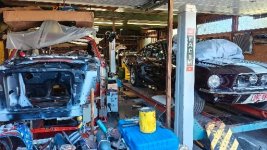
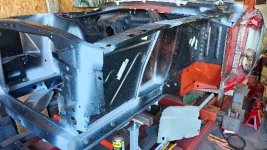
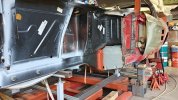
As you see on previous pics. I put the burgundy fastback next to the project.
Aligned it all out with a laser and did a final check on the complete front before welding it to the rest of the car.
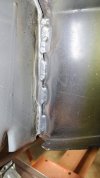
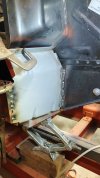
It took some " balls " to finally decide to start welding. Never done body work before ! I have knowledge but doing it, is another thing.
Question to all.
I need to install the full floor . Floor is complete out now.
Should I weld in the complete floor before making a rotisserie and put it on it ?
Not structural save without the floor and seat risers ! I know the seat rosers are part of the structure . At least I think.
Aligned it all out with a laser and did a final check on the complete front before welding it to the rest of the car.
It took some " balls " to finally decide to start welding. Never done body work before ! I have knowledge but doing it, is another thing.
Question to all.
I need to install the full floor . Floor is complete out now.
Should I weld in the complete floor before making a rotisserie and put it on it ?
Not structural save without the floor and seat risers ! I know the seat rosers are part of the structure . At least I think.
Attachments

Aussie67
Well-Known Member
Assumming you haven't already, you will need some bracing before taking all the floor out to ensure it stays square/ aligned.
Cross bracing at the D pillar connecting each side and same front to rear should do it. I normally leave the bracing in until nearly all welding has been done.
Rotisserie will make it easier to install, but you can do it without it.
Cross bracing at the D pillar connecting each side and same front to rear should do it. I normally leave the bracing in until nearly all welding has been done.
Rotisserie will make it easier to install, but you can do it without it.
Last edited:
Right now it sits on a straigtening bank without the floor. So thats good.Assumming you haven't already, you will need some bracing before taking all the floor out to ensure it stays square/ aligned.
Cross bracing at the D pillar connecting each side and same front to rear should do it. I normally leave the bracing in until nearly all welding has been done.
Rotisserie will make it easier to install, but you can do it without it.
Verstuurd vanaf mijn CPH2663 met Tapatalk
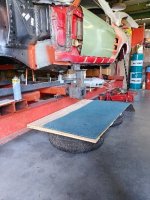
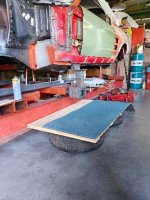

Radial tires would probably make the platform more comfortable 
And a mattress. Hmm, but then there is the whole smoking in bed thing, and sparks do fly.
And a mattress. Hmm, but then there is the whole smoking in bed thing, and sparks do fly.
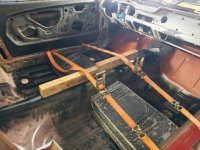
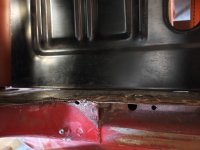
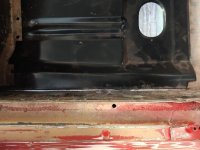
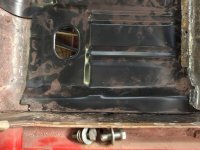
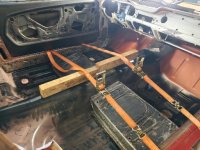
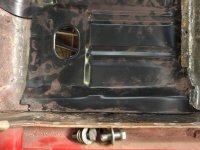
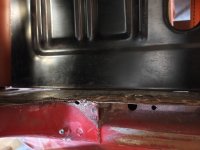
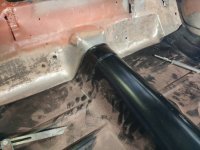
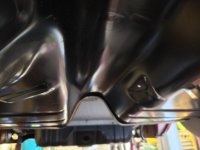
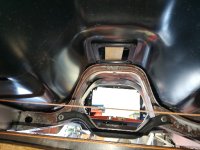
Put in the full floor pan. I believe I made a "wide body fastback" !! Had to take some straps to pull down the panel and also to pull the rockers inwards !!
Keep in mind the car had a front right accident.
Question : is it known that some brands of full floor pan are on the narrow side ?? Or is it just me who made a mistake ??
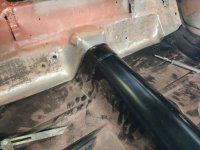
I need to make some relief cuts on the rear of the tunnel. Thats minor I guess.
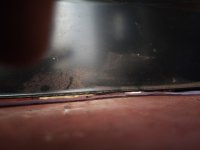
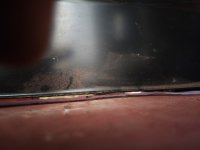
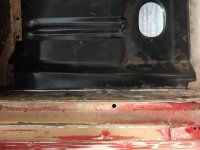
Dispite the straps I still have some gaps , especcially on the front right of the floor pan.
Verstuurd vanaf mijn CPH2663 met Tapatalk
Keep in mind the car had a front right accident.
Question : is it known that some brands of full floor pan are on the narrow side ?? Or is it just me who made a mistake ??
I need to make some relief cuts on the rear of the tunnel. Thats minor I guess.
Dispite the straps I still have some gaps , especcially on the front right of the floor pan.
Verstuurd vanaf mijn CPH2663 met Tapatalk
Attachments
-
 8d2d8ed35741749a9ac119714d097179.jpg211.9 KB · Views: 0
 -
 4e045d24019fd6abb734bebf3ea6d1c7.jpg126.3 KB · Views: 0
 -
 02b0fbca67bcf66283a374824850d53b.jpg195.8 KB · Views: 0
 -
 02b0fbca67bcf66283a374824850d53b.jpg195.8 KB · Views: 0
 -
 a084f13ad55b9db2122809c4a5f74d82.jpg175.9 KB · Views: 0
 -
 a084f13ad55b9db2122809c4a5f74d82.jpg175.9 KB · Views: 0
 -
 15d7dd0e62764ffcf22fbf654d4804ad.jpg159.2 KB · Views: 0
 -
 15d7dd0e62764ffcf22fbf654d4804ad.jpg159.2 KB · Views: 0
 -
 8d2d8ed35741749a9ac119714d097179.jpg211.9 KB · Views: 0
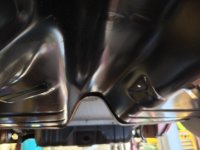
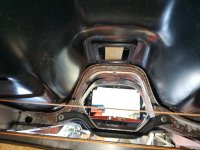
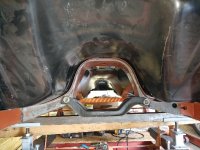
Tunnel.
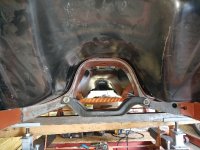
Verstuurd vanaf mijn CPH2663 met Tapatalk
Verstuurd vanaf mijn CPH2663 met Tapatalk
Attachments
-
 d2b8c30deabea17f708fd5fe2c9c7b88.jpg190.2 KB · Views: 0
 -
 d2b8c30deabea17f708fd5fe2c9c7b88.jpg190.2 KB · Views: 0
 -
 34ded5bbb90b0654cf9bbd66b20d32c1.jpg129.9 KB · Views: 0
 -
 34ded5bbb90b0654cf9bbd66b20d32c1.jpg129.9 KB · Views: 0
 -
 5e43015777f110e0e8687232de38f35a.jpg183 KB · Views: 0
 -
 5e43015777f110e0e8687232de38f35a.jpg183 KB · Views: 0
 -
 e802919a0fe8e8618eacc9bc5e1ae3ef.jpg199.5 KB · Views: 0