Fst Blk
Well-Known Member
Shave your shock towers. That should be gravy enlight of what you have already accomplished.
Bill
Bill
Follow along with the video below to see how to install our site as a web app on your home screen.
Note: This feature may not be available in some browsers.
Hello there guest and Welcome to The #1 Classic Mustang forum!
To gain full access you must Register. Registration is free and it takes only a few moments to complete.
Already a member? Login here then!

"65-408" said:Brake and fuel lines are done, here are some pics of the way I ran them (down the rocker):
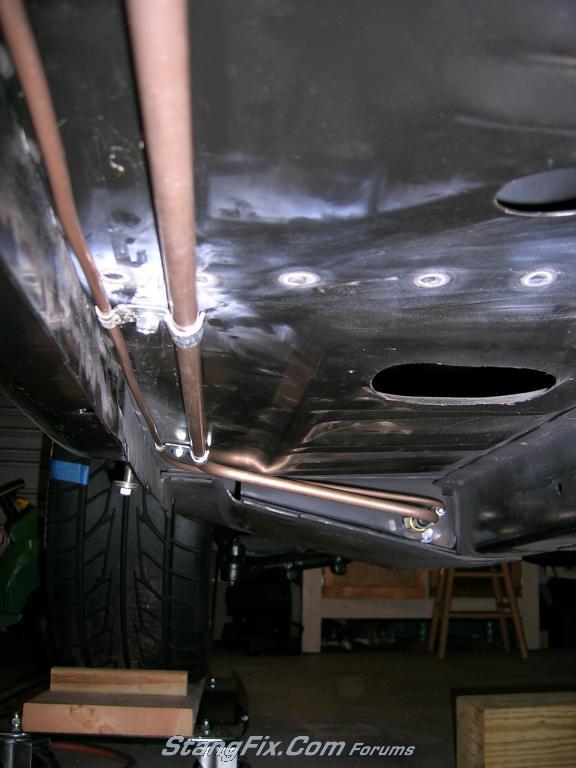
"AtlantaSteve" said:Help me understand this picture...My memory of the car might be failing me, but aren't these lines running directly under the floor sheet-metal? If so, how are you attaching those clamps? If you put, say, a sheet-metal screw right into it, wouldn't they be poking up into the floor-board, like, right into the carpet? Or am I imagining the design of the car wrong?
And just from curiosity, where did you get the line clamps,
Thanks!
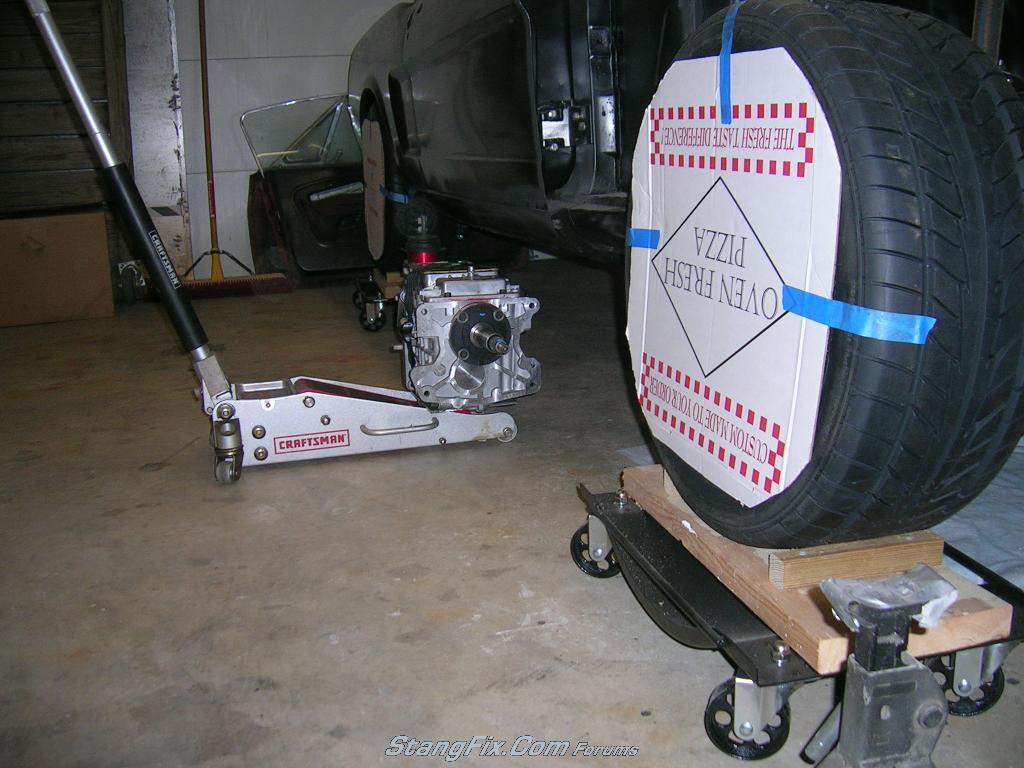
"Midlife" said:Where did you find those custom wheel covers? Those are wicked!
"65-408" said:You are correct, currently there is a sheetmetal screw going up through the floor... when I dis-assemble, I will probably drop a button head down thru the hole and tack it in to act as a stud and not disturb the carpet... The clips came from mcmaster (as singles), I cut off a 3/16 and weleded it to the end of the 3/8" to make the doubles...


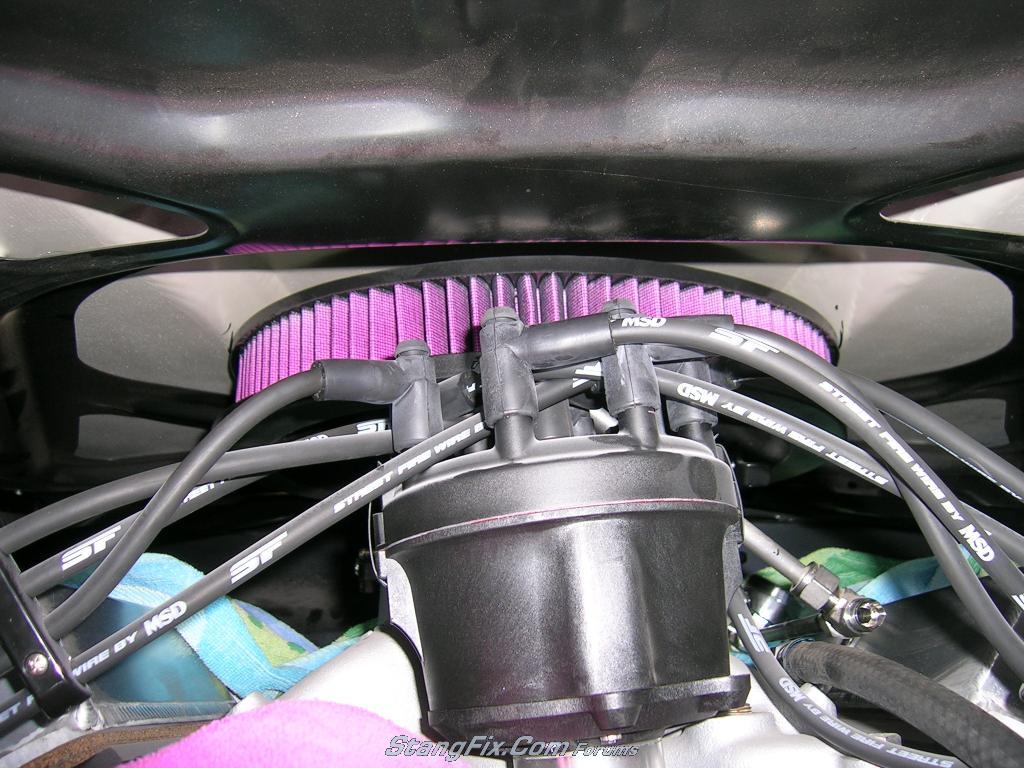
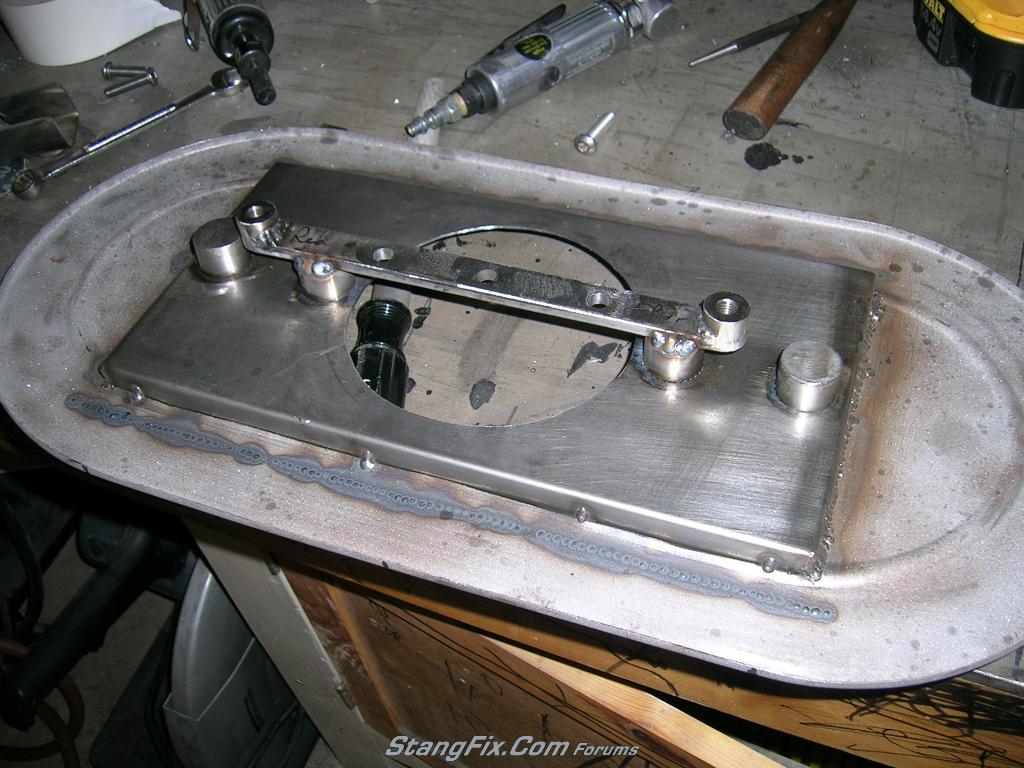
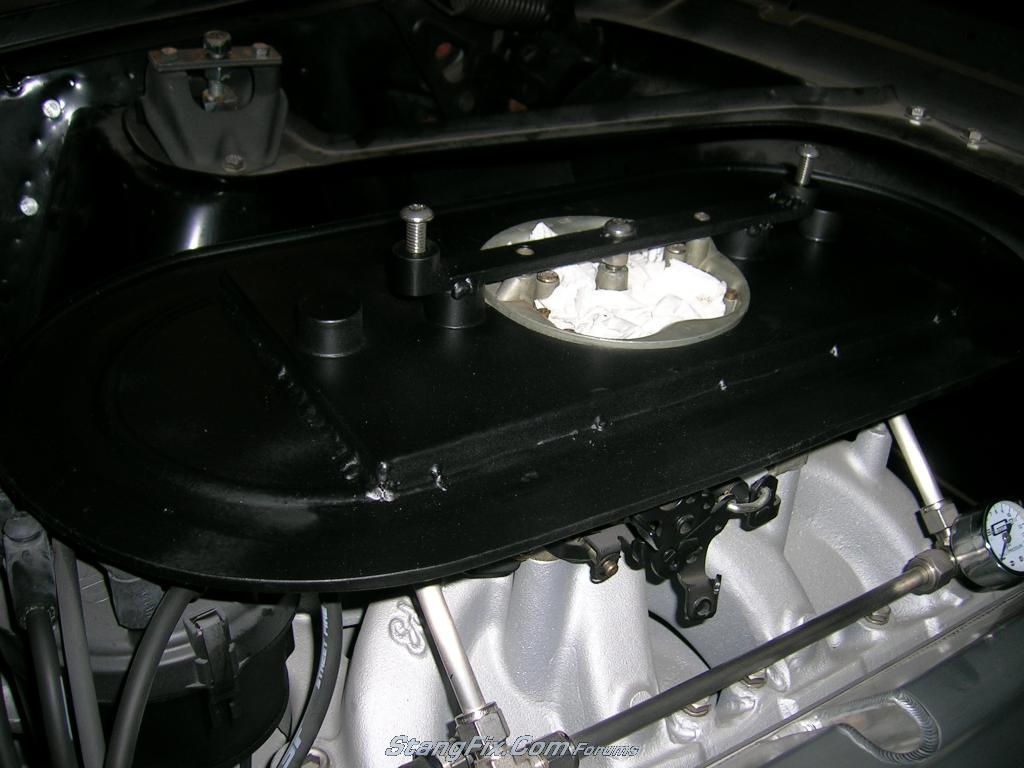


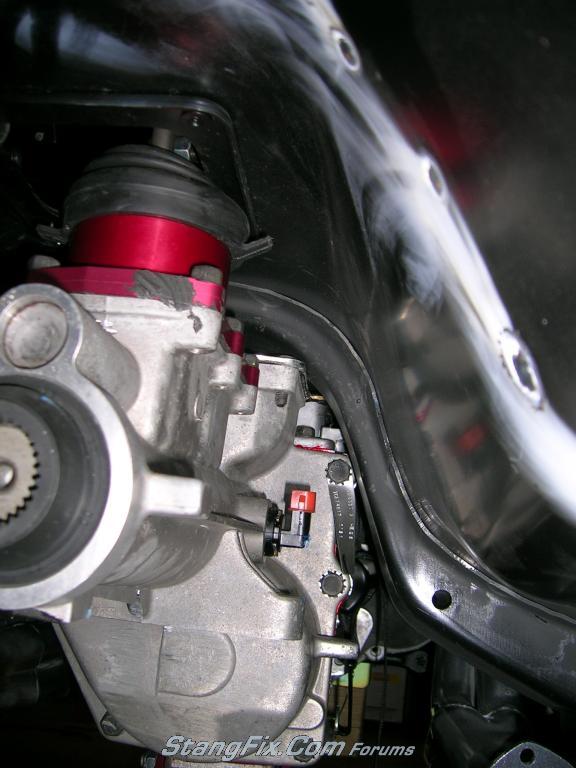
"AzPete" said:With it sloped now, make sure the carb mounting bolts secure it properly. They were originally set at the correct angle for the original surface which you changed.


