A

-
Hello there guest and Welcome to The #1 Classic Mustang forum!
To gain full access you must Register. Registration is free and it takes only a few moments to complete.
Already a member? Login here then!
You are using an out of date browser. It may not display this or other websites correctly.
You should upgrade or use an alternative browser.
You should upgrade or use an alternative browser.
A
Anonymous
Guest
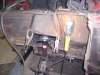
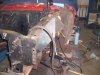
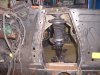
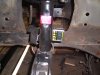
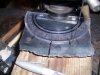
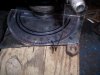
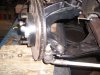
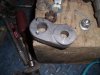
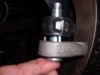
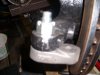
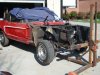
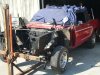
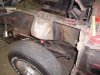
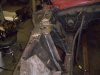
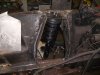
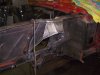
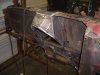
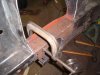
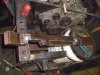
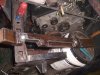
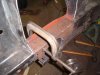
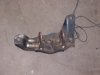
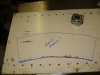
Here's one area that I really could learn some more about. "Ackerman" steering is when the inside tire turns tighter than the one on the outside. I have played around with several different steering devices from a stock unit to a junk yard pick off an Isuzu to a couple of racks off the Focus and Mazda 3 and a Ford Thunderbird. The one I finally settles on was the T-Birds. The best I could get the ackerman to go is about a three degree differ. The problem is a rear mount rack or steer is much easier to set the ackerman angle than a front mount. And in my case I had to have a front mount since there's an oil pan in the way and I wasn't too keen on cutting a tunnel through it. Also the tie rod ends needed to be relocated since I reversed the steering knuckles from right to left and left to right and they are now in front and sitting a little high. Here's some photos of how I tested the turn angles to see how much differ there was as the wheels were turning and a couple photos of the tie rod end re-locator I made to correct the tie rod arm angle and king pin angle.
Attachments
A
Anonymous
Guest
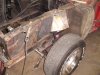
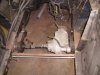
It's not perfect, but a little is better than none. I find it interesting that there's a lot of vehicle designs that overlook this. I think I'm right in saying Chevy was never much concerned in their early suspension designs. There is another factor that I assume aids in keeping the vehicle straight when braking and making it easier to turn while parking in tight spaces. "Scrub Radius", mine on the negative side as we speak and I guess a little test driving and parking will let me know if I need to make a correction. Course it can be changed by using different backspacing in wheels but I'd like it to be "acceptable" using a stock wheel.
A
Anonymous
Guest
A
Anonymous
Guest
A
Anonymous
Guest
A
Anonymous
Guest
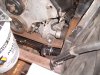
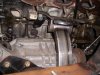
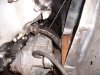
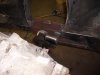
A
Anonymous
Guest
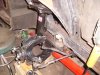
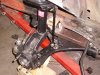
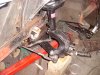
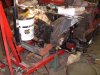
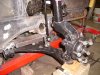
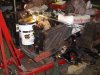
Adding a stabilizer bar and tie rod ends and testing the front by adding a whopping 450 lbs to force the suspension down to the target ride height. I'm not sure there will be that much weight added back when the car is finished.
Attachments
A
Anonymous
Guest
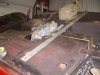
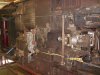
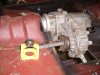
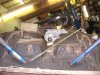
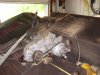
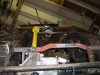
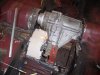
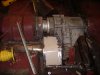
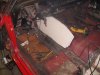
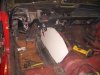
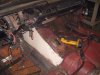
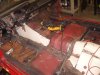
Moving to the heart of the build, the Transfer Case. Like I said before my thought was to keep the front floorboard free of intrusions and have nothing showing that hints this car has awd. Here is where I decided to mount the transfer case. Also the tranny mount has been made and is in place.
Attachments
A
Anonymous
Guest
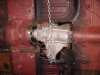
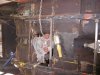
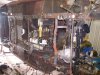
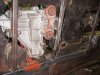
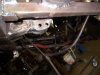
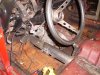
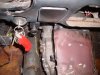
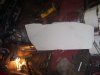
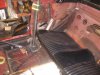
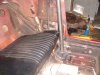
Now to get the drive line back to the front diff. Again I made a tunnel just beside the hump out of 4" stainless steel pipe and doubled it in a few places to serve as safety loops in the event of a failure. Don't want this thing tearing through the floor board.
Attachments
A
Anonymous
Guest
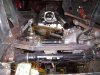
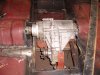
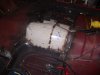
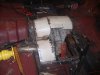
The tube that holds the front drive line will load from the rear and will require a couple of bolts to be removed so the transfer case can rotate down giving a clear line of sight for the shaft to load. Only takes removing 4 bolts. Another goal of this build is to keep things on the simple side and fab everything up so that it can be easily be changed or serviced. I'm sure things are gonna break and I will be replacing them.
Attachments
A
Anonymous
Guest
A
Anonymous
Guest
A
Anonymous
Guest
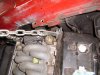
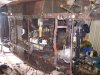
Most of the mounting points are finished. For the rear diff I thought about using an independent rear but stuck with a solid axle. I was a little surprised to learn that even having a short rear drive shaft only telescoped in the slip spline about an inch in about a foot of travel. I am thinking for a straight line fast accelerating car that the solid axle would be best. Again this build has been an enjoyable learning experience.
Attachments
A
Anonymous
Guest
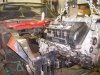
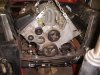
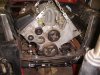
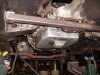
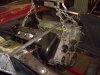
Another little trick I done was to move the engine back about 6 inches. This gave a little more room for the front diff, rack and stabilizer bar. I feel it will also be a plus in getting closer to the desired 52/48% front to rear weight ratio. I think this car will be pretty close. I notched out the firewall pinch weld to allow a bonnet to connect to the stock throttle body location. I kinda have a look that I want to achieve with the engine keeping the top clear of clutter so the "to be" polished intake will dominate the look. At this point I'm planning on using the stock Lincoln Mk 8 EEKIV computer (ecm) with the addition of a Tweecer so that I can add a turbo. The goal is to produce 450-500 engine flywheel HP and the only way I can see getting that is using a turbo. Still up in the air is where I'm going to mount the turbo. The simple route is to mount it in front of the engine and use gravity to return the oil to the pan. My first thought was to mount the turbo just in front of the axle like I did on the 65 Twin Mid Mount Turbo car but it would require the use of a scavenger pump to return the oil. The big advantage I learned was mounting the turbos away from and out of the engine bay resulted in very good intake air temperatures. Anyway moving the engine back really opens up the "behind the radiator" space for plumbing and a nice area to stick a single turbo. Still thinking about that but in the mean time I plan to go ahead and use the stock engine and make this thing run and see what happens. I do plan on making the mounts for an intercooler so that I don't have to go chopping up the front again.
Attachments
A
Anonymous
Guest
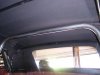
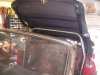
For a little added safety I am installing a 6 point roll bar. It will also serve to stiffen up the chasis and will be tied into the front torque box and rear torque box. I think I'll keep the rear seat also. Along with the roll bar I did add sub frame connectors. They are in a previous photo but I forgot to point them out. I added a few plates of flat steel to help support their mounting positions.
Attachments

tarafied1
Well-Known Member
so the Mazda 3 and Taurus parts are both Ford? (I have a Taurus..., I need to research this as Ford makes an AWD SHO) You're using Mazda 3 front suspension with a Astro van axle and Typhoon transfer case...
I need to collect the parts so you can convert my 67 next....
I need to collect the parts so you can convert my 67 next....

A
Anonymous
Guest
And to think I try so hard bolstering this forum. :jerk