• Hello there guest and Welcome to The #1 Classic Mustang forum!
    To gain full access you must Register. Registration is free and it takes only a few moments to complete.
    Already a member? Login here then!

1966 Mustang Coupe Restomod

GPR

Active Member
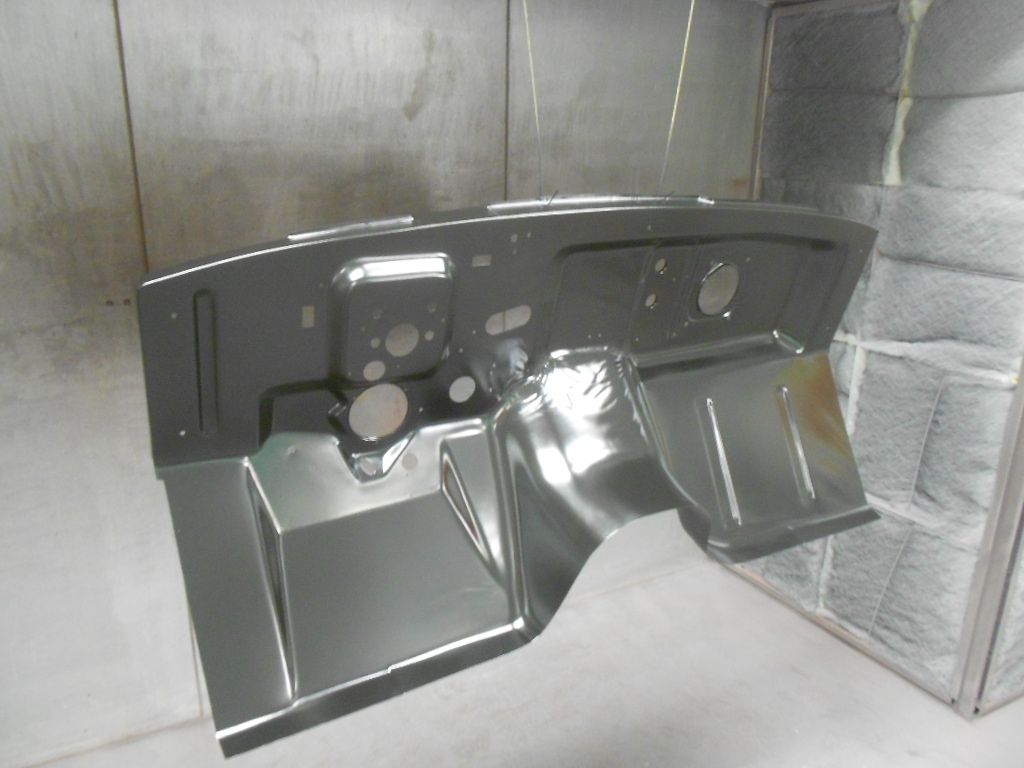
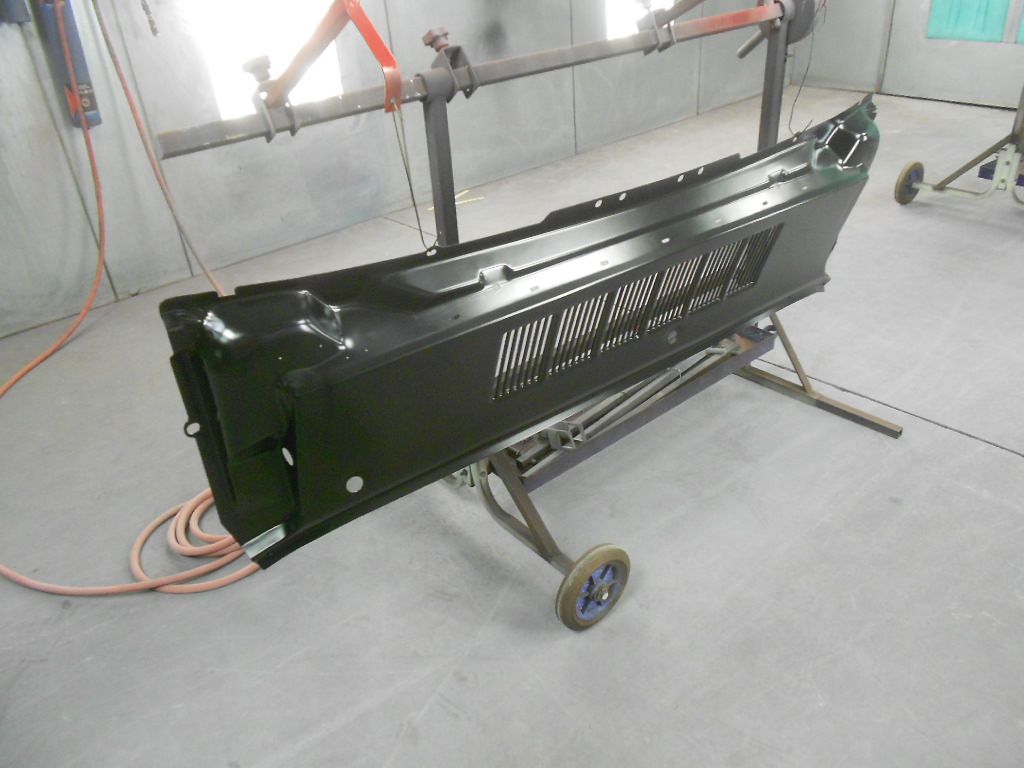
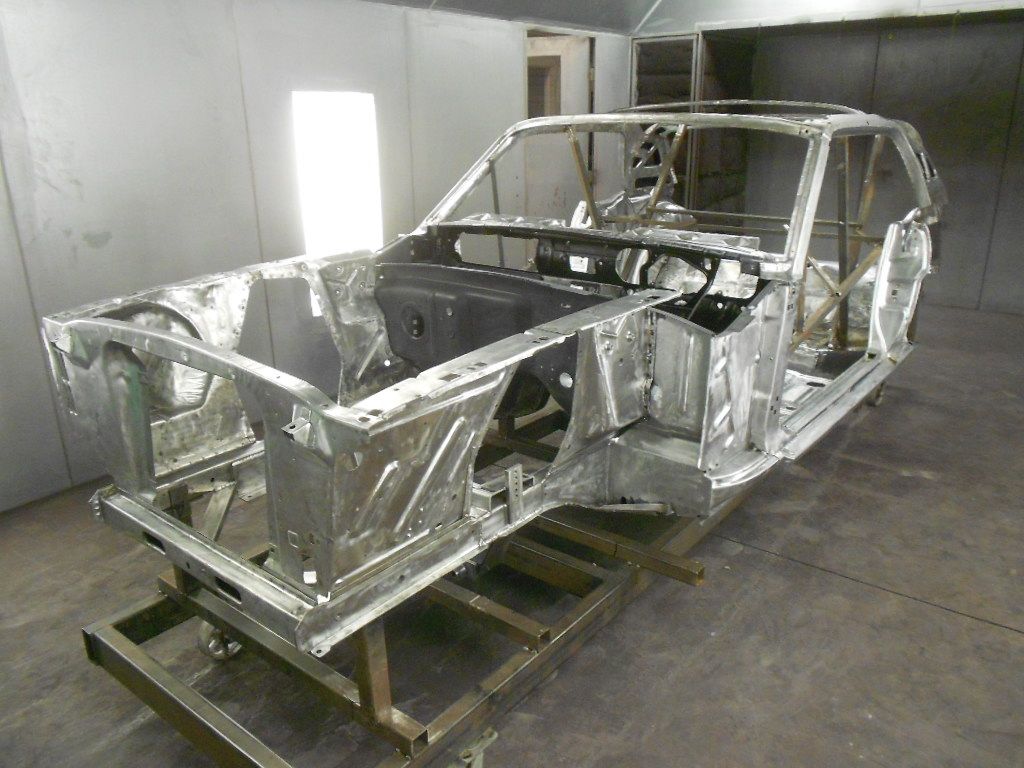
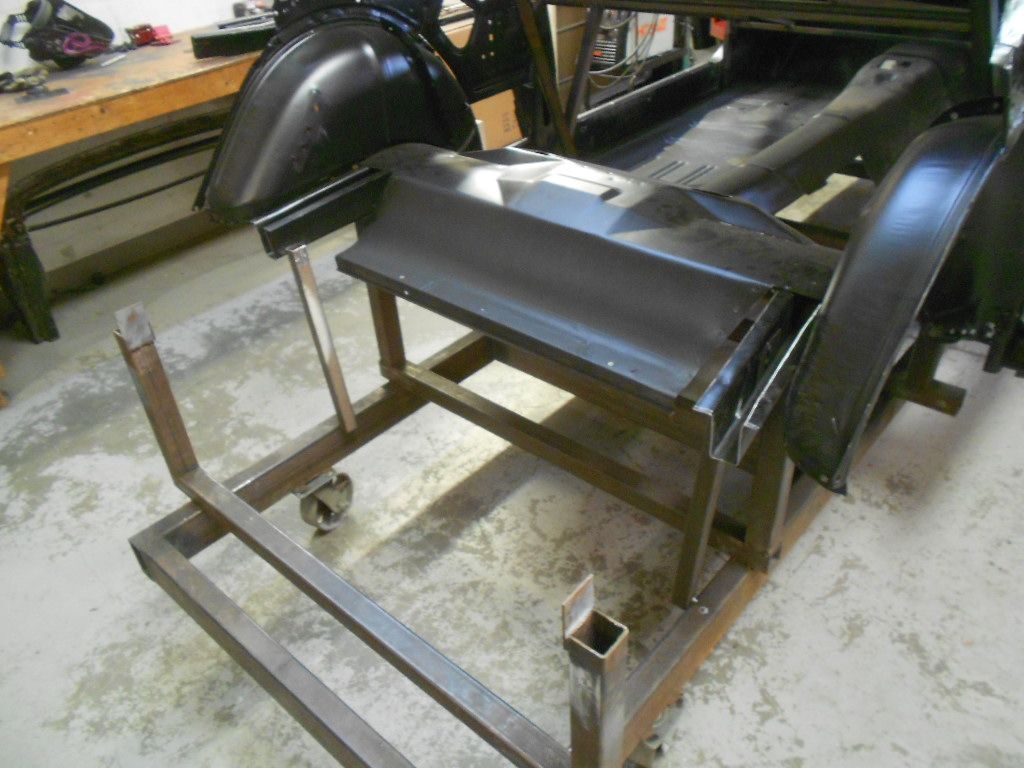
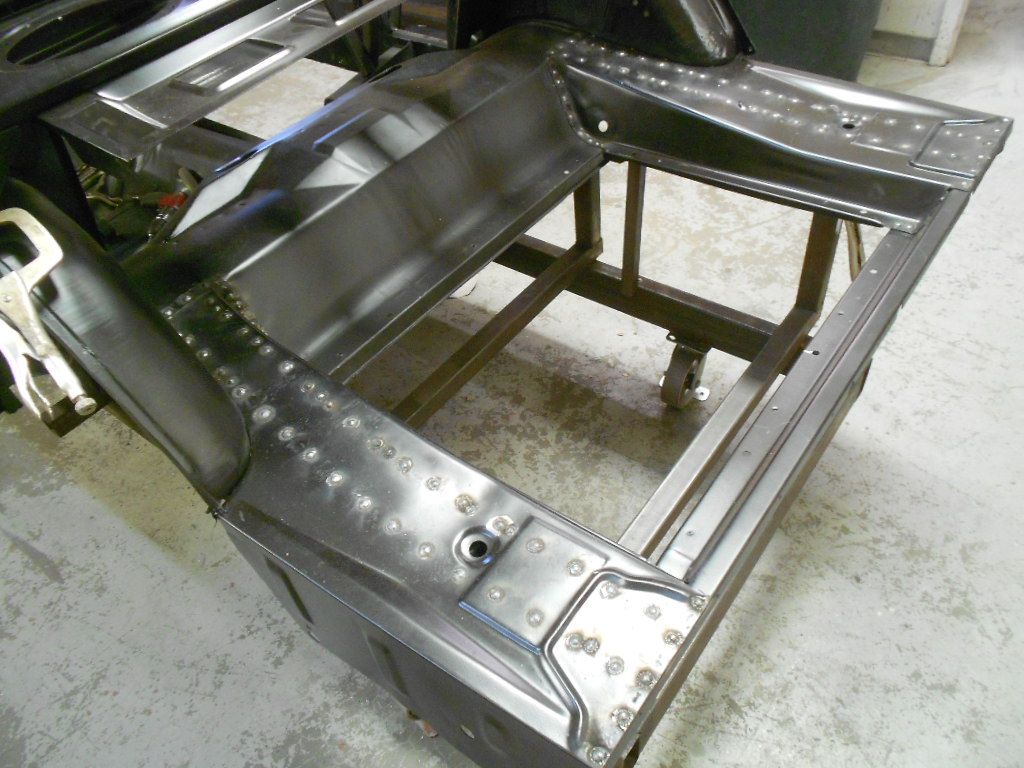
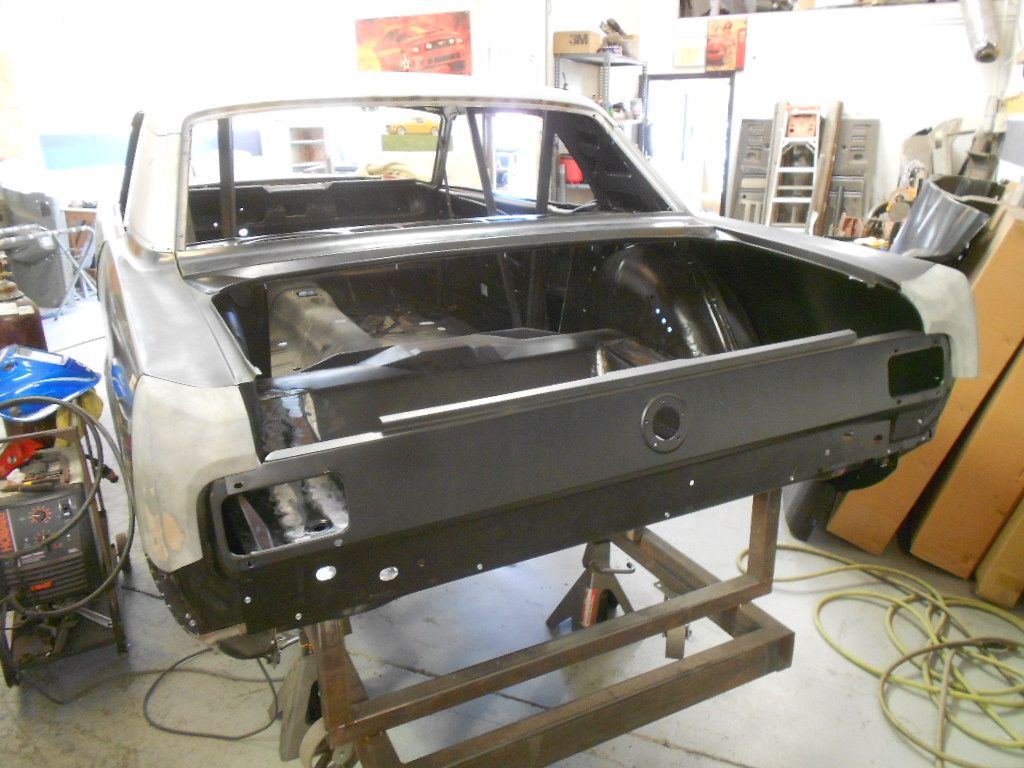
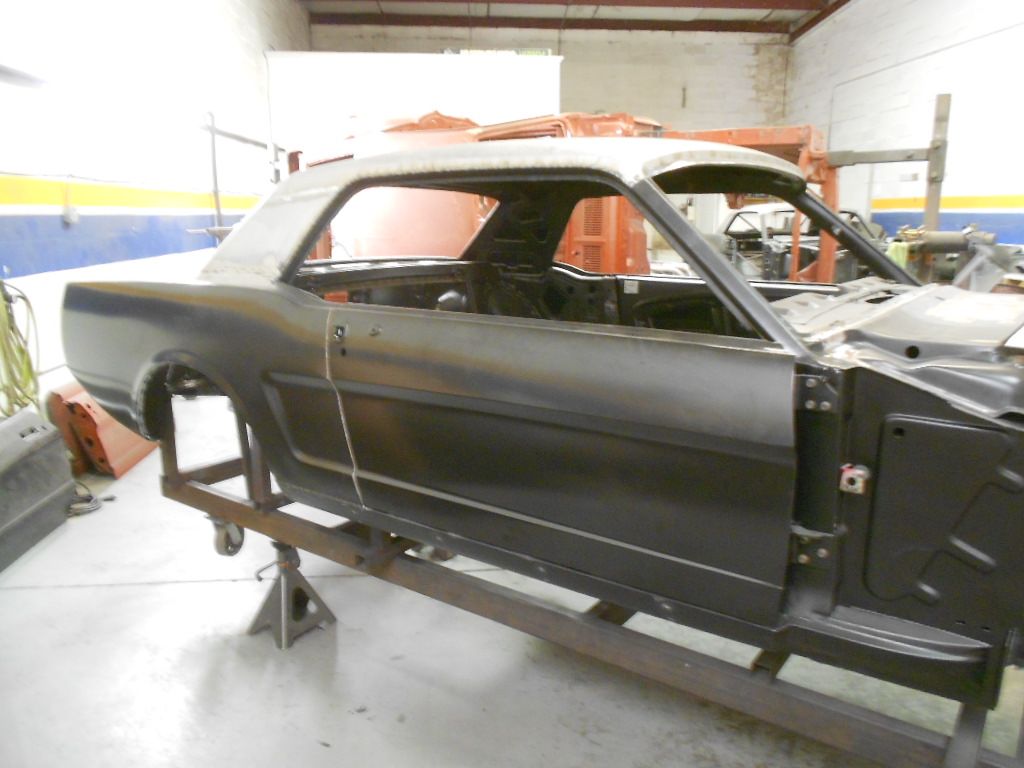
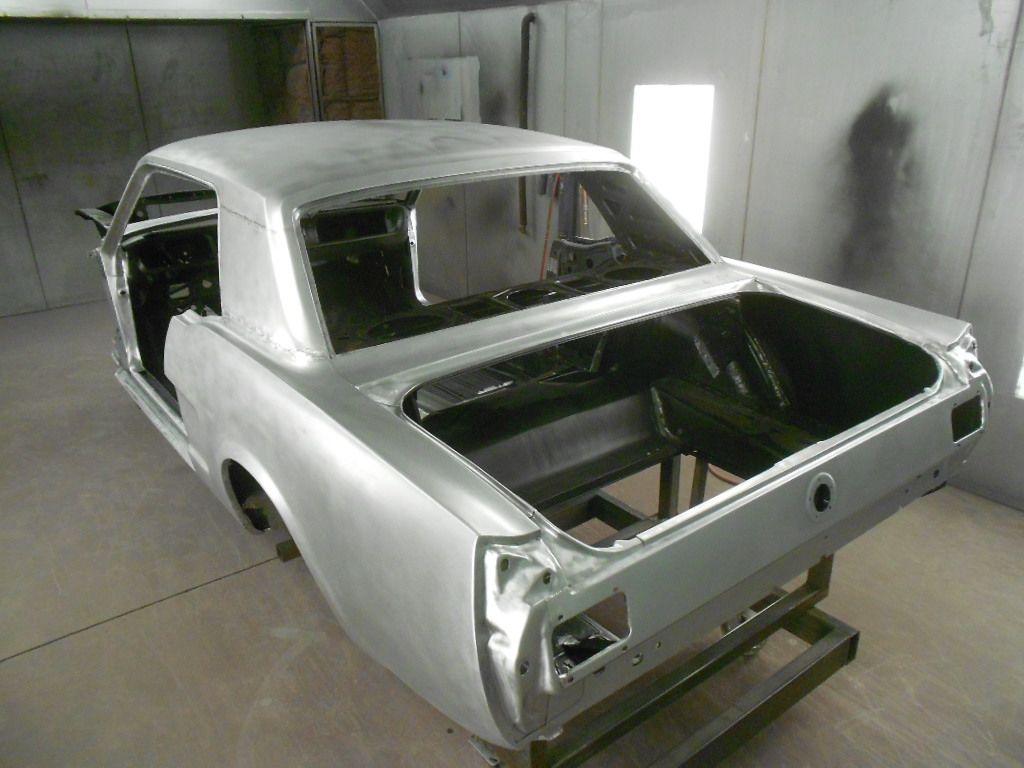
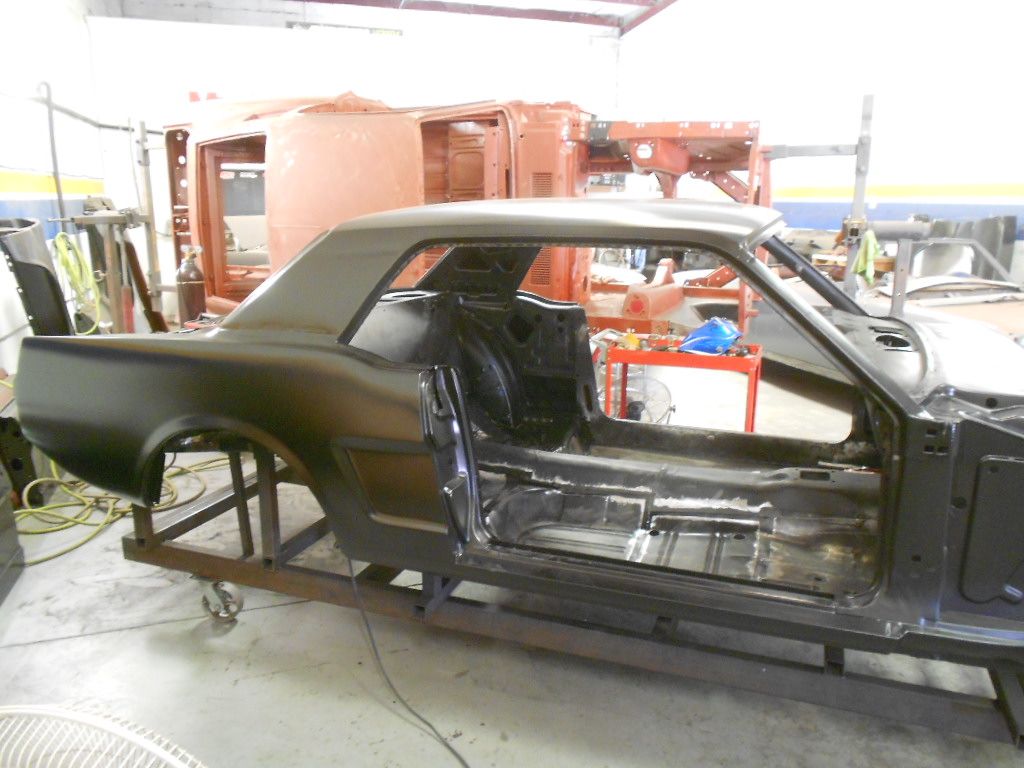
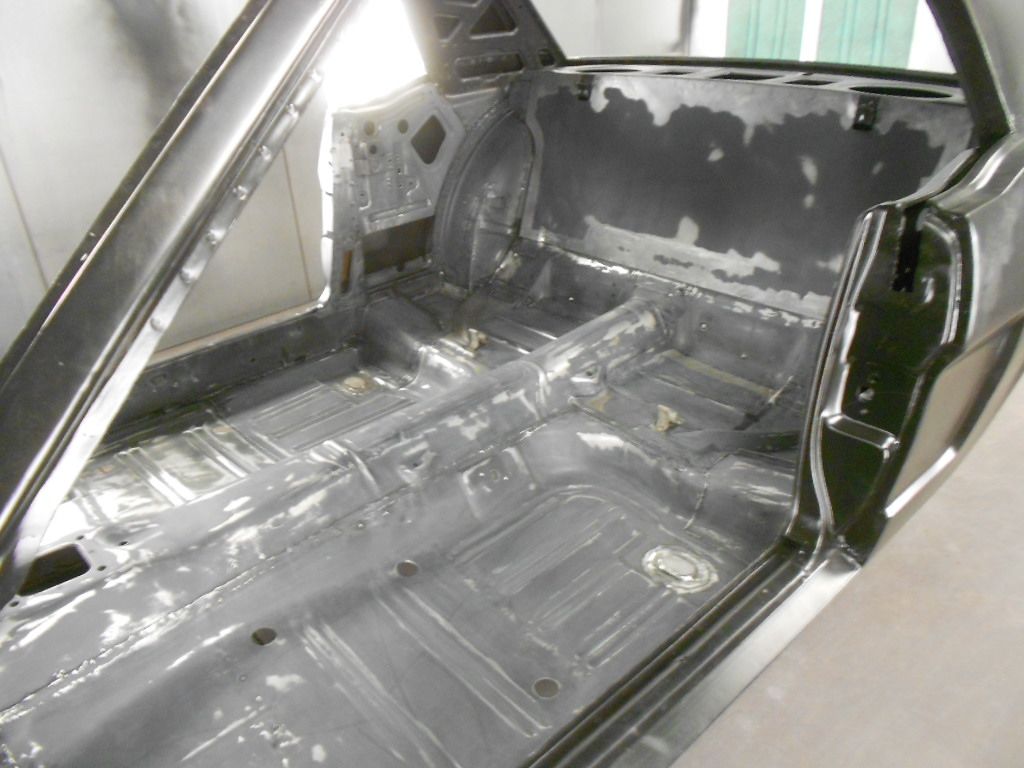
This is what we are starting with. There is not a lot of rust but since Ford did not prime a lot of the inner structure we will be removing all the sheetmetal do any needed rust repair and epoxy priming. The plans are to install Rod & Custom front and rear suspension, Wilwood brakes, Currie 9", AOD and a 347. The body mods will be fender flares, drip rails removed, cowl vents filled in and maybe a few other things as we go.

DSCN0651_zpsyrrctx59.jpg


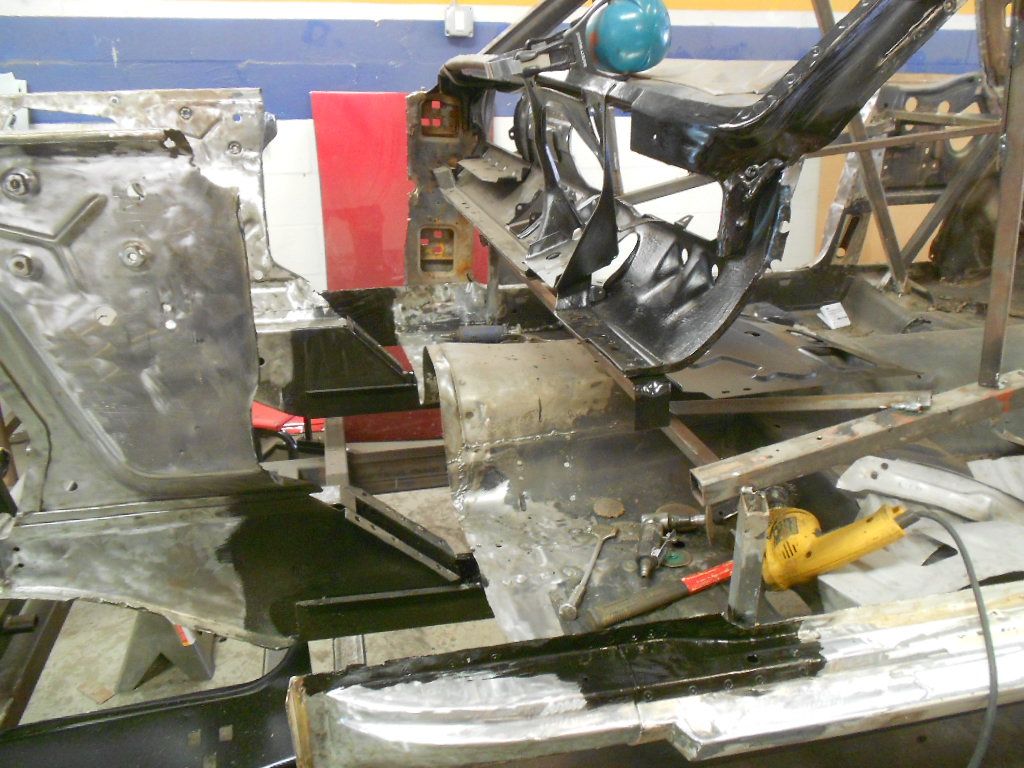
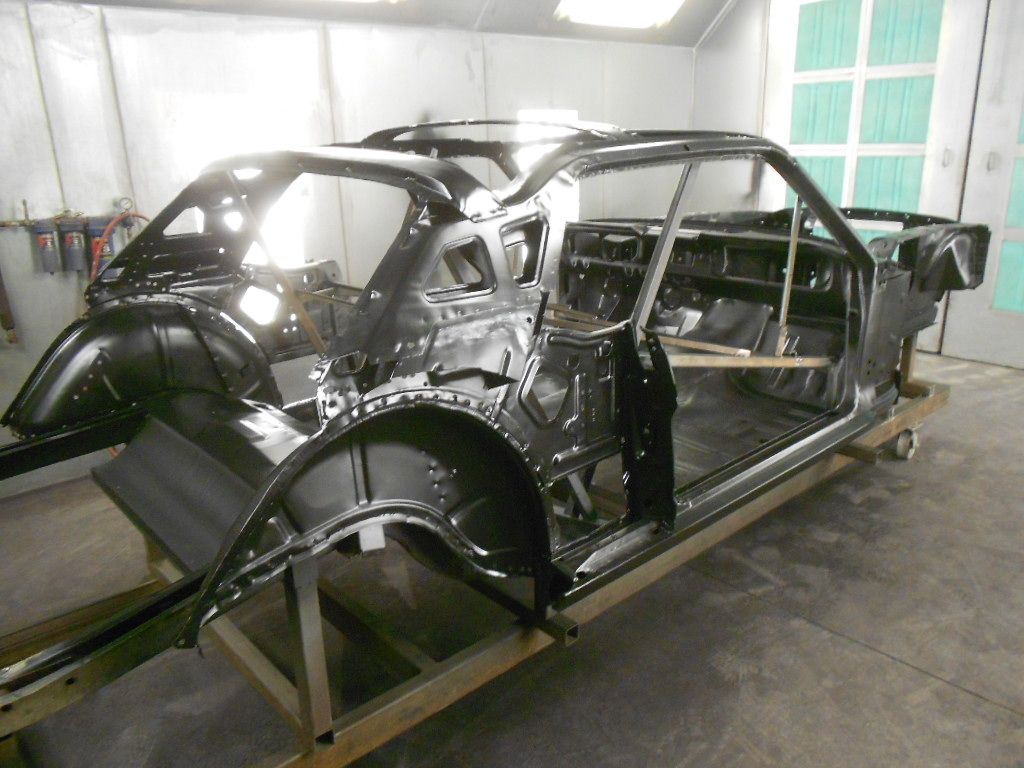
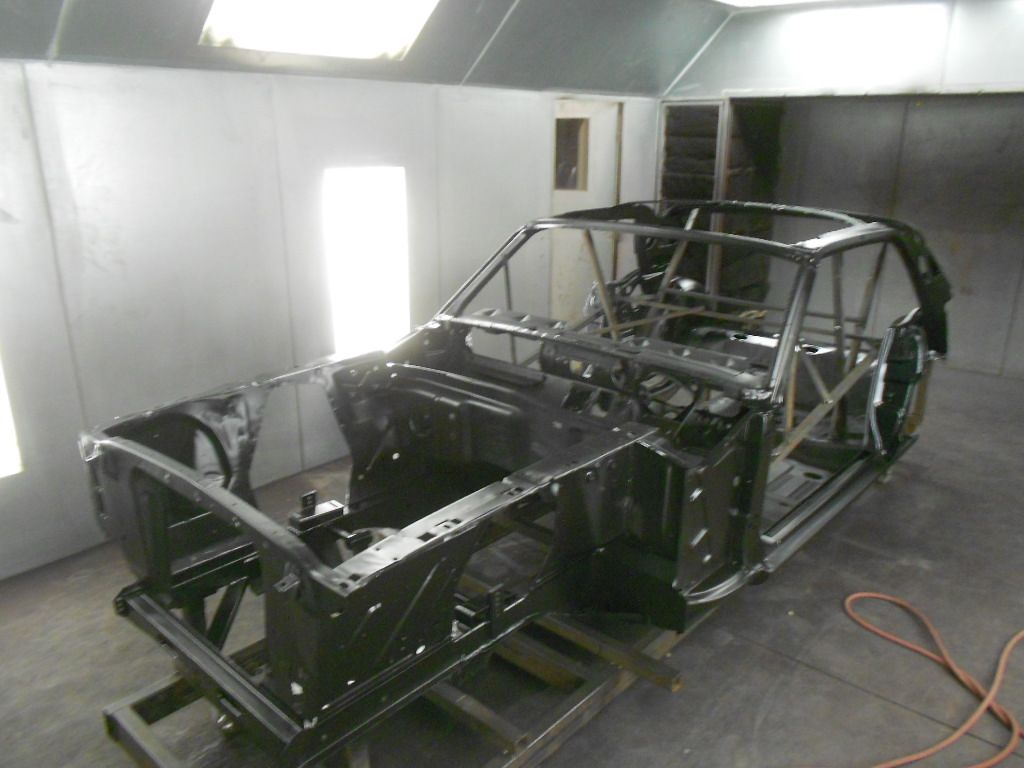
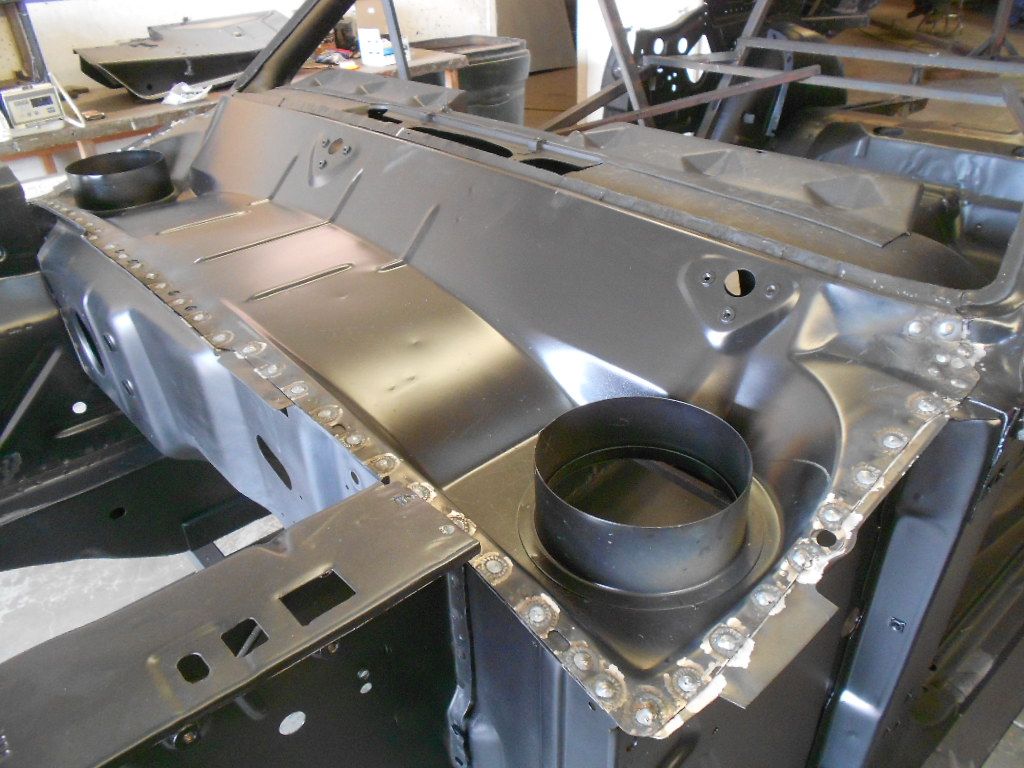
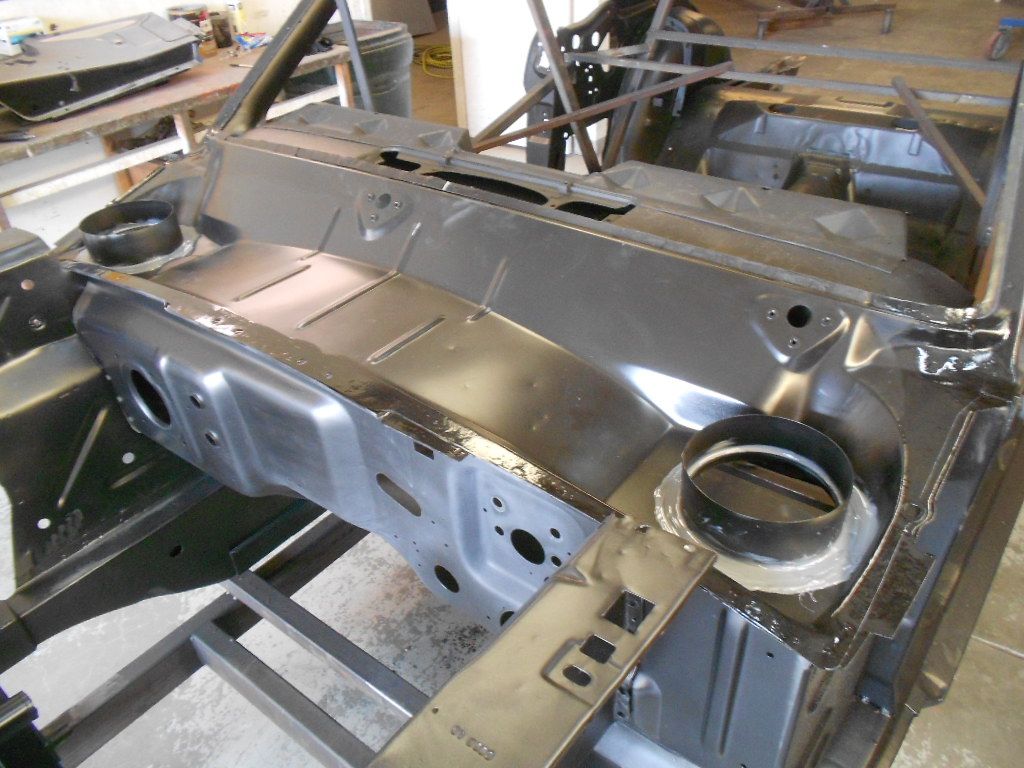
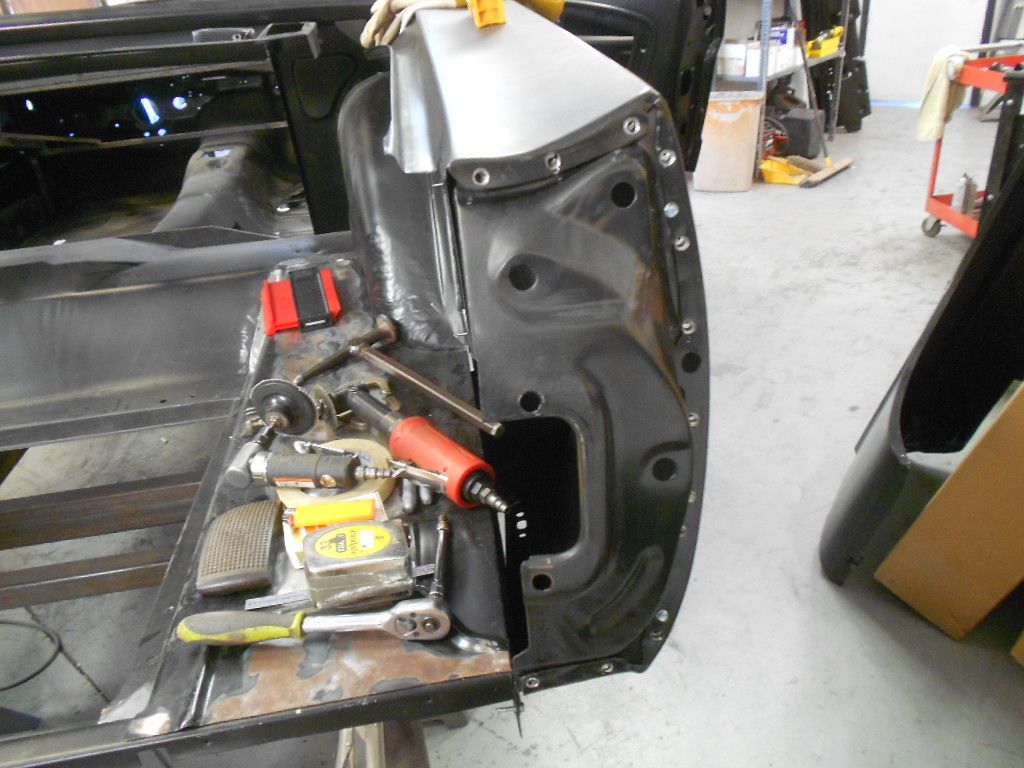
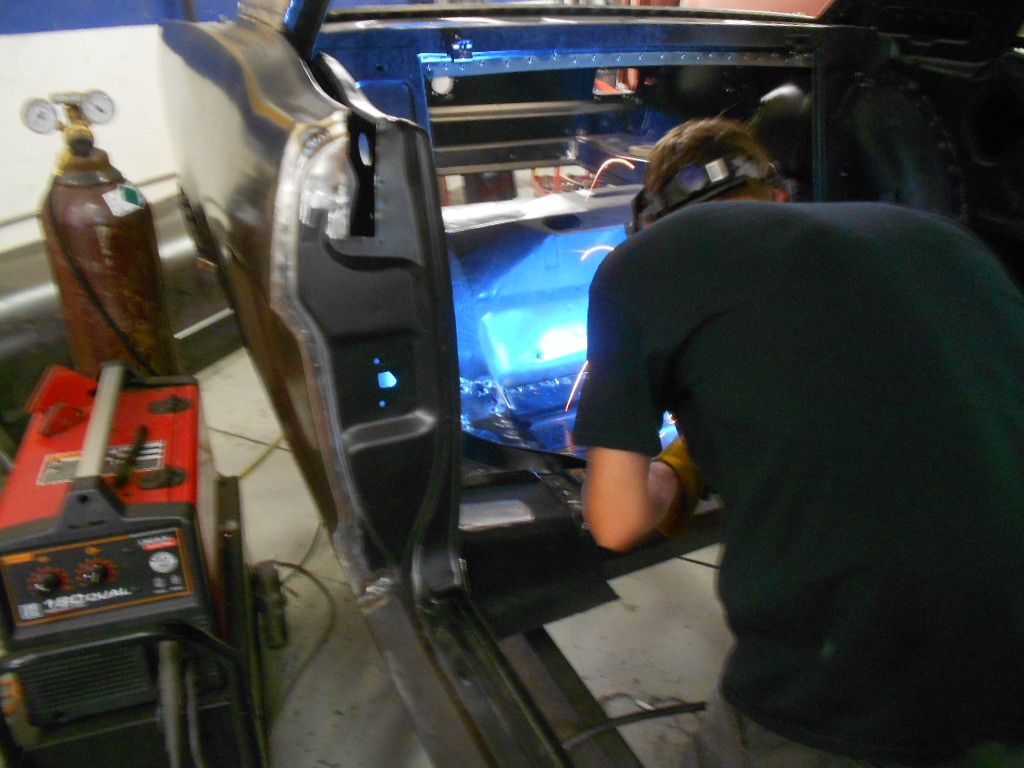
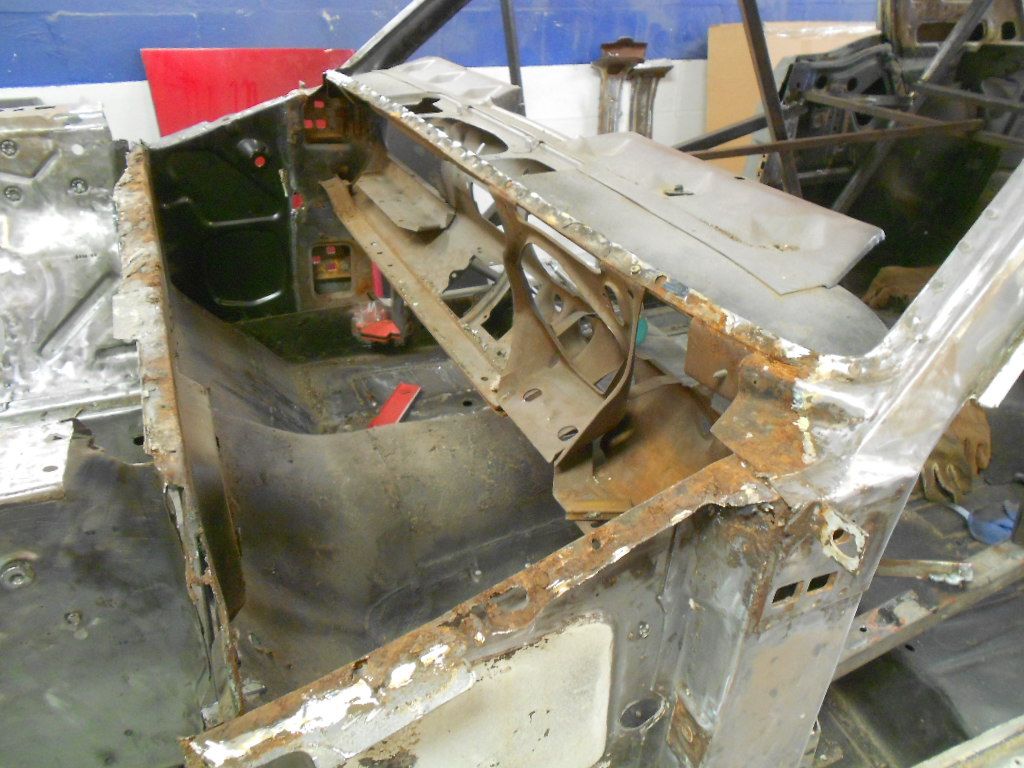
One of the first things we did after bracing the body was to remove the cowl

DSCN0668_zps5qfpl1ed.jpg


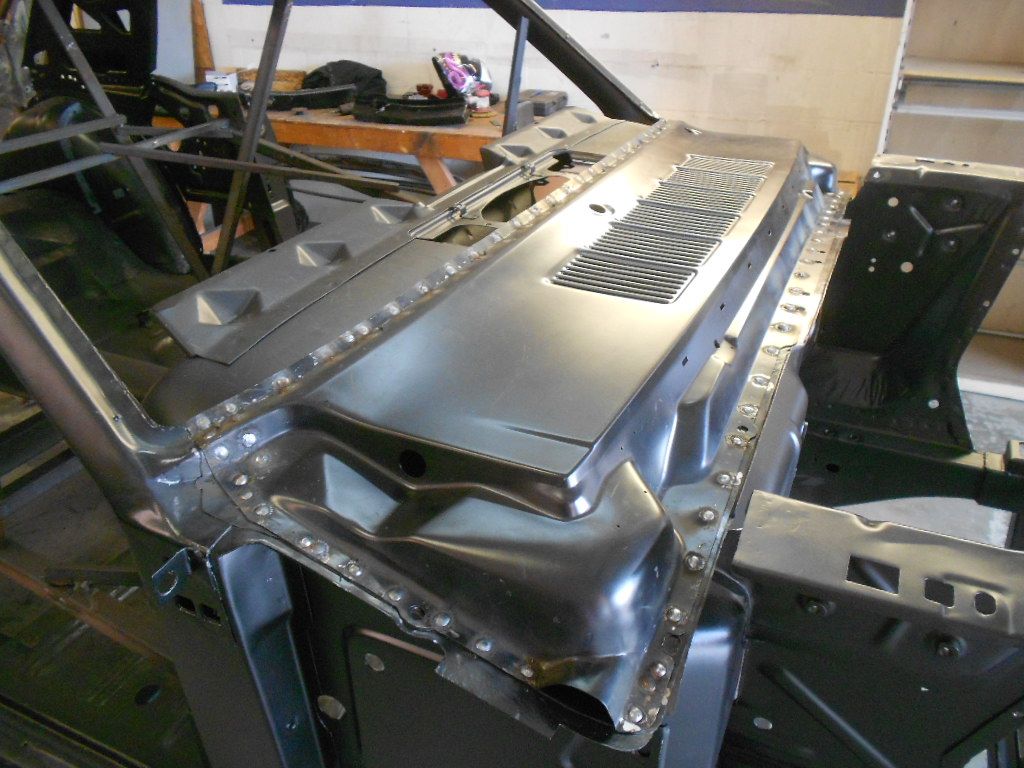
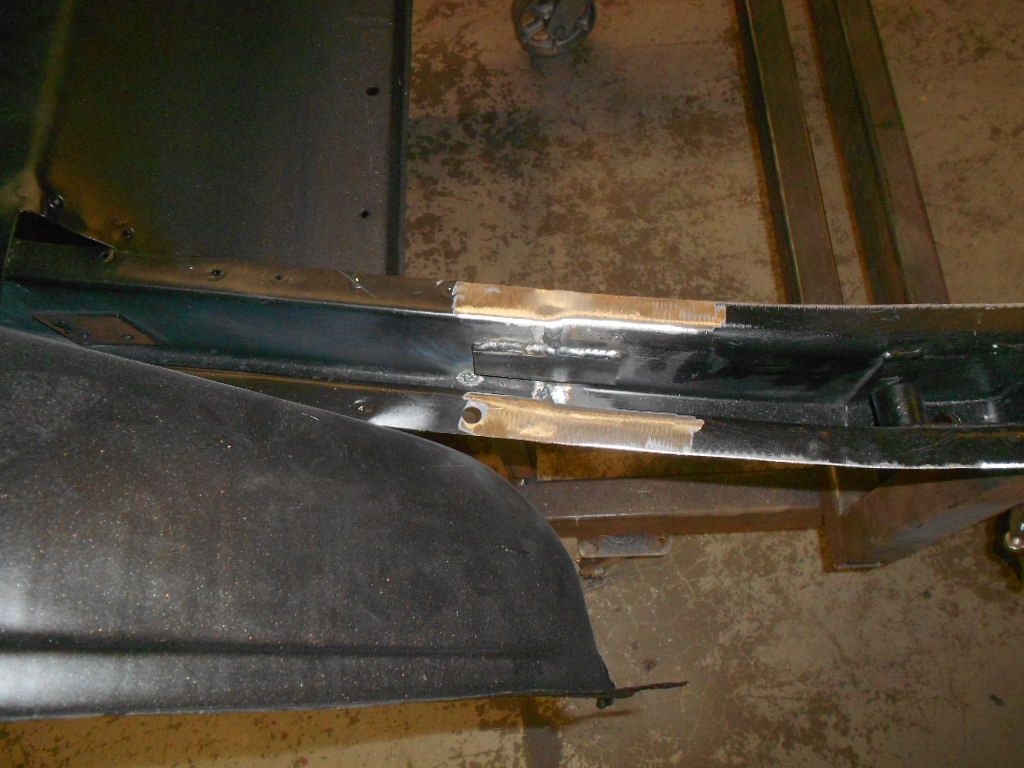
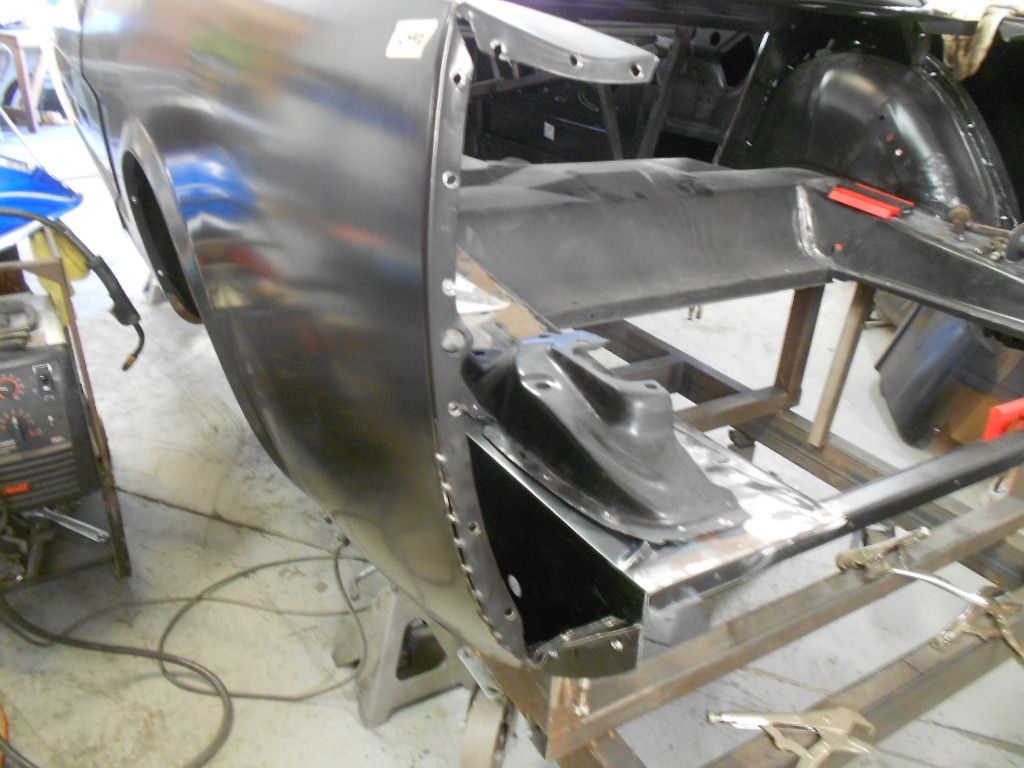
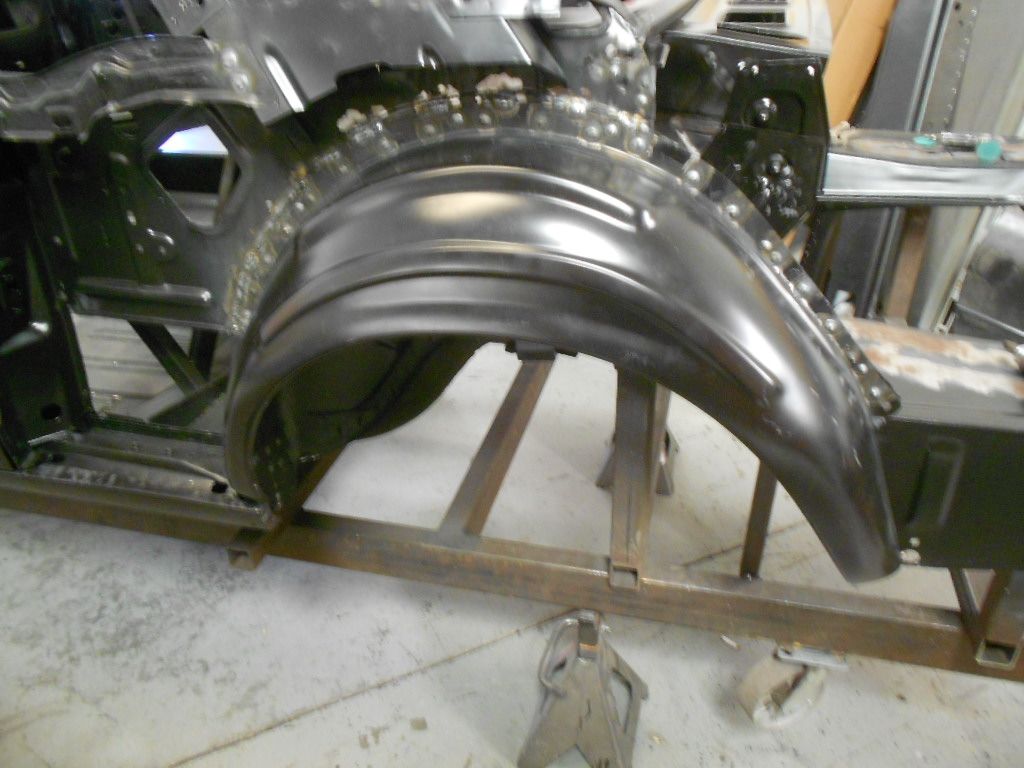
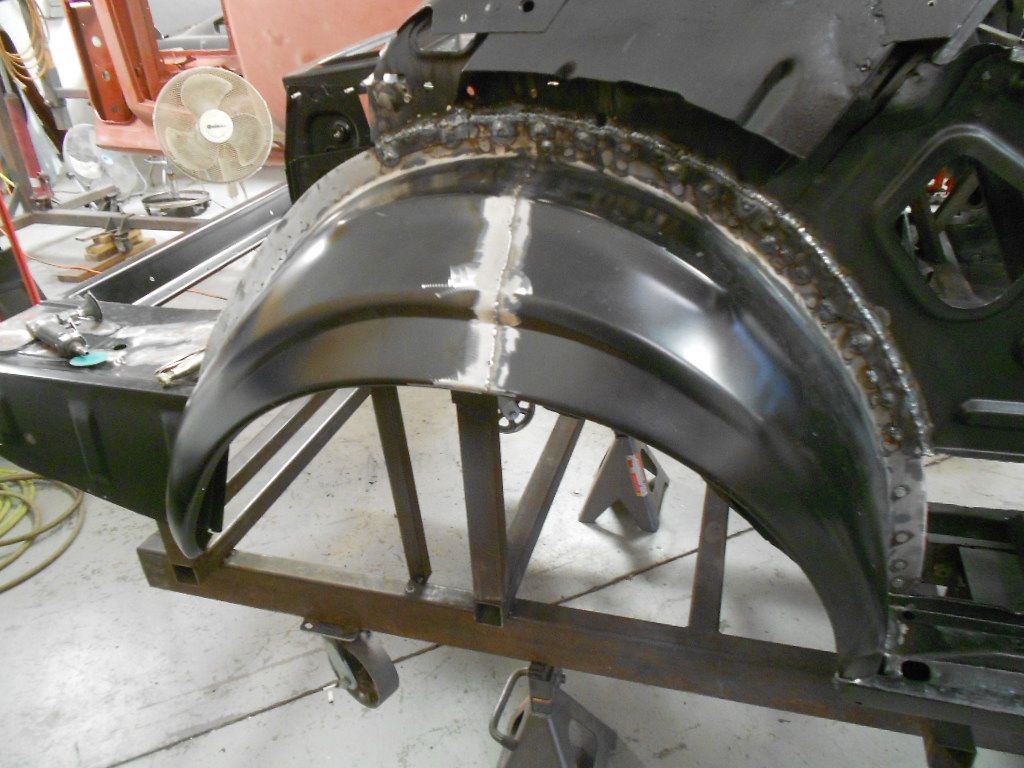
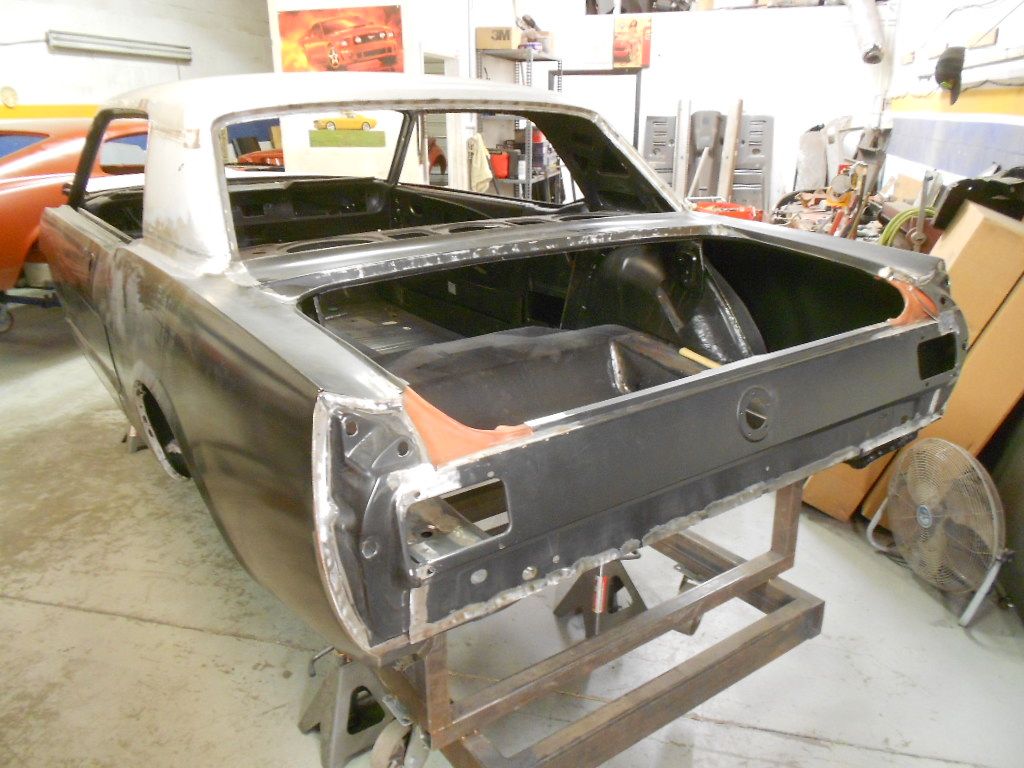
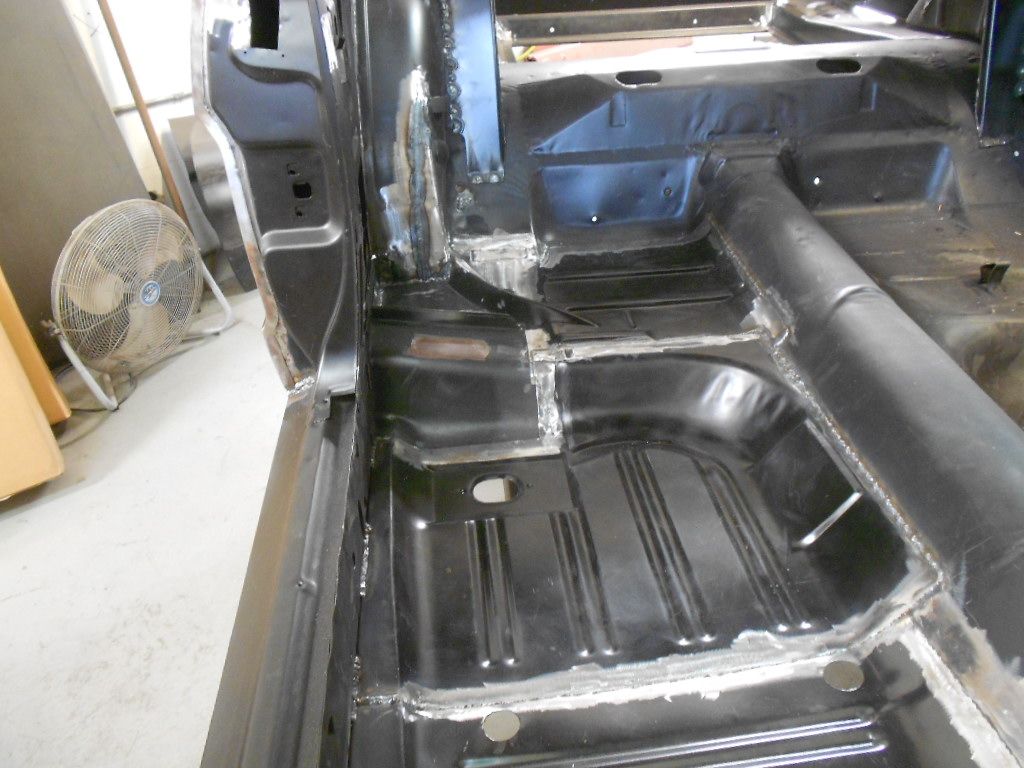
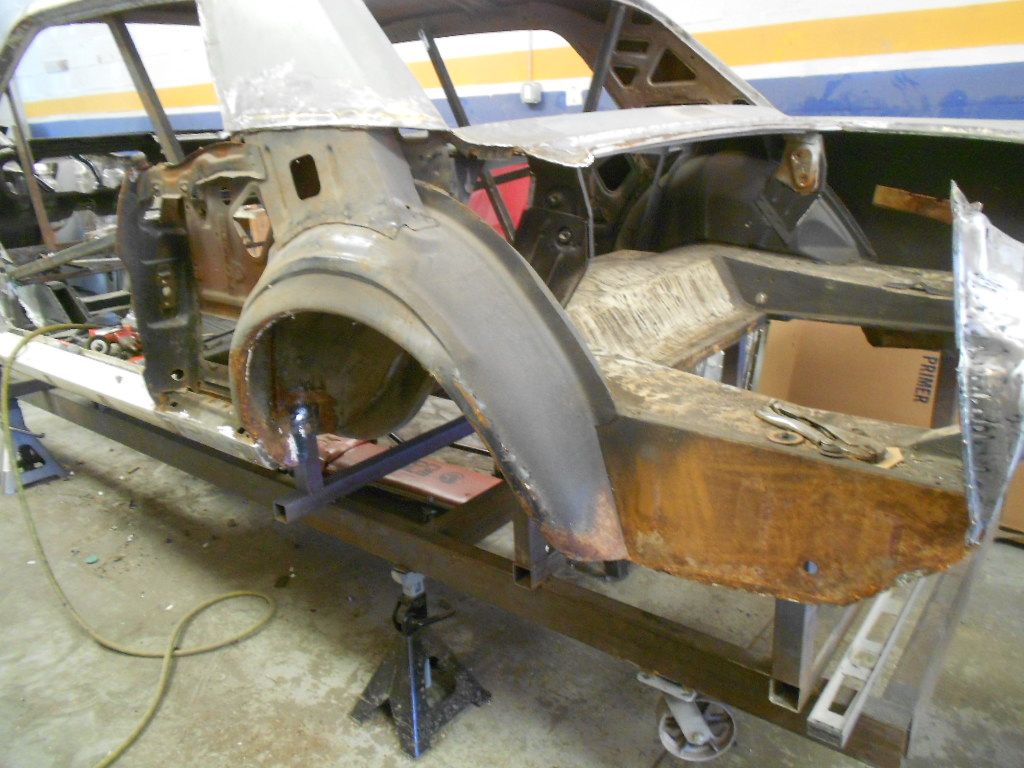
The quarter panels were removed

DSCN0678_zpsfmirr3go.jpg


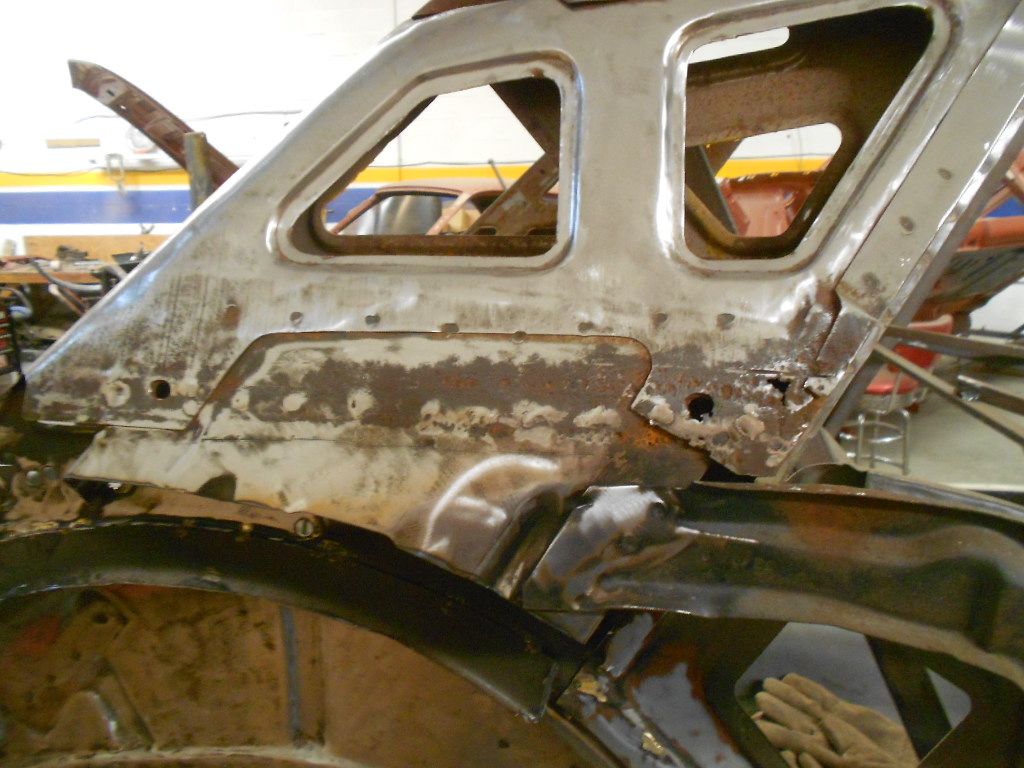
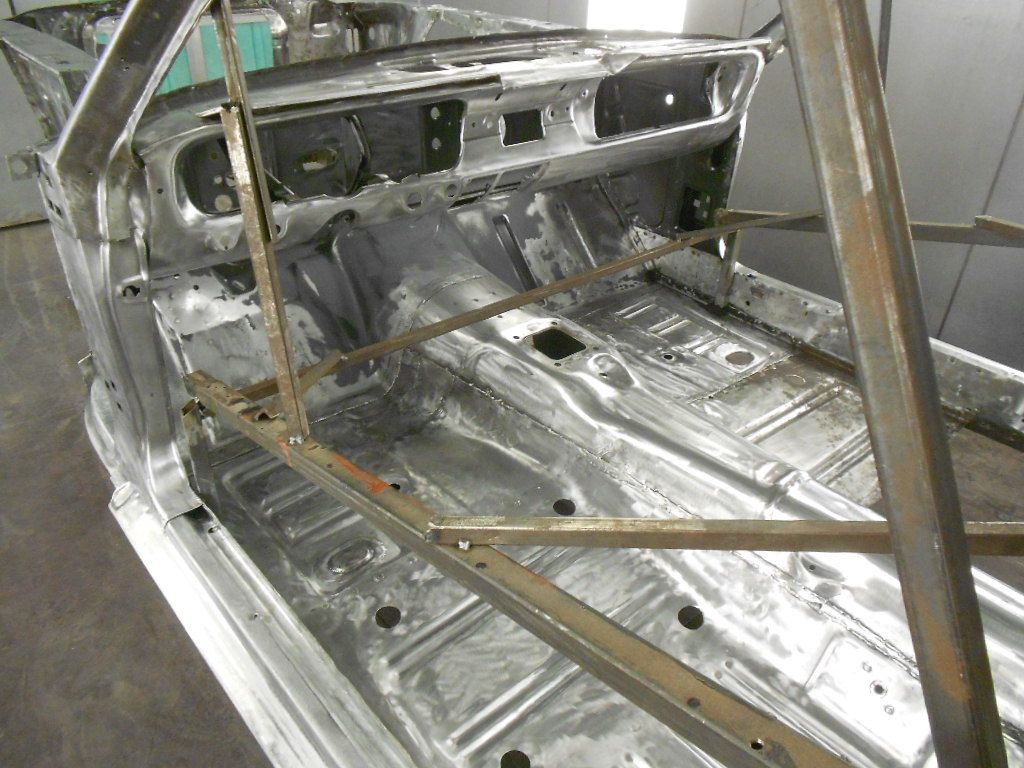
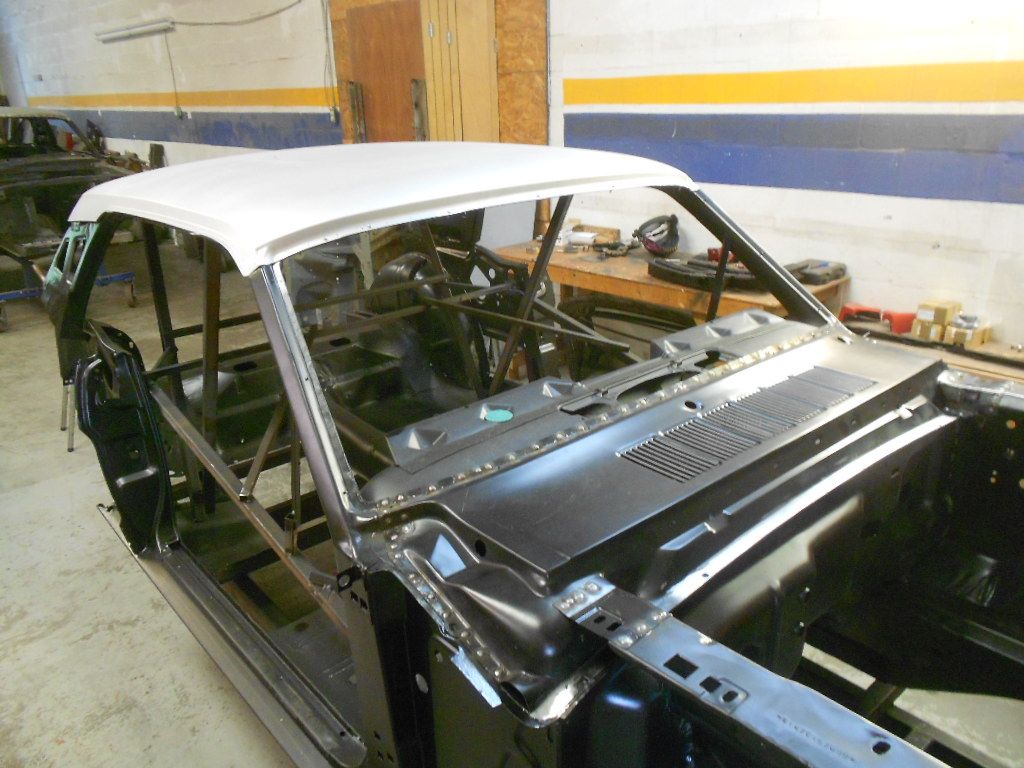
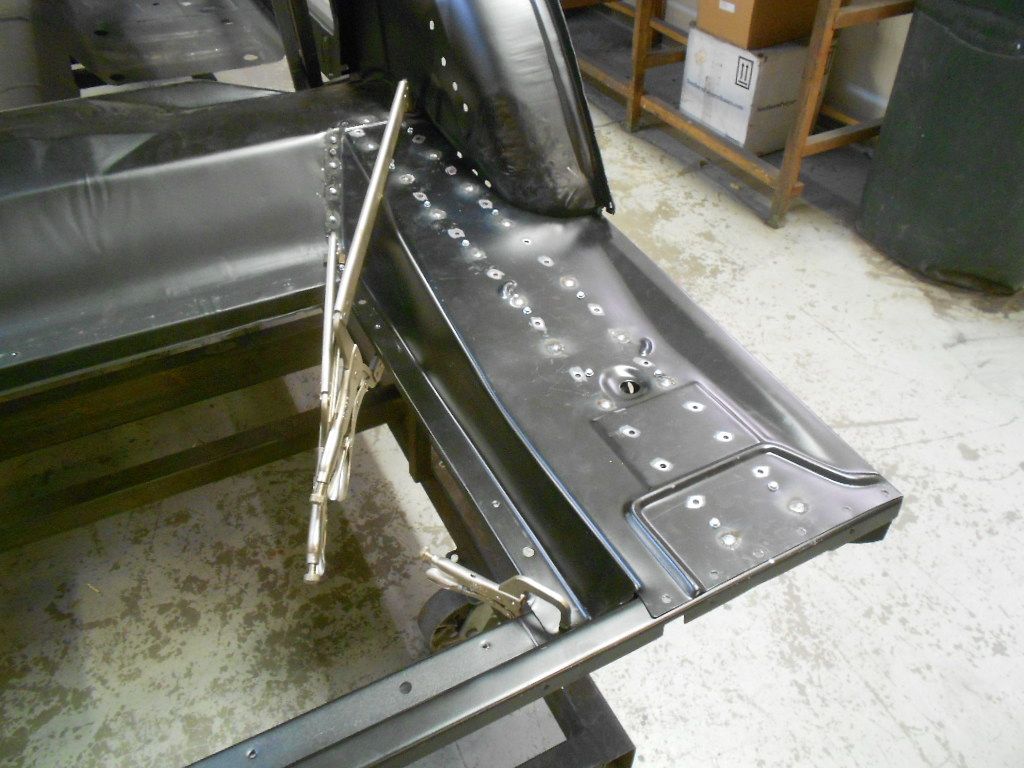
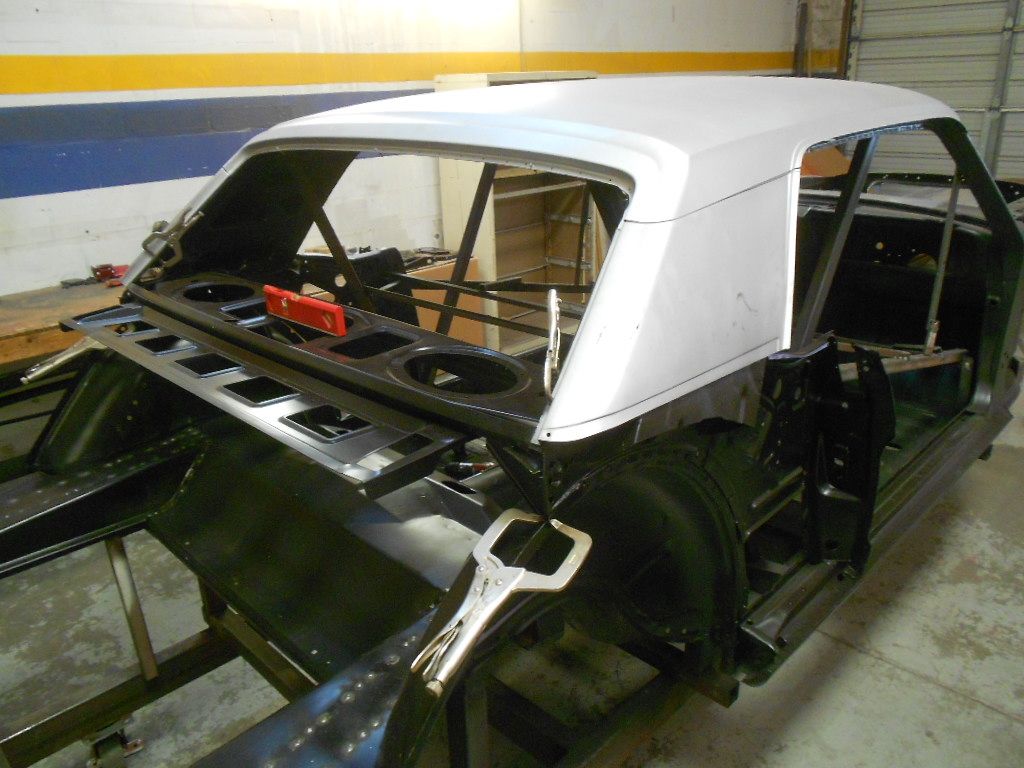
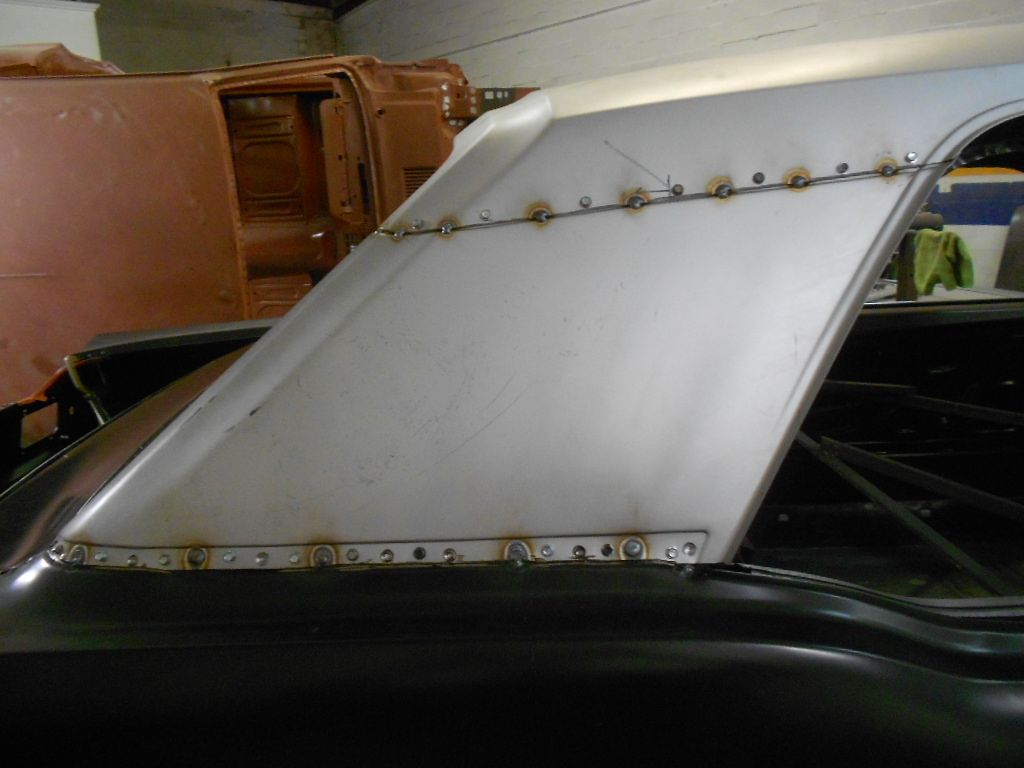
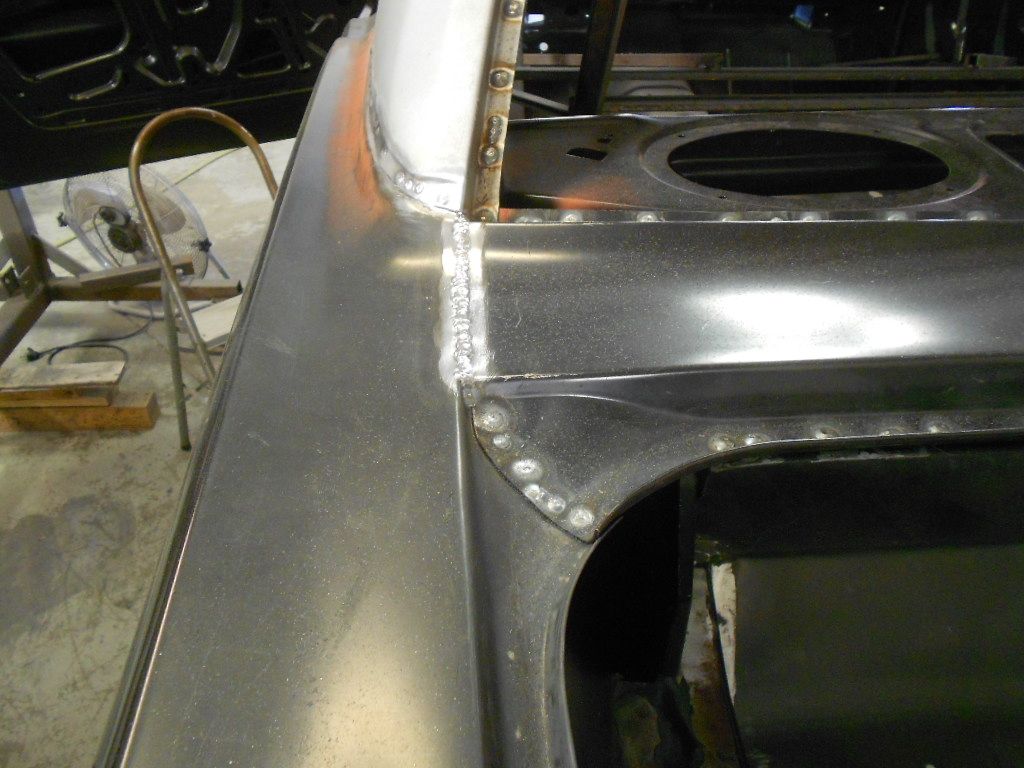
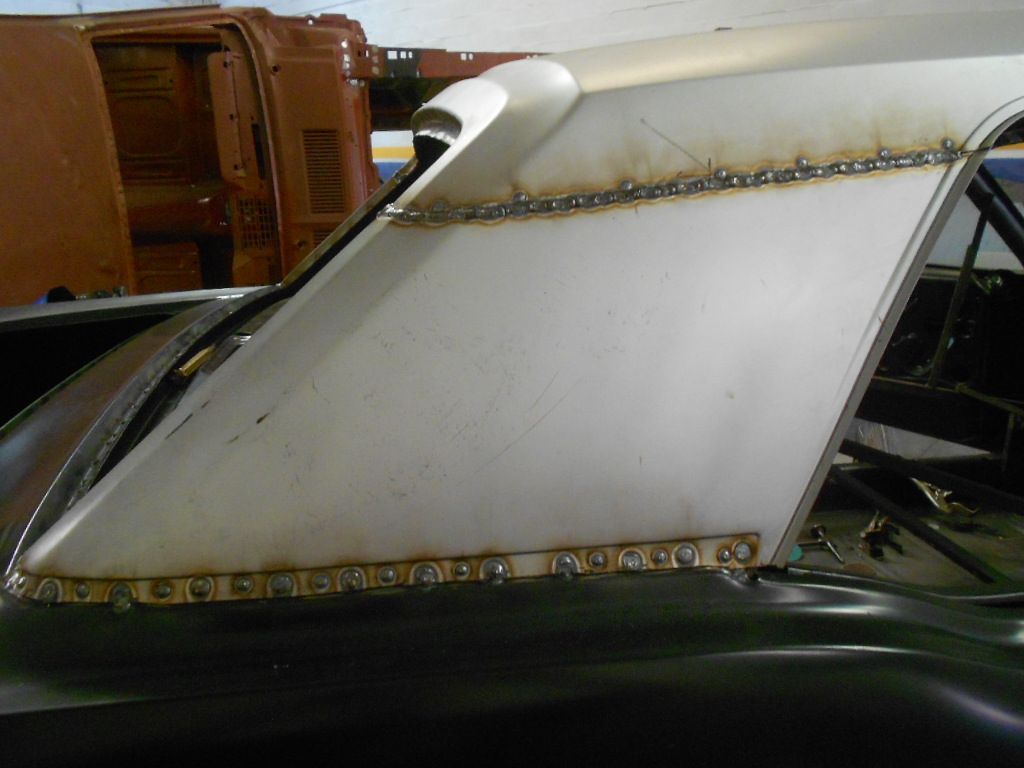
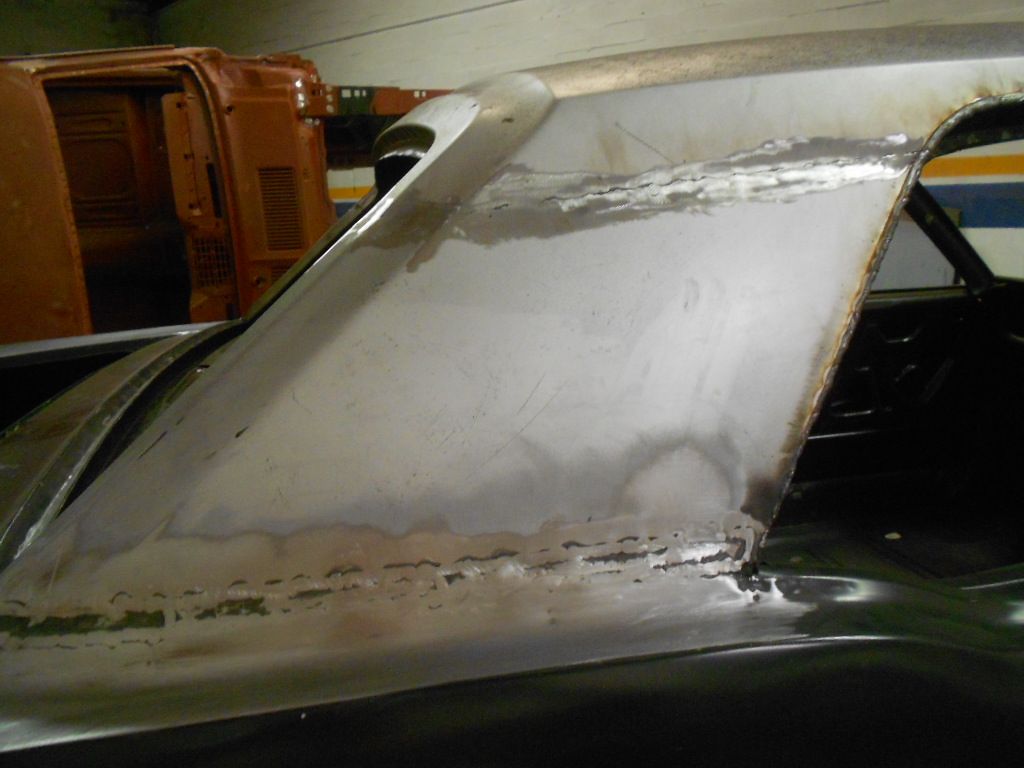
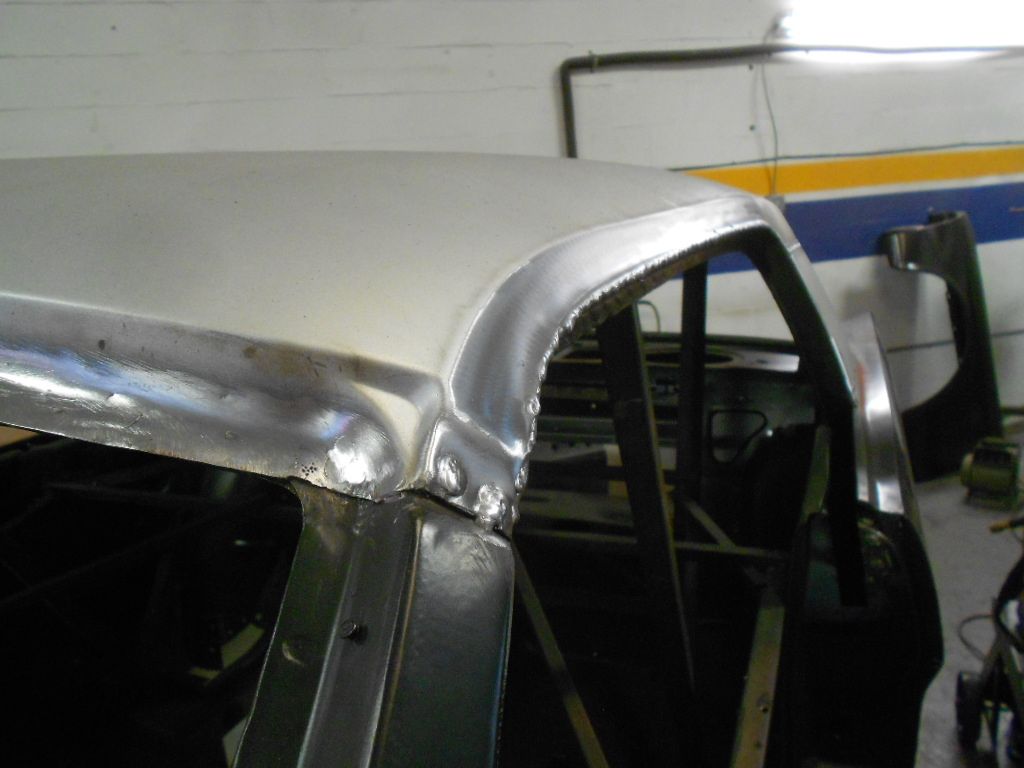
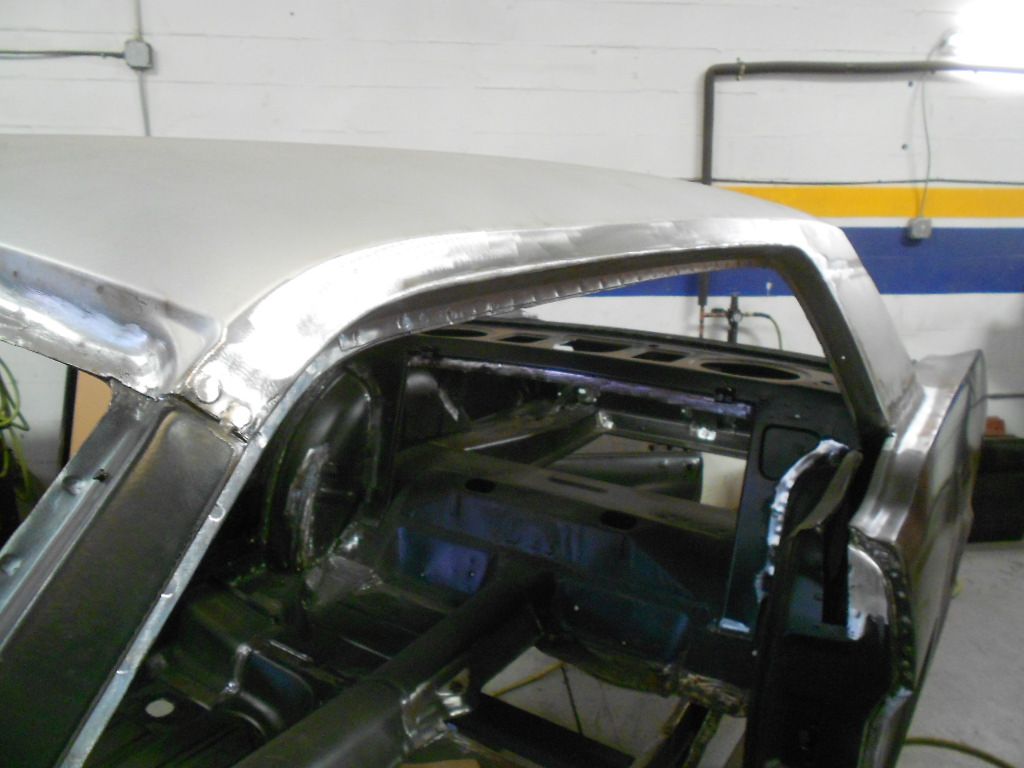
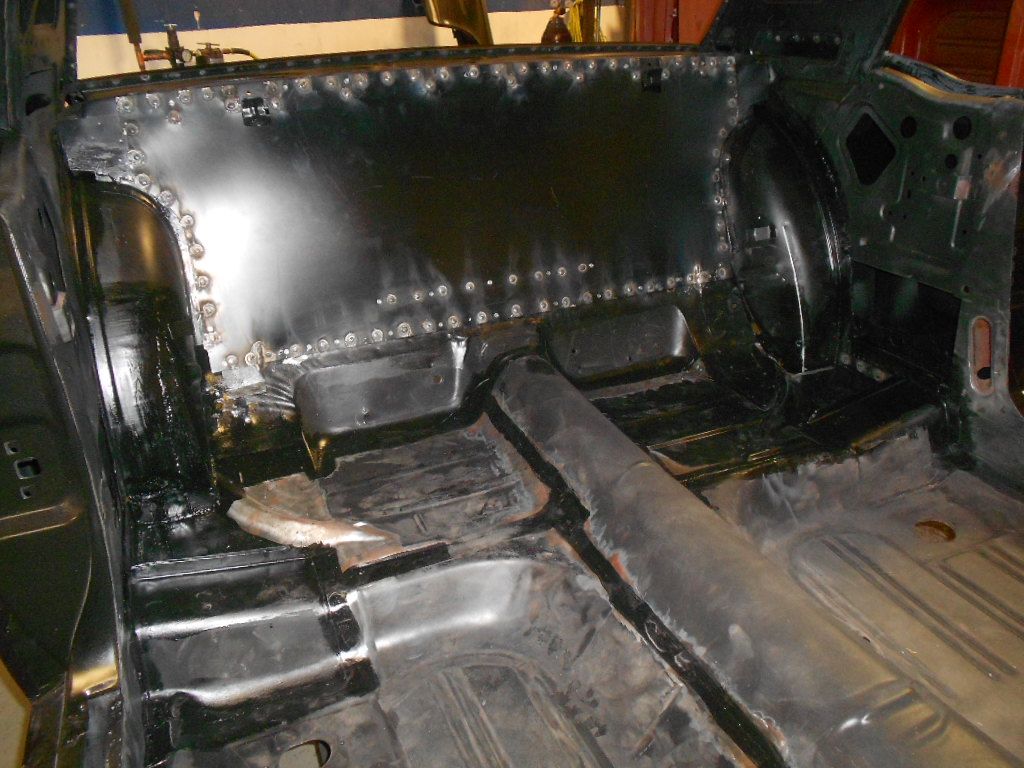
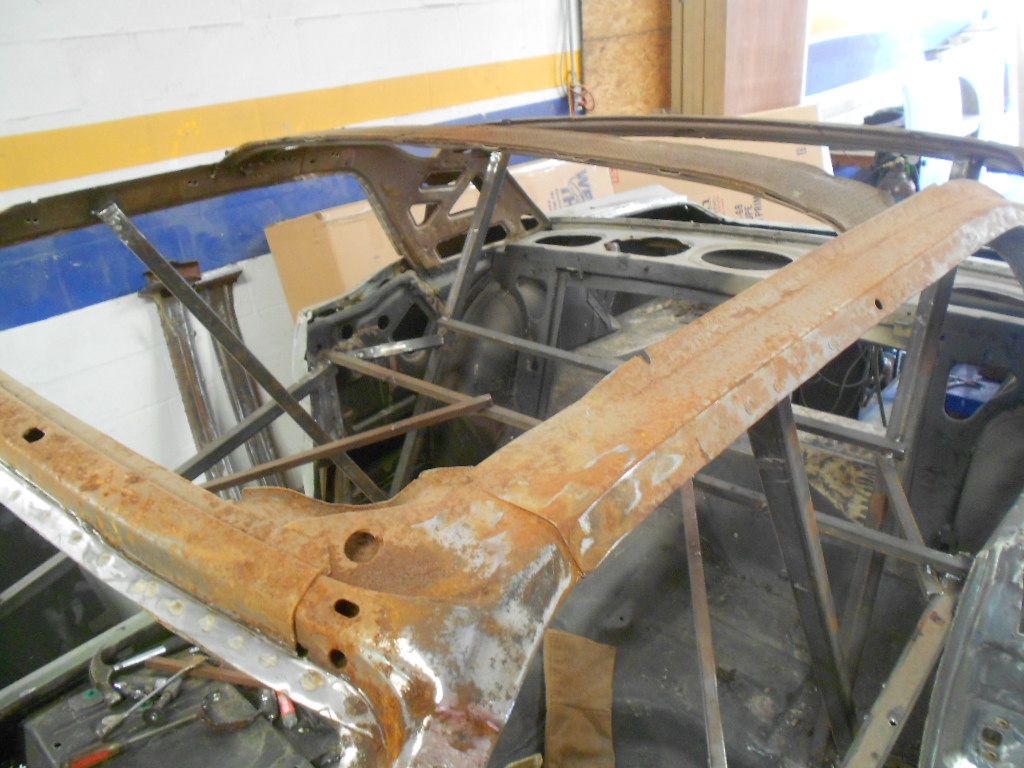
The roof was also removed and there was only surface rust but in a few years it will get worse if it is not cleaned up now

DSCN0692_zpsb3jcn1vv.jpg
 
If after 50 years there was only some surface rust hidden in places the exterior panels hide, why do you think it would grow into any significant problem in just a few years? Do you guys always tear into these cars that deep or was this more of a customer request? Just curious as I had mine media blasted as a stripped shell but didn't go to this extreme.
 
If you are building a high dollar restomod do you want to take a chance and have the inner structure starting to rust. We have worked on a least 8 1965 - 1969 Mustang in the last few years that all had rust in the inner structure and as you will soon see so does this one.
 
If you are building a high dollar restomod do you want to take a chance and have the inner structure starting to rust. We have worked on a least 8 1965 - 1969 Mustang in the last few years that all had rust in the inner structure and as you will soon see so does this one.
Sure now you warn me! lol

I had next to no metal repair necessary on mine. There were a couple places that when doing modifications I separated spot welded metal and encountered a very small amount of surface rust hidden between. To my thinking if that was all that developed in 50 years I wasn't too concerned about anything else lurking. Now I will get to fret about it for the rest of my car's existence. Thanks, Rusty! :(:D
 
I'm sure a lot of you are wondering why do we remove all the sheetmetal. The quarters were replaced at one time and we did not trust the workmanship and once they were removed we found rust in the outer wheelhouse. The roof was removed because Mustangs are known to rust in the inner structure in the front by the top of the A pillar. In this case we were lucky and only had surface rust but over time would became holes. The other area on coupes is the sail panel inner structure and we did find rust. A little rust on the left side but the right side had a few small rust holes starting.

DSCN0714_zps8flekmil.jpg
 
I pulled the quarters on my fastback and found some surface rust on the upper sections. Current plan is to invert it on rotisserie, plug corner openings and then fill the roof area with Evapo rust and tilt back and forth a couple days, maybe rig up with spray into the channels. Then change out Evapo rust for thinned down Rust Bullet coat inside nooks.
 
New firewall and cowl was sanded and epoxy primed

DSCN0601_zpsnvtkufya.jpg


DSCN0602_zps4nhse7zj.jpg


The cowl side panels and A pillars needed to be replaced

DSCN0727_zpsulmzjctf.jpg


Test fitting

DSCN0744_zpsppnm5etu.jpg
 
What do you do around seams etc. where you don't disassemble everything? Do you treat it some how or does the SPI get into and control the unseen pockets of rust?
 
Lower cowl welded in place

DSCN0849_zpsadjpr1bd.jpg


The welds were ground down and epoxy was brushed on

DSCN0851_zps1sv5d3dp.jpg


Upper cowl fit and welded

DSCN0854_zpsof24gag8.jpg


Fender apron to cowl extensions welded in place and started to test fit the roof after it was sanded and the back side epoxy primed

DSCN0860_zpsyl9p7kox.jpg
 
Brian has done a lot of work since I last posted

The rear frame rails had a little rust and needed to be replaced

DSCN0859_zps14tmldnz.jpg


DSCN0867_zpsfoh60jbn.jpg


Test fitting the trunk floor and gas tank

DSCN0870_zpshgzls9dn.jpg


Plug welding the trunk drop offs

DSCN0873_zpsr6h8lznj.jpg


DSCN0888_zpsbs2beg0p.jpg


Fitting the rear package tray and sail panels

DSCN0885_zpsl3suurp6.jpg


The quarter panels were shaped wrong and had to be modified

DSCN0934_zpsjeqehrgd.jpg


DSCN0938_zpsgodqym4k.jpg


Fitting the taillight panel and end caps

DSCN0939_zpsr3vxrqbb.jpg


Left outer wheelhouse welded in place

DSCN0954_zps49ny4ubk.jpg


The right side was to long and had to be modified

DSCN0955_zpst3w89xgp.jpg


Starting to weld the sail panels

DSCN0969_zps61qgehht.jpg


Rear panel welded in place along with the sail panels

DSCN0978_zps2hlh596m.jpg


DSCN0980_zps69dwomyx.jpg
 
The drip rails were removed and welded

DSCN0982_zpskta0qkag.jpg


Welds ground

DSCN1099_zpsffzm0ere.jpg


We still have more work to do inside the car but to stop the surface Brian sanded it down to bare metal

DSCN1110_zpsqyj4yyzn.jpg


I sprayed two coats of SPI black epoxy and it is back in the fab shop

DSCN1120_zps9kcn3gzz.jpg
 
Brian is welding the rear floor and modifying the inner wheelhouse for more tire clearance.

DSCN1000_zpsutcdojfy.jpg


DSCN1044_zpslmpgkm7h.jpg


Rear bulkhead panel welded in place

DSCN1124_zpswbq7nlfp.jpg


Welds ground and interior sanded and ready for SPI epoxy

DSCN1285_zpsh93ntx8e.jpg
 
Back
Top