Fst Blk
Well-Known Member
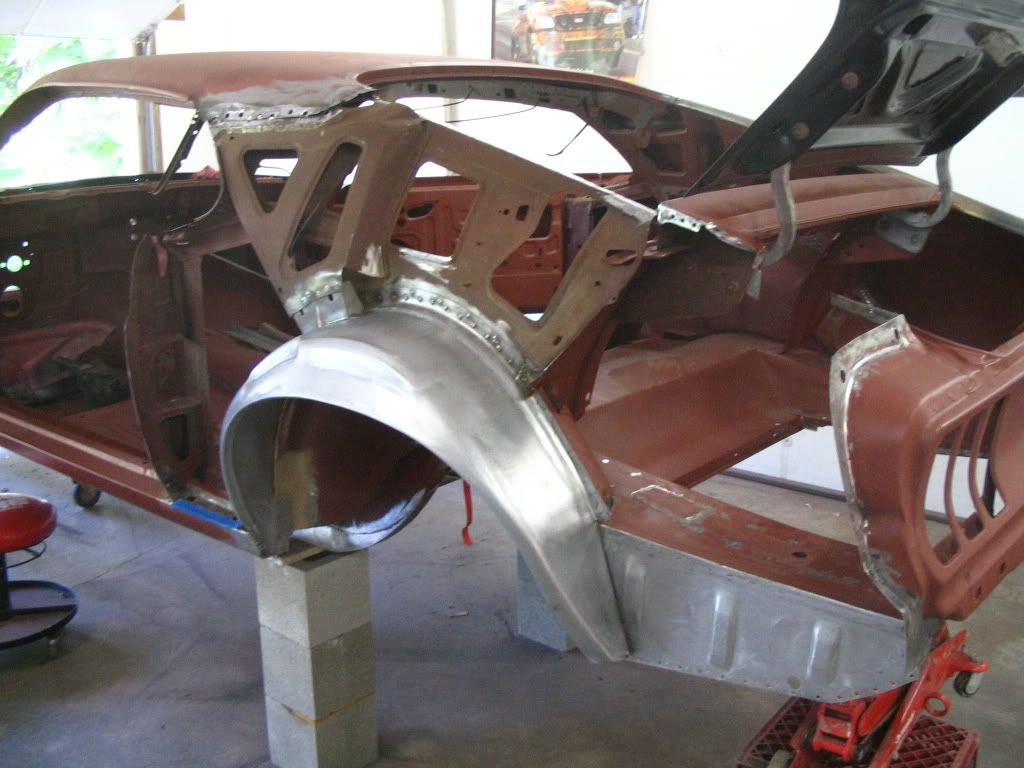
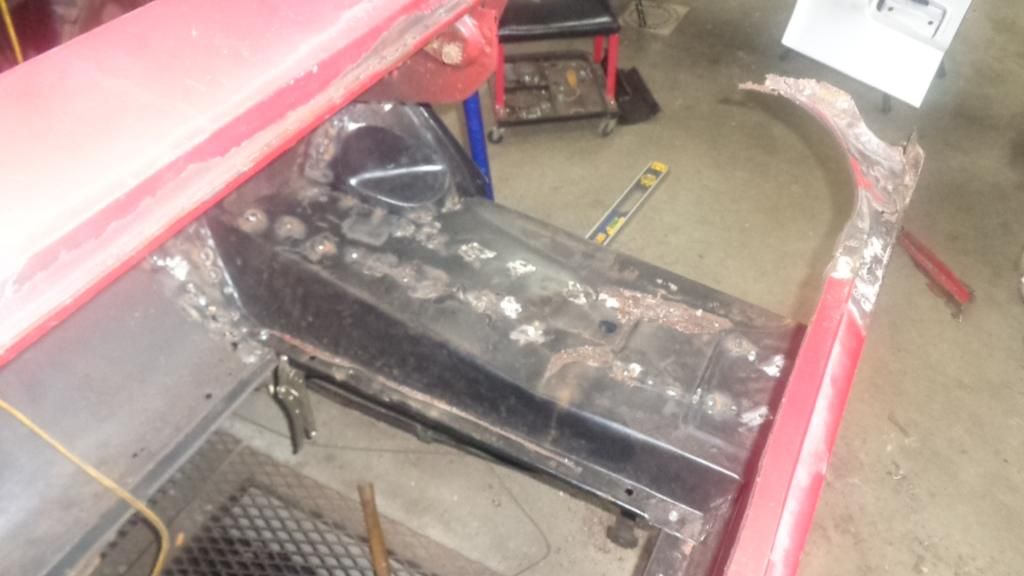
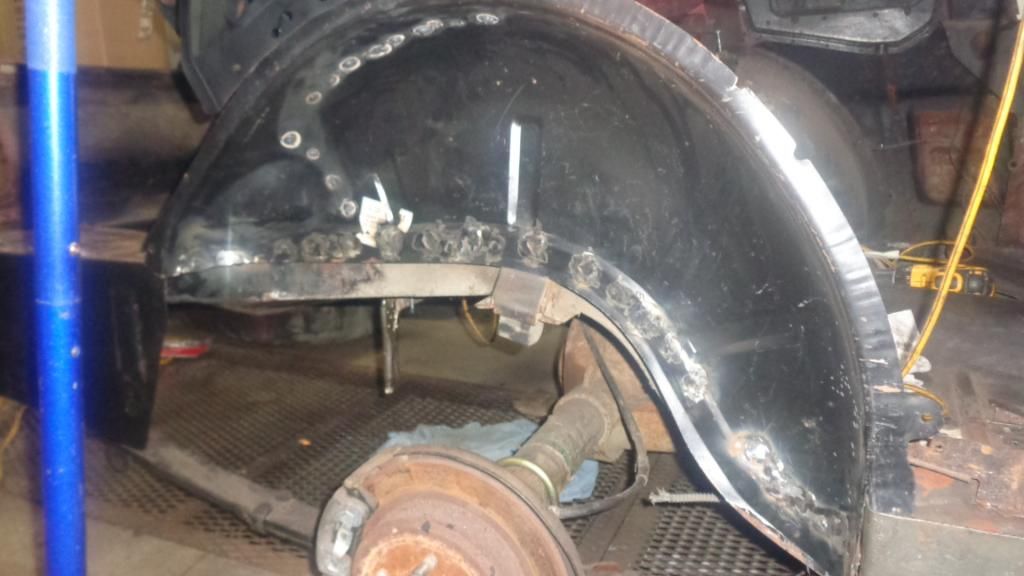
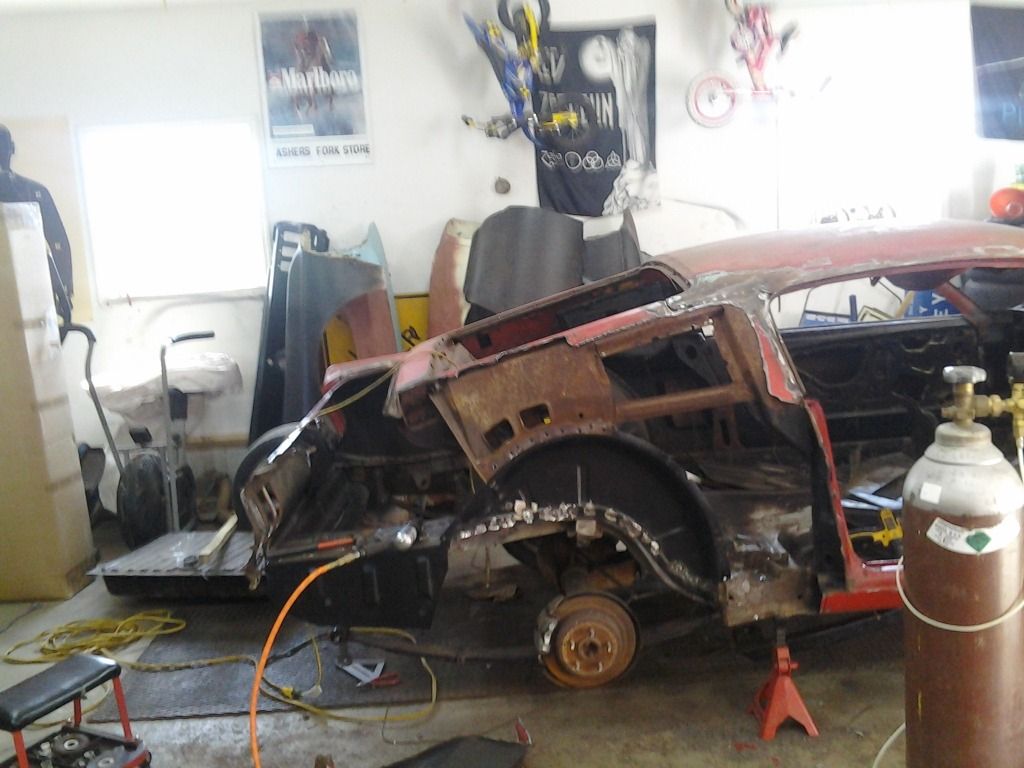
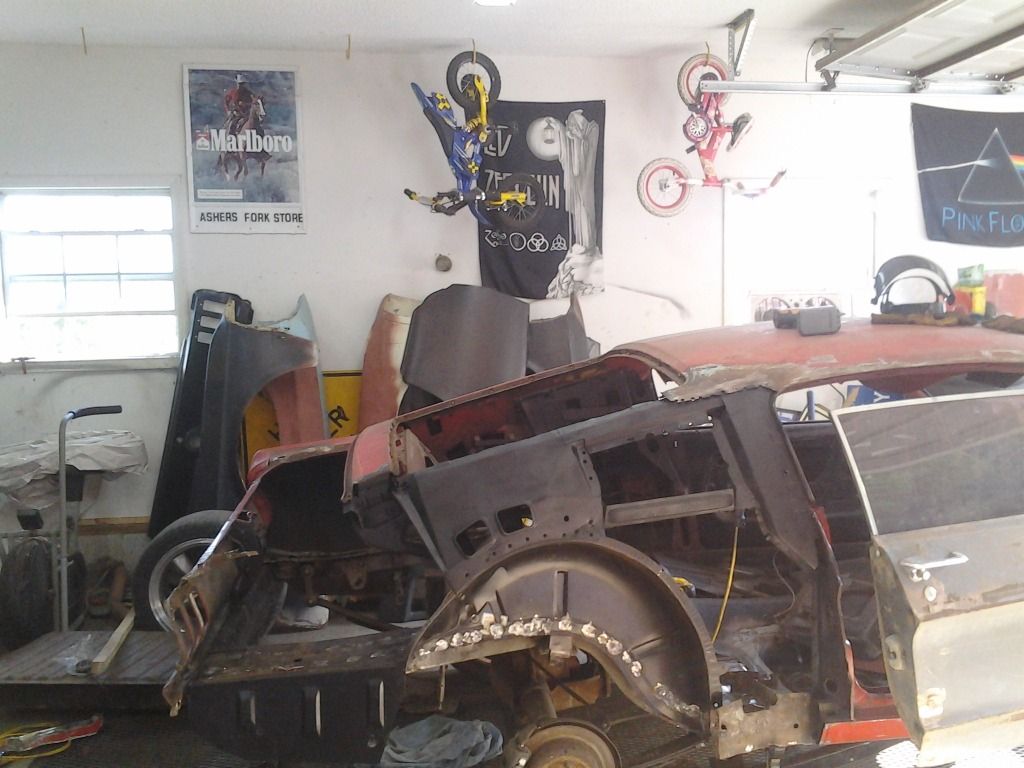
No the structure that is on top of the wheel house.
Bill
Follow along with the video below to see how to install our site as a web app on your home screen.
Note: This feature may not be available in some browsers.
Hello there guest and Welcome to The #1 Classic Mustang forum!
To gain full access you must Register. Registration is free and it takes only a few moments to complete.
Already a member? Login here then!


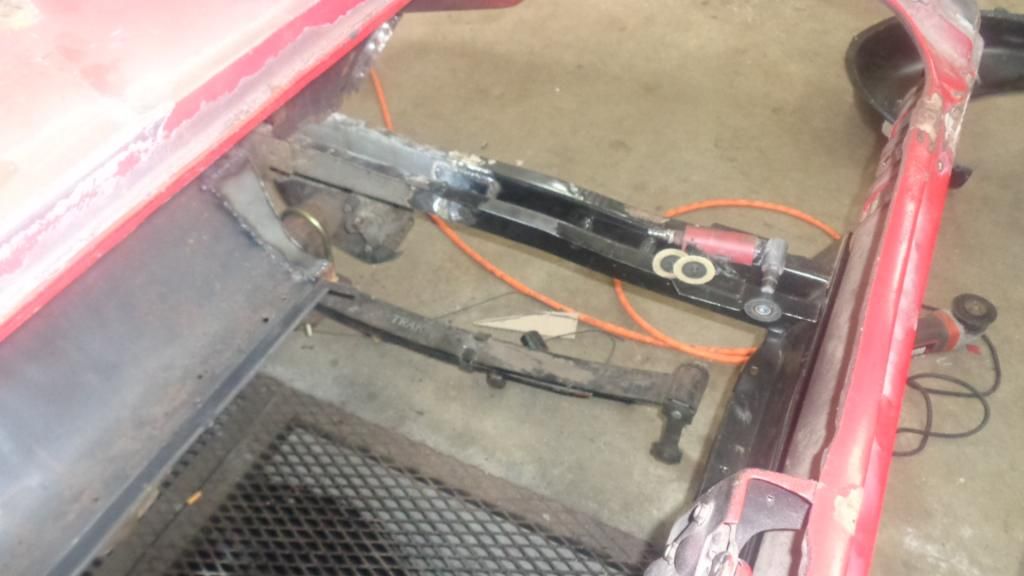
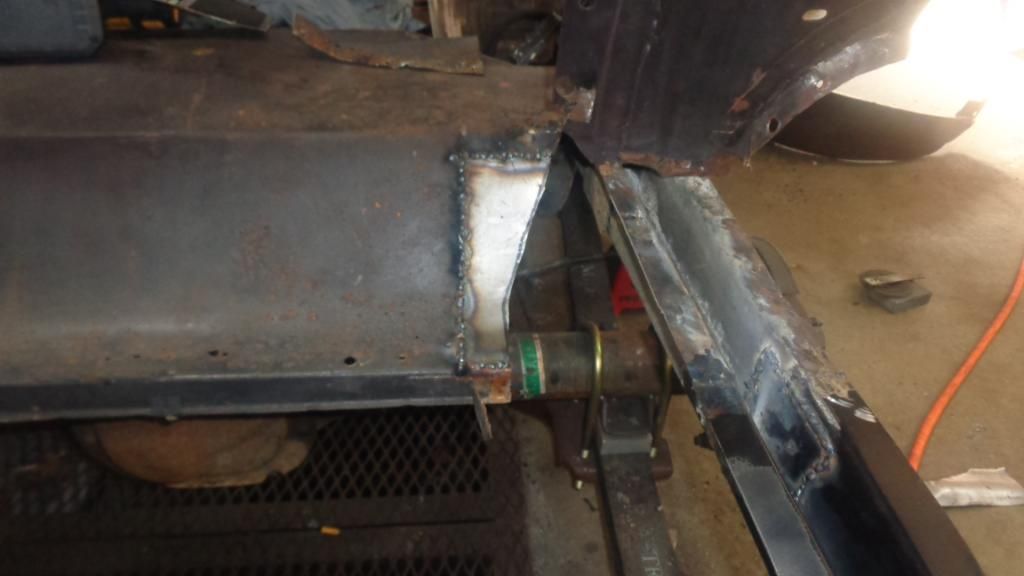
the door jam area should hold the roof in relation to the floor via being attached at the rocker. Just do one side at a time and it can't flex side to side too much. Is your tail panel still attached?Yes, I was concerned about bracing it up. I know it's just spot welded, but once is cut and the inner wheel well is removed, I was afraid it would move. After looking at it again, I can't see how it would. I'm gonna work on it tomorrow and see where I land lol.
Bill


you, my friend, have been very busy!!!
looking good!
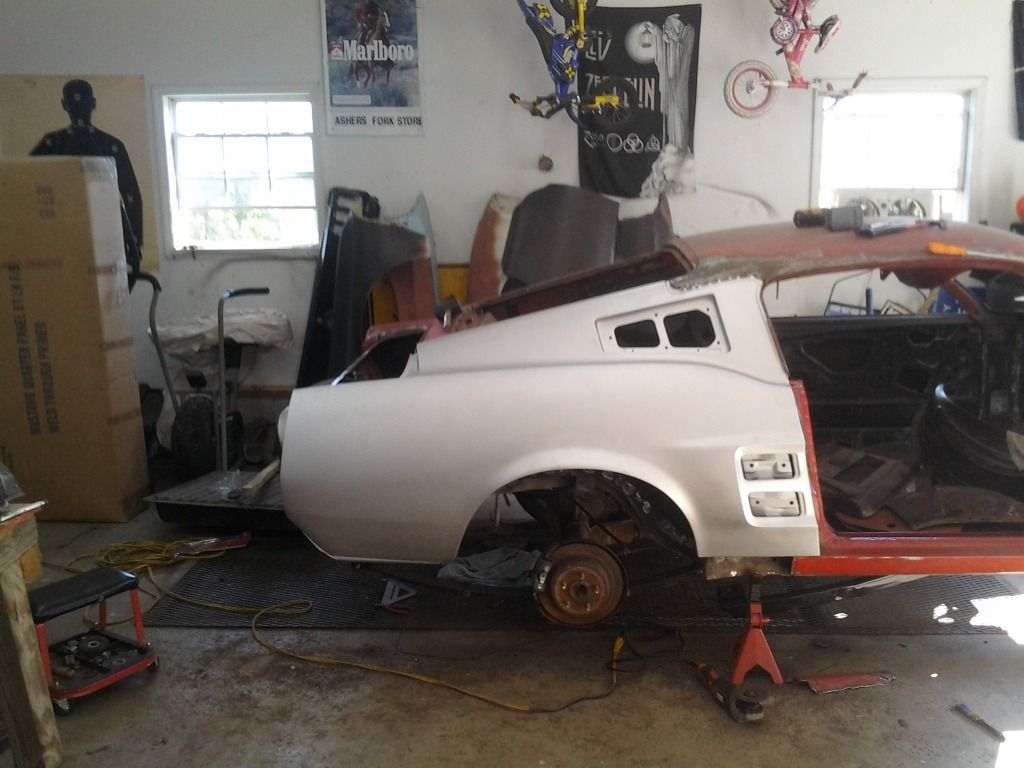
But as soon as you get that quarter on the inspiration to keep going will be 10x as great. That's a huge milestone in your project. Great job!Thanks guys. It is a ton of work.
Bill
But as soon as you get that quarter on the inspiration to keep going will be 10x as great. That's a huge milestone in your project. Great job!
I didn't know it was a race until just recently.What's your excuse for taking so long?
it is amazing how far it has come thoughThanks guys. It is a ton of work.
Bill
and I musta agree, you will be ready to bolt the drive train in the sucker once the quarter is on and take her for a spin!But as soon as you get that quarter on the inspiration to keep going will be 10x as great. That's a huge milestone in your project. Great job!