• Hello there guest and Welcome to The #1 Classic Mustang forum!
    To gain full access you must Register. Registration is free and it takes only a few moments to complete.
    Already a member? Login here then!

One Step Closer, Car Blasted (more pics)

Havok1

Member
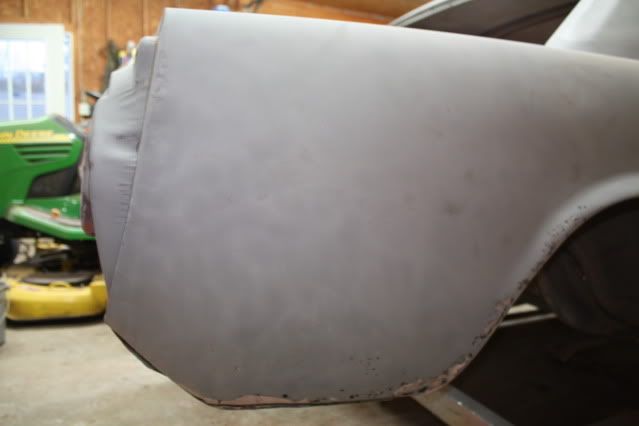
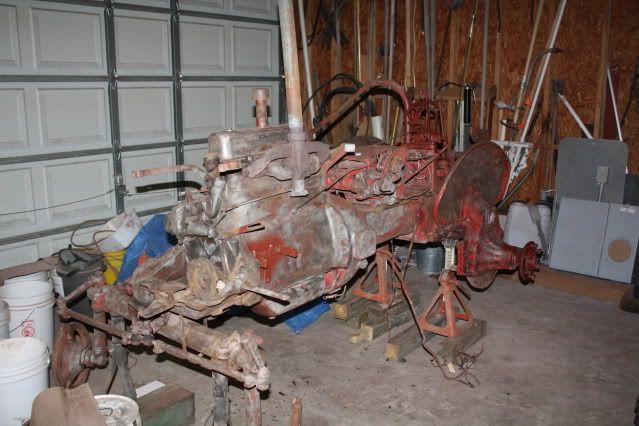
Well, one step further along. Got the car back from the blaster this weekend and hauled to my Dad's where the body work will begin. Just thought I'd share some pictures. Overall, I'm pleased with the shape its in.
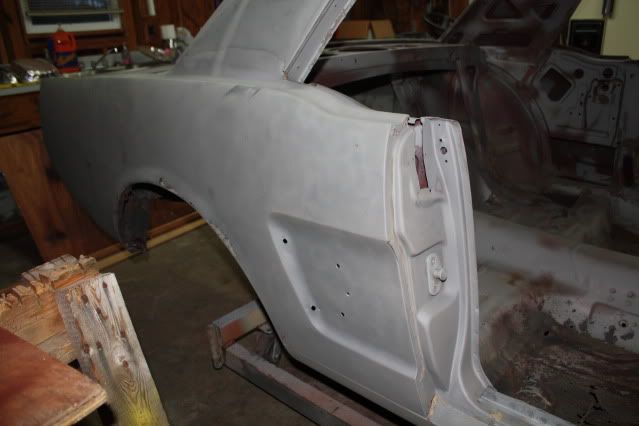
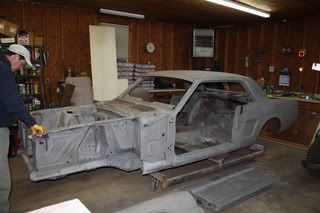
Whole Car
IMG_8113.jpg


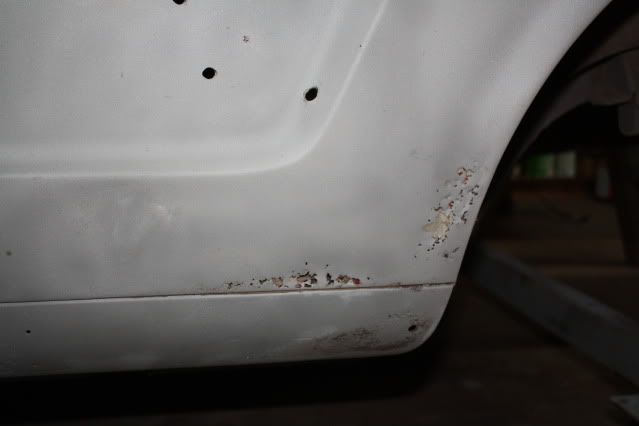
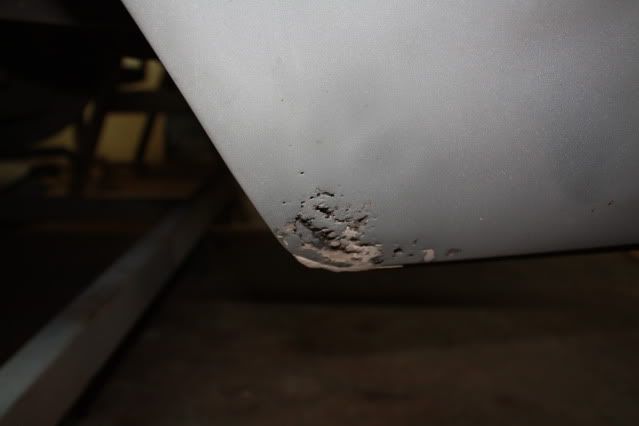
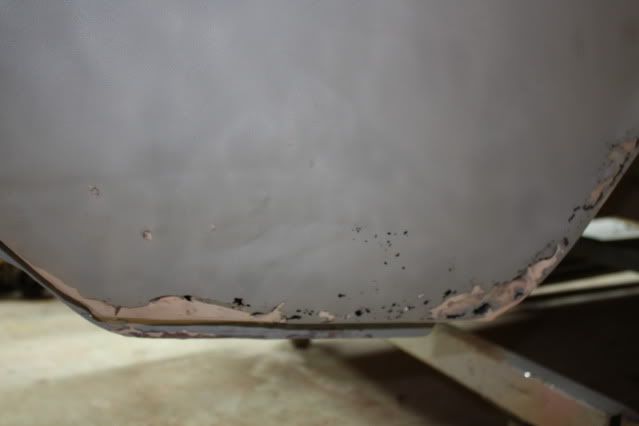
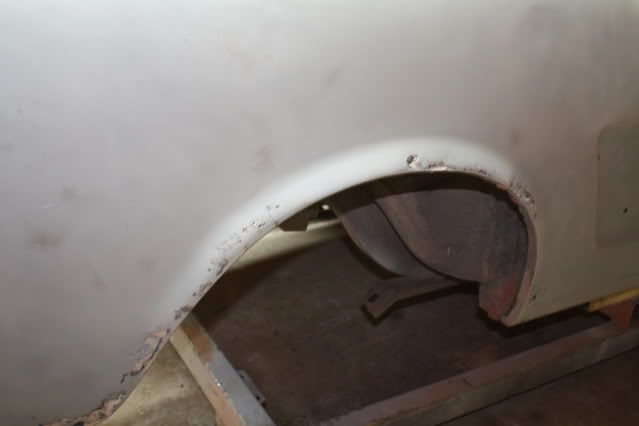
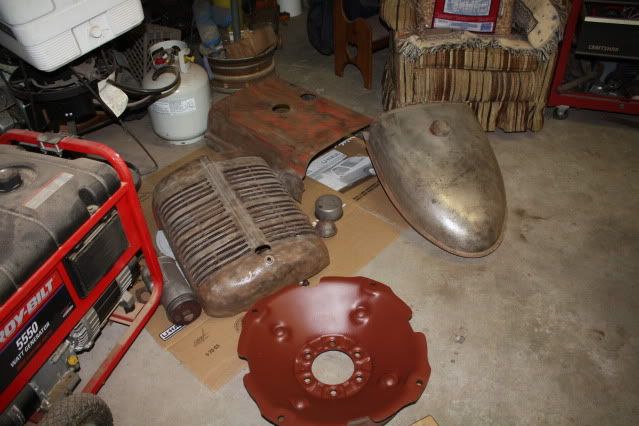
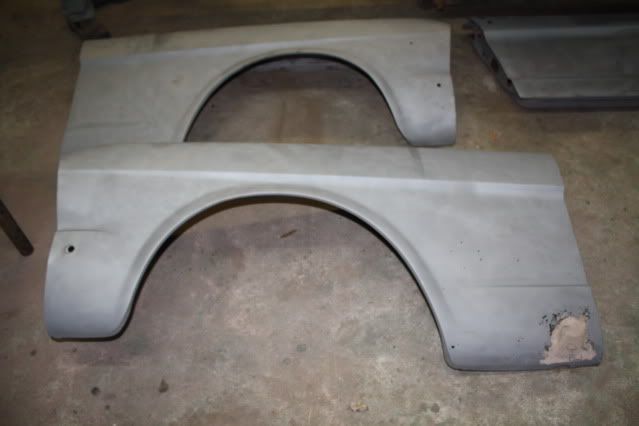
Fenders. May end up replacing them both. One has serious rot and the other has some serious shaping issues.
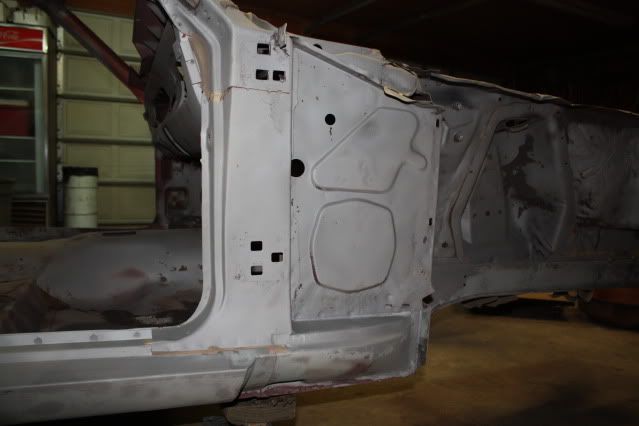
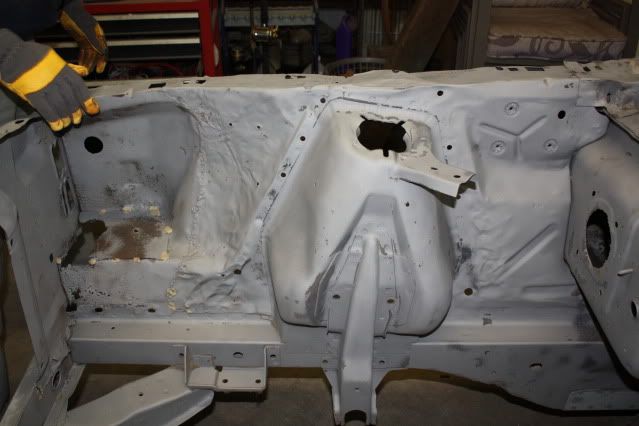
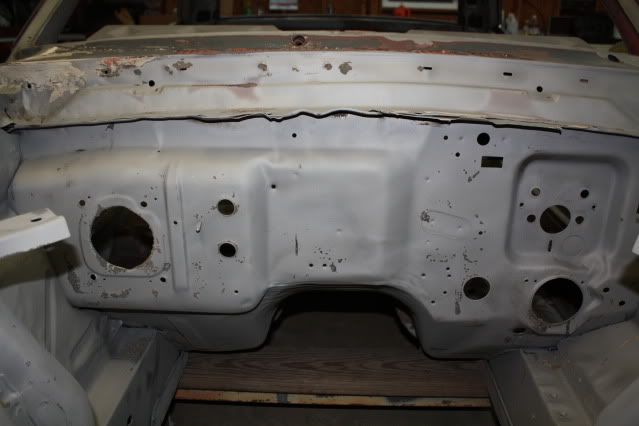
IMG_8114.jpg


Engine Bay
IMG_8117.jpg


IMG_8119.jpg


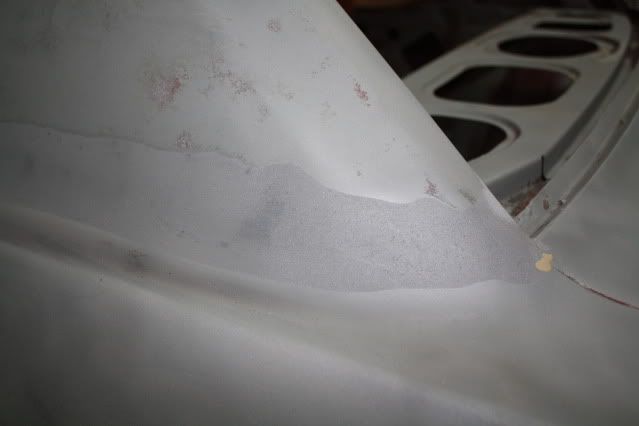
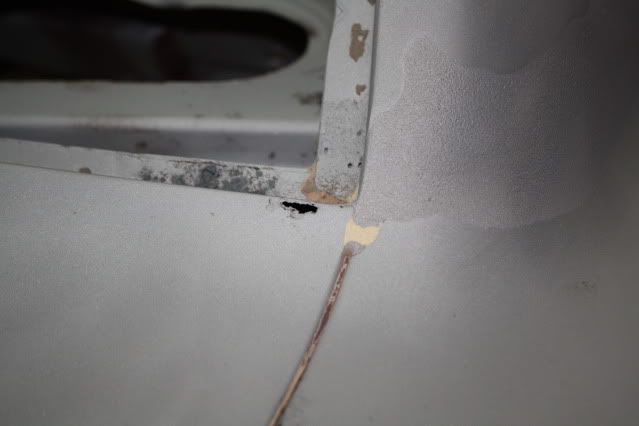
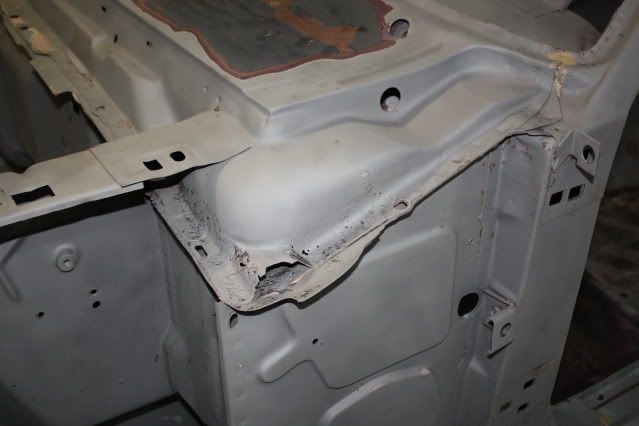
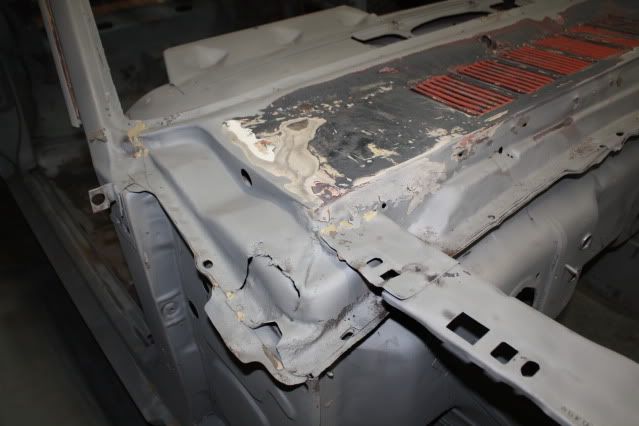
Cowl. Will be replaced.
IMG_8116.jpg


IMG_8120.jpg


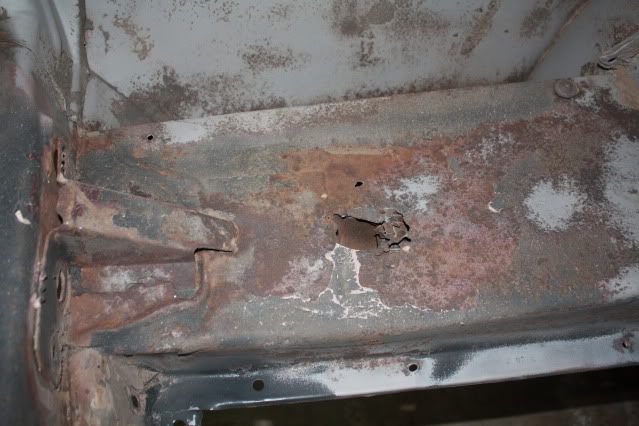
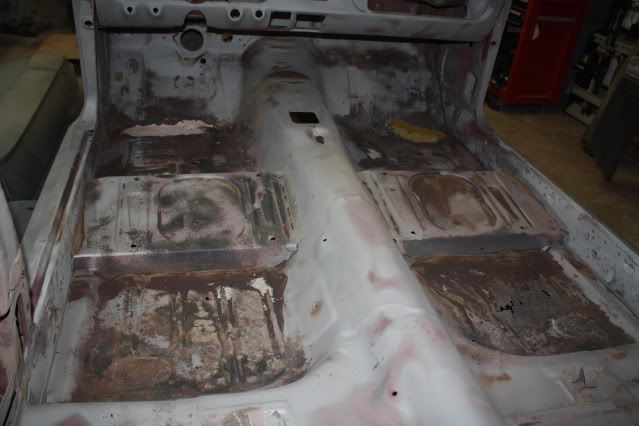
Floors. Will be replaced.
IMG_8123.jpg


More to come.
 
Re: One Step Closer, Car Blasted

WOW, you are in for some extensive work. Those inner fenders look like cheese curds, musta been in a nice wreck in it's life.

When I did my 66, I thought it would be better to buy new fenders instead of fixing the originals. After seeing the very, very, very, bad fit of the repops, I decided to fix the originals. Worked out much better in the end.
 
Re: One Step Closer, Car Blasted

Yep lots of brazing on those aprons, Your lucky though, the frame rail looks good. Try to save the fenders they don't look to bad.
 
Re: One Step Closer, Car Blasted

Holy shidookie! That thing got tattooed!

Are your replacing those aprons?
 
Re: One Step Closer, Car Blasted

What is that on the bottom fender corner? Old putty? Is that blaster not able to remove that?
 
Re: One Step Closer, Car Blasted

Give me a 5# sledge, a dolly, and a few hours, and I can get those fenders to look like new again. It can be done, if you're patient.

The right cowl looks wierd...I've never seen one with a second skin above the drain hole like that...or is that the original metal that's just in place by a thread?
 
Re: One Step Closer, Car Blasted

"Midlife" said:
Give me a 5# sledge, a dolly, and a few hours, and I can get those fenders to look like new again. It can be done, if you're patient.

The right cowl looks wierd...I've never seen one with a second skin above the drain hole like that...or is that the original metal that's just in place by a thread?

That's where the bodyman made an access hole to attempt to straighten the cowl. See how they brazed it back together?
That work was done back in the old days.
 
Re: One Step Closer, Car Blasted

Looks vaguely familiar - almost deja vu like! :eek:mg

I agree with Randy - those fenders don't look bad at all!
 
Re: One Step Closer, Car Blasted

"silverblueBP" said:
When I did my 66, I thought it would be better to buy new fenders instead of fixing the originals. After seeing the very, very, very, bad fit of the repops, I decided to fix the originals. Worked out much better in the end.
+one million, save those fenders. I did more body work on my repop fenders to get them to fit than the entire rest of my car!!! I hadn't already chucked them I would have saved them. I even considered buying used originals on ebay but I had so much time in the repops I went forward. Anyway, save them!!!
 
Re: One Step Closer, Car Blasted

Thanks for the comments guys. I'll try to answer some of the questions.

"Sluggo" said:
Holy shidookie! That thing got tattooed!

Are your replacing those aprons?

Yes it was in a serious wreck in the front fender and that is the reason for all the damage you see on the right side. I'm definately replacing the front and rear apron. The shock tower doesn't look bad so I'll keep it.

"Fast68back" said:
Was the hole for the blower motor hacked for a larger blower motor?

The hole has not be enlarged. I just replaced the original blower motor last year and it fit it just right.

"70_Fastback" said:
What is that on the bottom fender corner? Old putty? Is that blaster not able to remove that?

It is old putty. Walter could have spent time getting the rest of it off, but I gave him instructions before he started that there were places I didn't want him to waste time on because I was replacing them (the tail panel, the cowl) and that if he came across a place that he knew I was going to have to patch/replace, don't waste the time. That's what he did with that fender. I'll have to look at the fenders more closely and consult with my dad. If the fenders look better that I remember, I'll try and save them.

I'll try to get some more pics up tomorrow at work. I'm just getting in and putting the little man down, so I'm beat and headed downstairs.
 
Re: One Step Closer, Car Blasted

Well, now you know whatcha got. You have some work ahead of you, but it doesn't seem to be that bad. Many other Stangs have it a lot worse.

What order are you approaching the metal work... cowl first?... fender aprons first?

:kaid
 
Re: One Step Closer, Car Blasted

From my vantage here in the rust belt, those fenders look like an easy fix. Who repaired the inner fenders though, Stevie Wonder? Lordy!
 
Re: One Step Closer, Car Blasted

I didn't want to fix my fenders either, so I bought the Ford tooling ones. The fit is awesome. They will set you back $300/each though. Keep us updated on your progress, and good luck!
 
Re: One Step Closer, Car Blasted

Alright, finally a day where I'm not at work and have time to jump on the computer for more than 2 minutes. Here are somemore pictures.

Anyone know what the heck these are? Is it where they pulled out a dent?
IMG_8124.jpg


Left side. The rockers look real good with minor rot and very little around the wheel well too.
IMG_8125.jpg


IMG_8127.jpg


OK, my dad and I thought this looked weird. Anyone know what this section is different? Its the same on both sides. Was this where the top was connected at the factory?
IMG_8128.jpg


This is the only rot I had around the back window!
IMG_8130.jpg


The right side is in worse shape than the left. Seems it took the brunt of life for the car. The picture doesn't show it well, but there is some serious waves in this rear quarter.
IMG_8131.jpg


IMG_8132.jpg


IMG_8133.jpg


IMG_8135.jpg


IMG_8136.jpg


For some reason this is the only pic I took of the trunk, but is a pretty typical representation of the rest of it. The car was in a pretty good rear end collision at some point in its life. The tail panel and good portion of the trunk floor will be replaced.
IMG_8129.jpg


OK, this obviously isn't the Mustang, but its sharing space right now and I think its cool. Its a 1951 Farmall Super A tractor that my great-granddad bought used in 1953. My dad has torn in down and is restoring it. Nothing for show but just to keep it alive, working, and in the family.
IMG_8142.jpg


IMG_8143.jpg


IMG_8144.jpg


After reading your comments, I'll try and save the fenders. If worst comes to worst, I'll fork out the money for the Ford OE Tooling ones (although that will hurt) :$$$ The rails are in good shape, but I know the right rear rail will need some work as the PO welded a piece of angle iron or something to it. Need to do more investigation.

"garner67" said:
What order are you approaching the metal work... cowl first?... fender aprons first?

That is still in the air. I'm pretty sure we're going to do the floor pans first since I'll be learning how to weld during this process and that is the part that will be the least visible once the car is done. After that, I'm open to suggestions. Here is the list I have put together so far of what will need work.

1. Radiator support and crossmember
2. Right hand inner fender aprons
3. Cowl (upper and lower)
4. Toe boards and floor pans.
5. Trunk
6. Tail light panel
7. Frame Rails

So lets hear it. What do you guys and girls think as far as the order? Alright, that's enough for now. Man I can't tell you how excited I am I'm finally getting some work done on the old girl and that I'll be doing it with my Dad. :ecit
 
Re: One Step Closer, Car Blasted

"Havok1" said:
OK, my dad and I thought this looked weird. Anyone know what this section is different? Its the same on both sides. Was this where the top was connected at the factory?

You are correct Brian, that is the original Factory Lead seam.

The blasting was a good job, at least you can now see what you are facing!!! we are at similar stages in our projects...It'll be interesting to see how we both progress.

Johnny
 
Because the right inner fender is seriously smashed in the past i would consider to measure the entire front up to specs and even putting it on an alignment bench to straigten and make sure the front is not twisted.
Afterward you could end up with problems to align the hood , fenders , ect
 
"Havok1" said:
That is still in the air. I'm pretty sure we're going to do the floor pans first since I'll be learning how to weld during this process and that is the part that will be the least visible once the car is done. After that, I'm open to suggestions. Here is the list I have put together so far of what will need work.

1. Radiator support and crossmember
2. Right hand inner fender aprons
3. Cowl (upper and lower)
4. Toe boards and floor pans.
5. Trunk
6. Tail light panel
7. Frame Rails

So lets hear it. What do you guys and girls think as far as the order? Alright, that's enough for now. Man I can't tell you how excited I am I'm finally getting some work done on the old girl and that I'll be doing it with my Dad. :ecit

I like your idea of starting with interior bits first, because, like you said, you won't see those welds. I, too, learned to weld on my Mustang restoration project (still learning), and I started with floor pans.

Here's the order I'd follow...

Floor pans & toe board
Trunk floor
Fender aprons
Cowl (just for better access, it's nice to do this before installing the radiator support)
Radiator support & crossmember
Frame rails
Tail light panel

Keep up the great work!
 
i remember those days... blasted mine myself with a crappy blaster and a small compressor it took forever... i looks like youve got to replace everything i did... good luck
 
Back
Top