pwbabcock
New Member
I stumbled across this site a few weeks ago and am very impressed at the amount of knowledge and support in here (new favorite site). I am a little over a year into the rebuild which has been a very enjoyable family project. I have been documenting the day to day of the resto on a blog:
http://pwbabcock.blogspot.com/
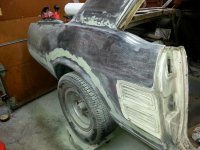
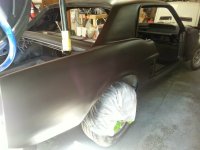
These are some highlights of the build so far.
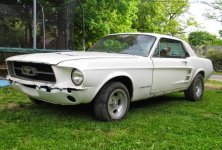
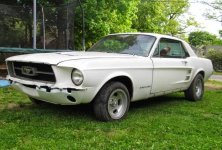
As purchased in June 2013
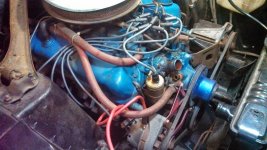
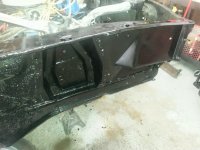
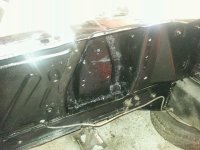
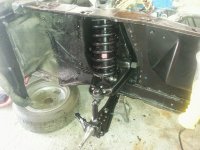
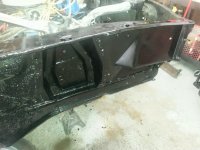
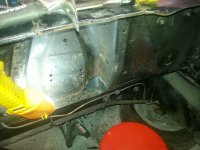
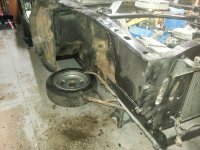
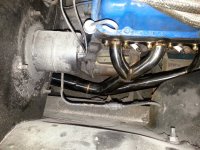
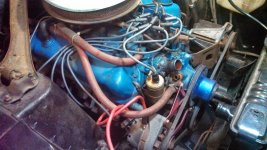
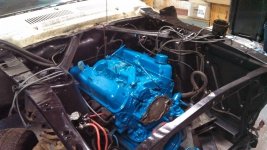
First, some engine bay cleanup. Original 289 runs great by the way.
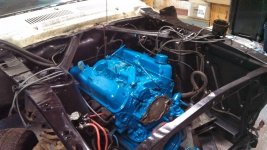
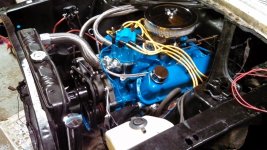
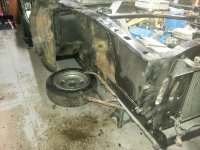
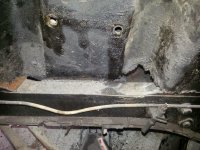
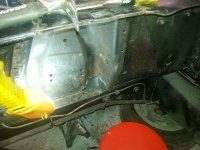
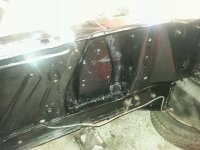
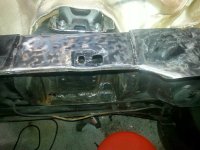
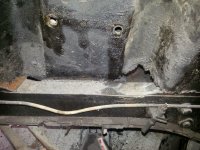
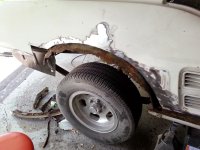
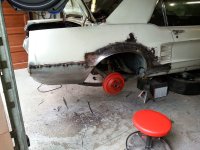
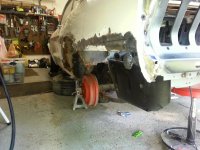
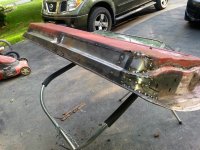
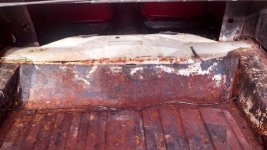
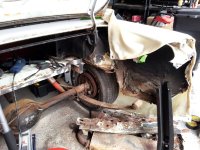
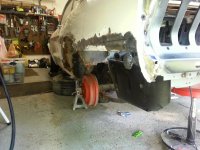
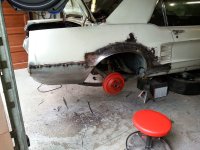
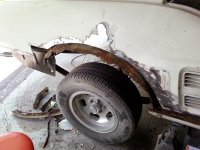
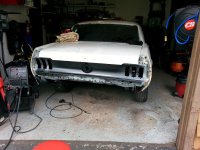
Lots of rust in trunk area.
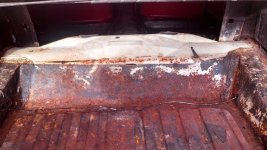
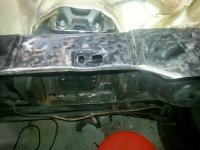
Quick work with the plasma cutter.
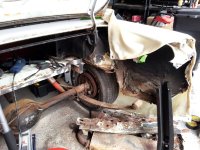
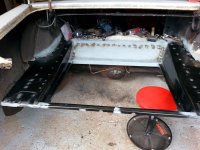
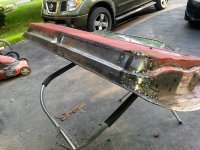
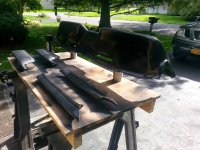
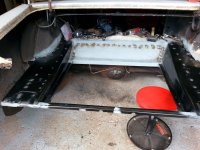
New frame rails and floor.
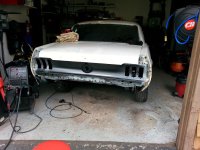
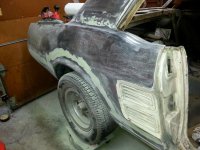
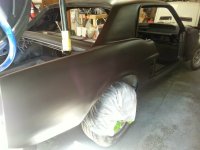
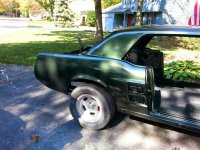
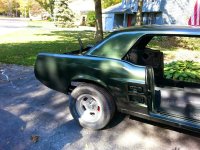
Paint on. Eastwood Jaded Green Metallic
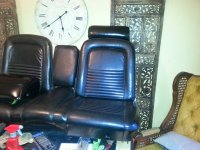
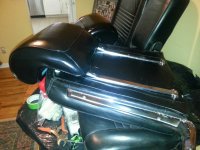
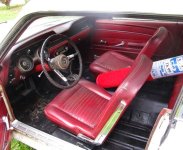
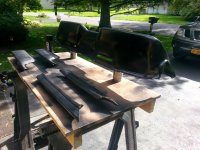
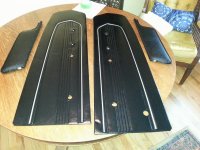
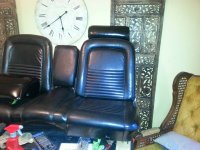
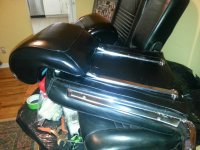
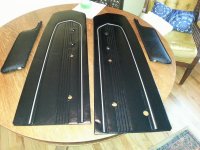
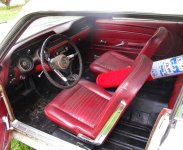
Dying interior black.
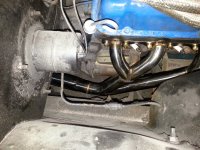
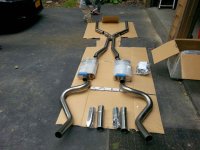
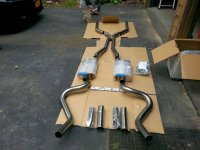
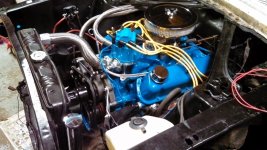
Headers and Exhaust (Magnaflow)
http://pwbabcock.blogspot.com/
These are some highlights of the build so far.
As purchased in June 2013
First, some engine bay cleanup. Original 289 runs great by the way.
Lots of rust in trunk area.
Quick work with the plasma cutter.
New frame rails and floor.
Paint on. Eastwood Jaded Green Metallic
Dying interior black.
Headers and Exhaust (Magnaflow)
Attachments
-
 20140728_214153.jpg190.4 KB · Views: 0
 -
 20140907_131246.jpg125.4 KB · Views: 0
 -
 20140930_110456.jpg261.1 KB · Views: 0
 -
 20141010_173912.jpg178.7 KB · Views: 0
 -
 20141010_173930.jpg172 KB · Views: 0
 -
 20140920_164728.jpg226.7 KB · Views: 0
 -
 20140917_144415.jpg214.6 KB · Views: 0
 -
 20141002_155519.jpg179.5 KB · Views: 0
 -
 20140915_163417.jpg228.5 KB · Views: 0
 -
 20140915_164259.jpg173.6 KB · Views: 0
 -
 1967%2BMustang%2BFront.jpg54.5 KB · Views: 0
 -
 1967%2BMustang%2BInterior.jpg45.9 KB · Views: 0
 -
 IMG_20130802_141047_792.jpg233 KB · Views: 0
 -
 IMG_20130817_171541_578.jpg196.3 KB · Views: 0
 -
 IMG_20130917_202909_661.jpg225.3 KB · Views: 0
 -
 IMG_20140401_165627_082.jpg293.2 KB · Views: 0
 -
 20140514_154620.jpg206.5 KB · Views: 0
 -
 20140606_174249.jpg182.9 KB · Views: 0
 -
 20140605_172604.jpg212.4 KB · Views: 0
 -
 20140525_114533.jpg158 KB · Views: 0
 -
 20140520_160657.jpg196.1 KB · Views: 0
 -
 20140517_165243.jpg220.9 KB · Views: 0