norcal67coupe
Member
Hi i'm craig i am new to the site but i figured this would be a good spot for my first real post.
My car is a 67 coupe deluxe interior with alot wrong with the car unfortunately i lost some of the car from the very beginning but ill try my best to keep this updated.
First off the car was bought for my by my dad when i was 12 for a project for me to work on i have always had classic stangs in the garage so this was my first real turn doing it all myself.
Problems:
Car sat for about 10 years
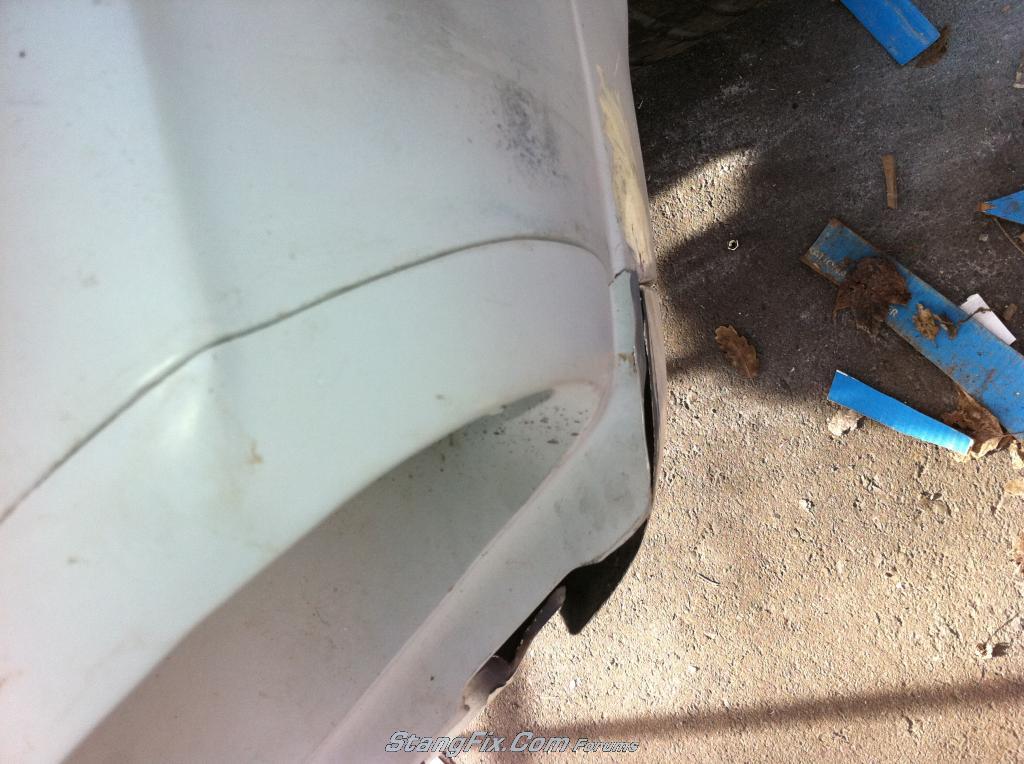
very poorly fit fiberglass pieces (like all them)
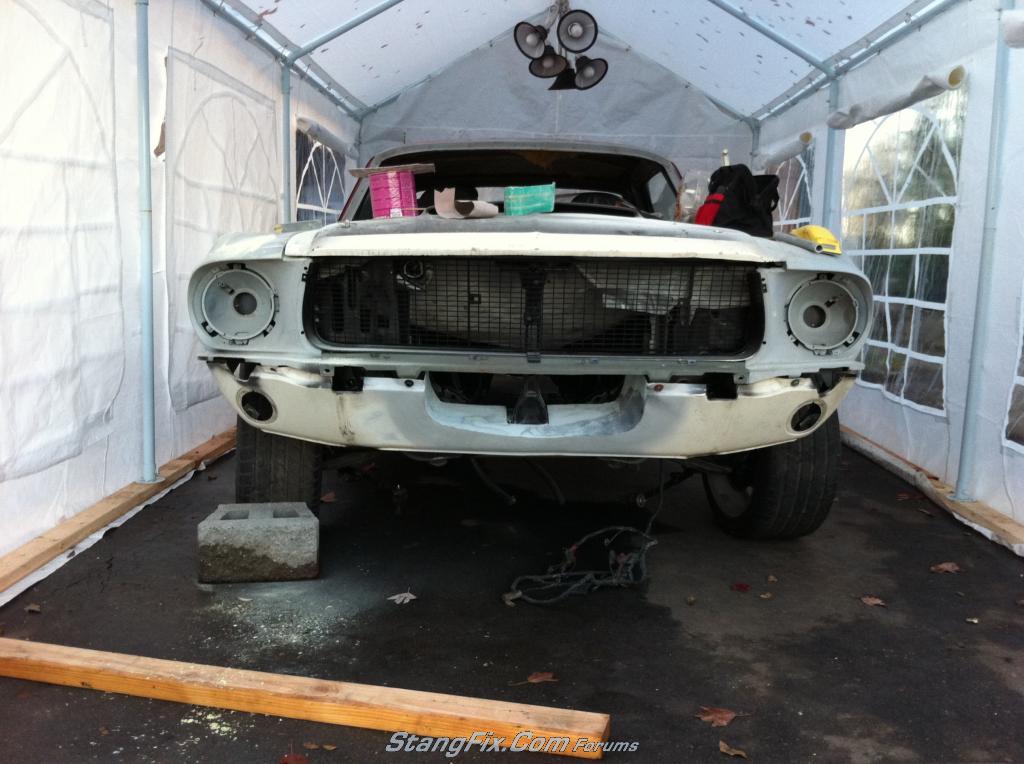
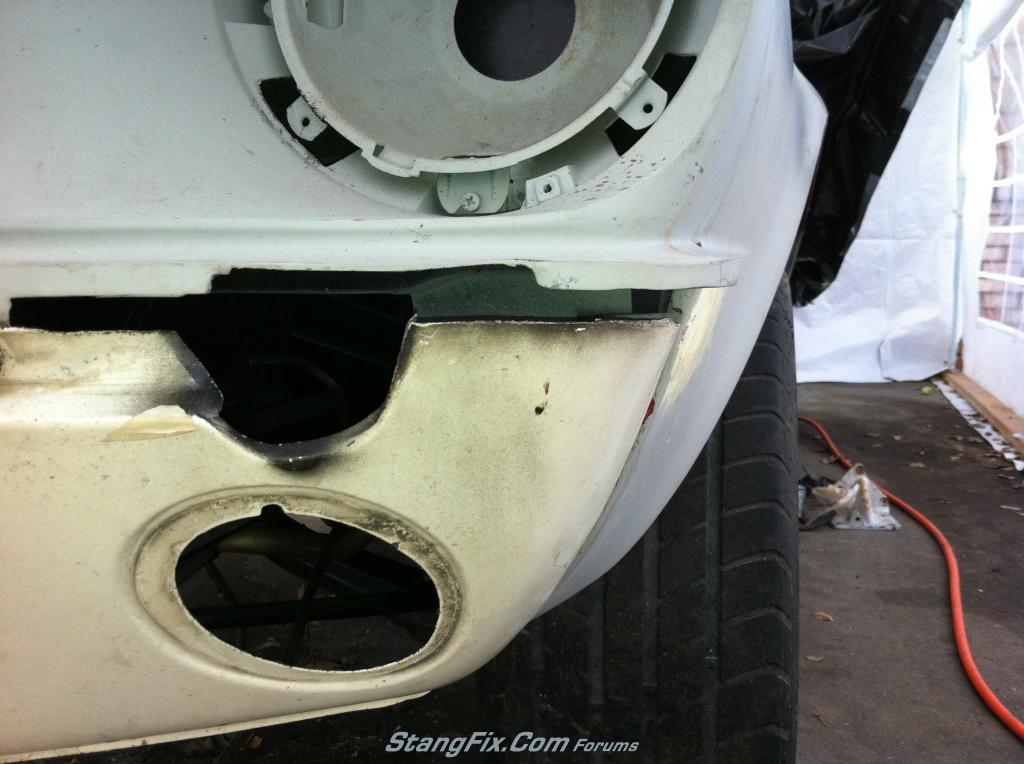
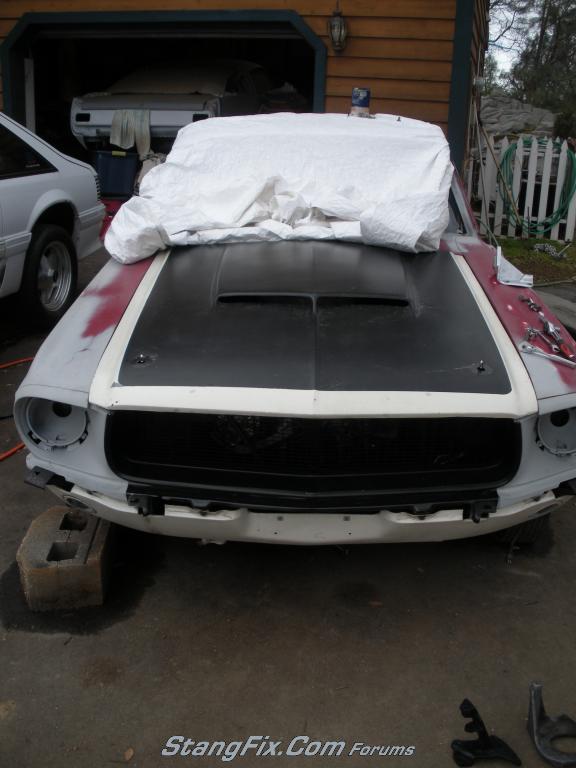
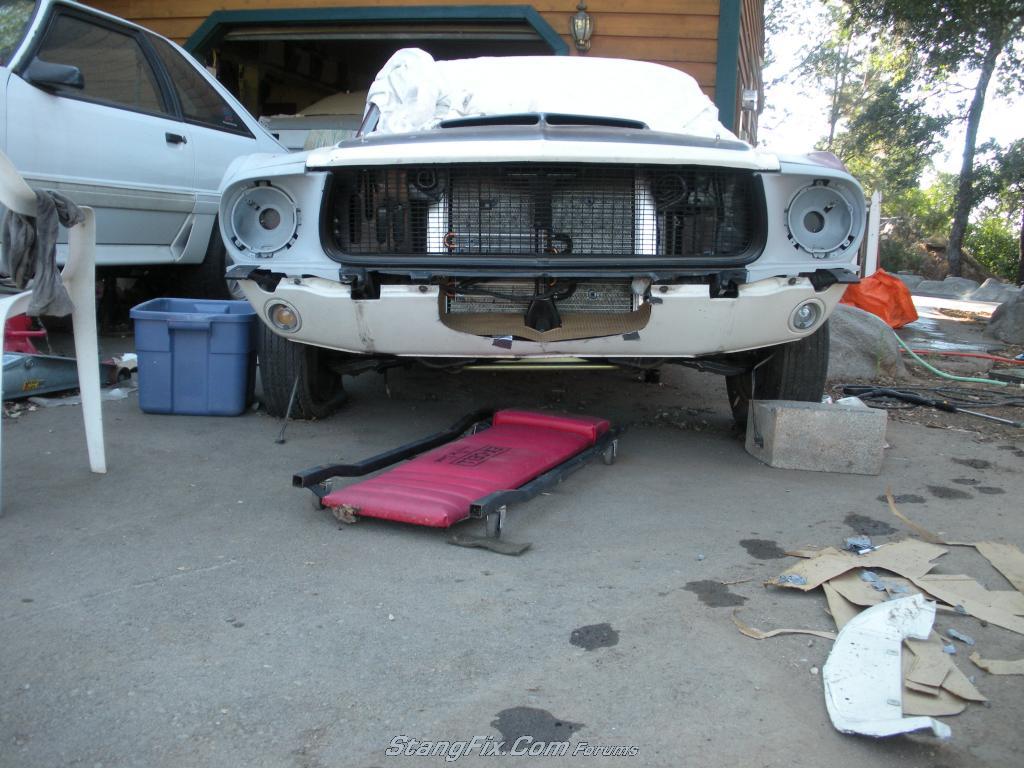
missing front end
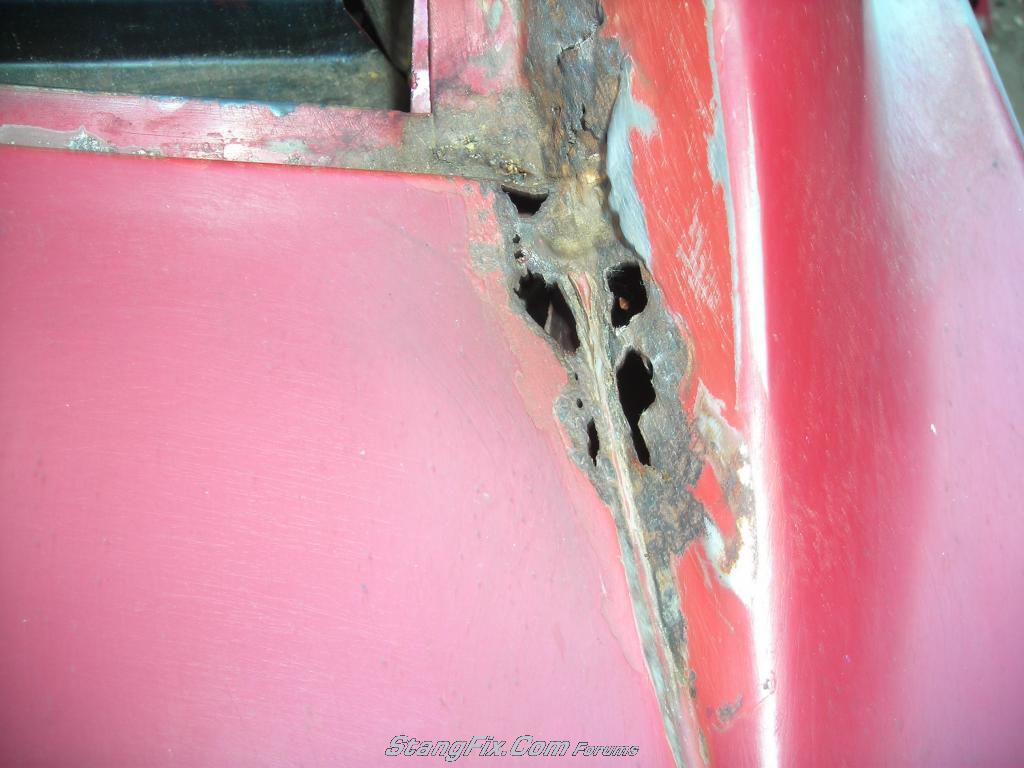
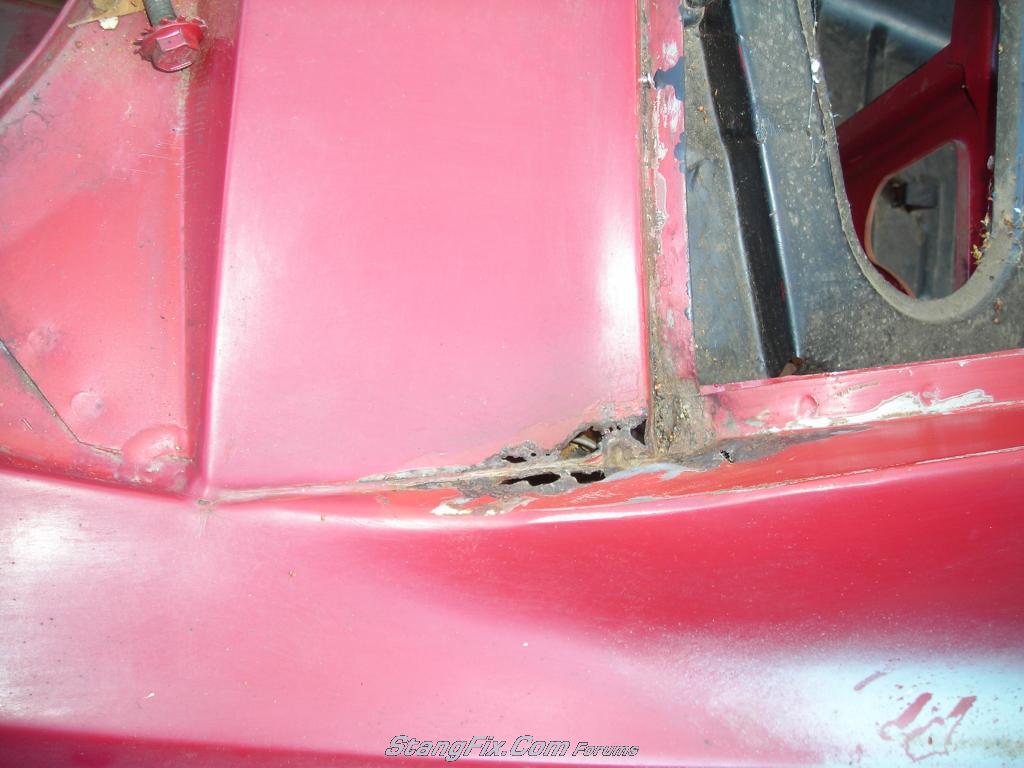
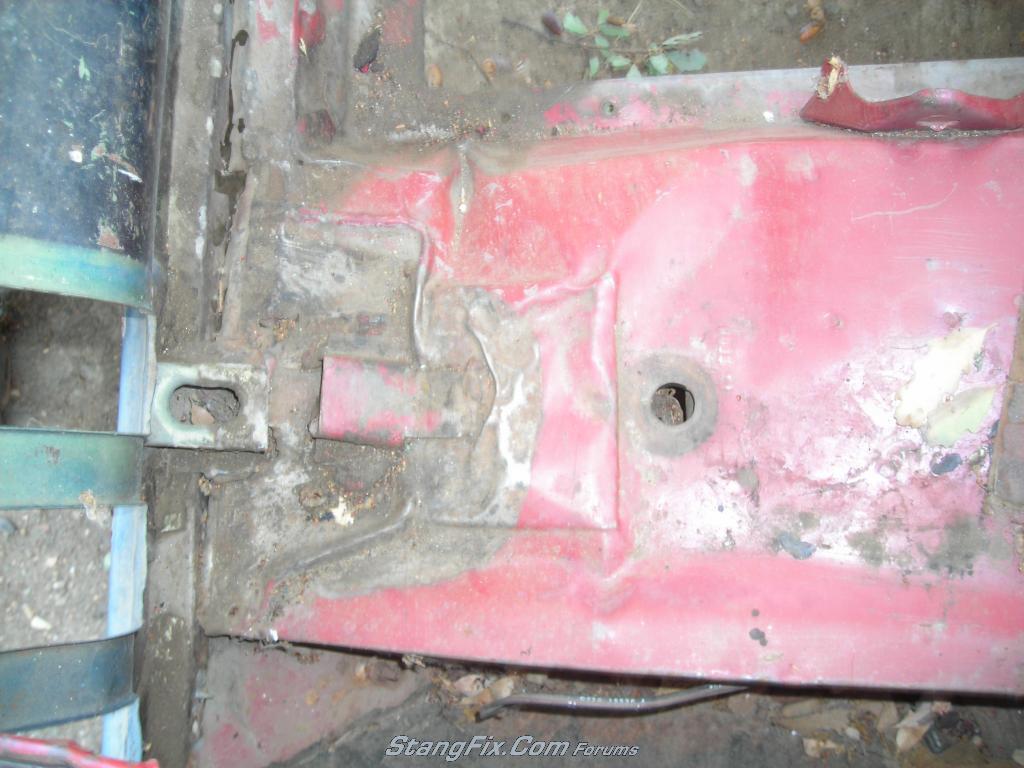
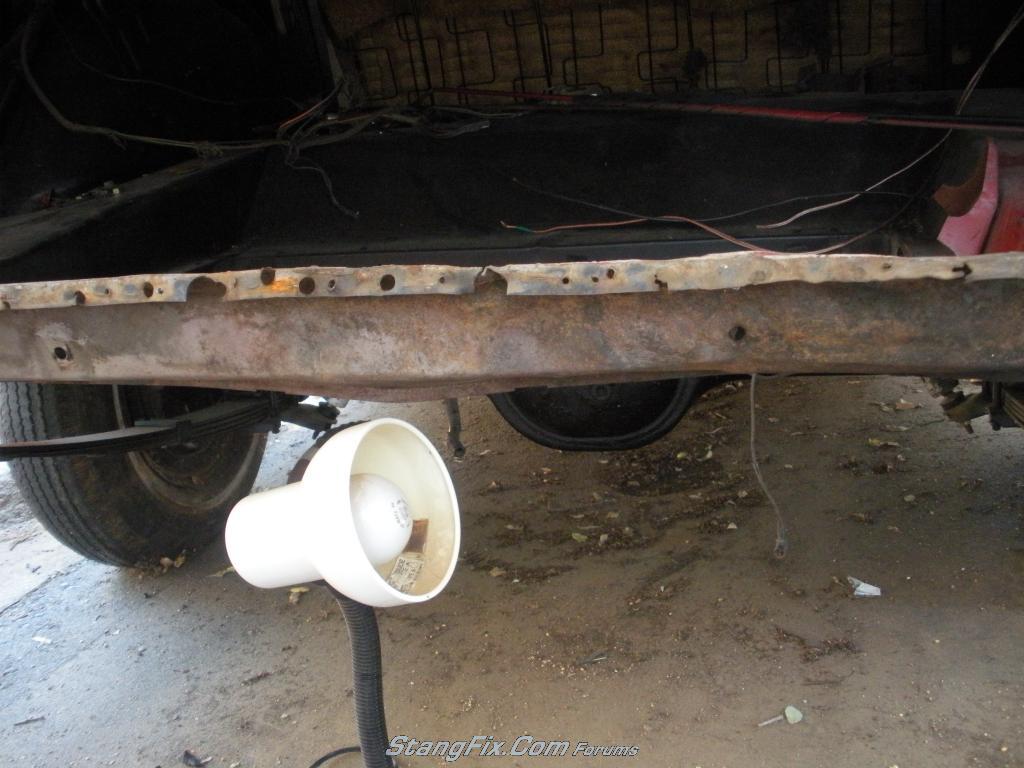
rust in floor pans, DS rear rocker, quarter, window trims, trunk
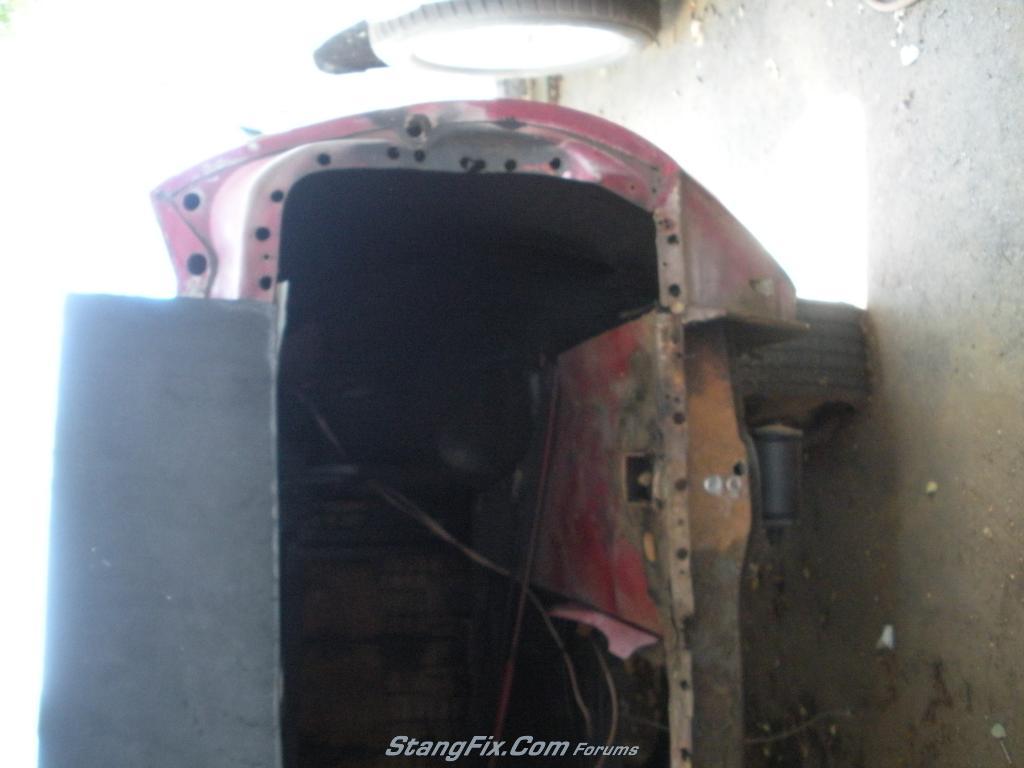
rear collison with frame damage, trunk damage, and whole rear section
Interior was pretty poor but hey it's a deluxe
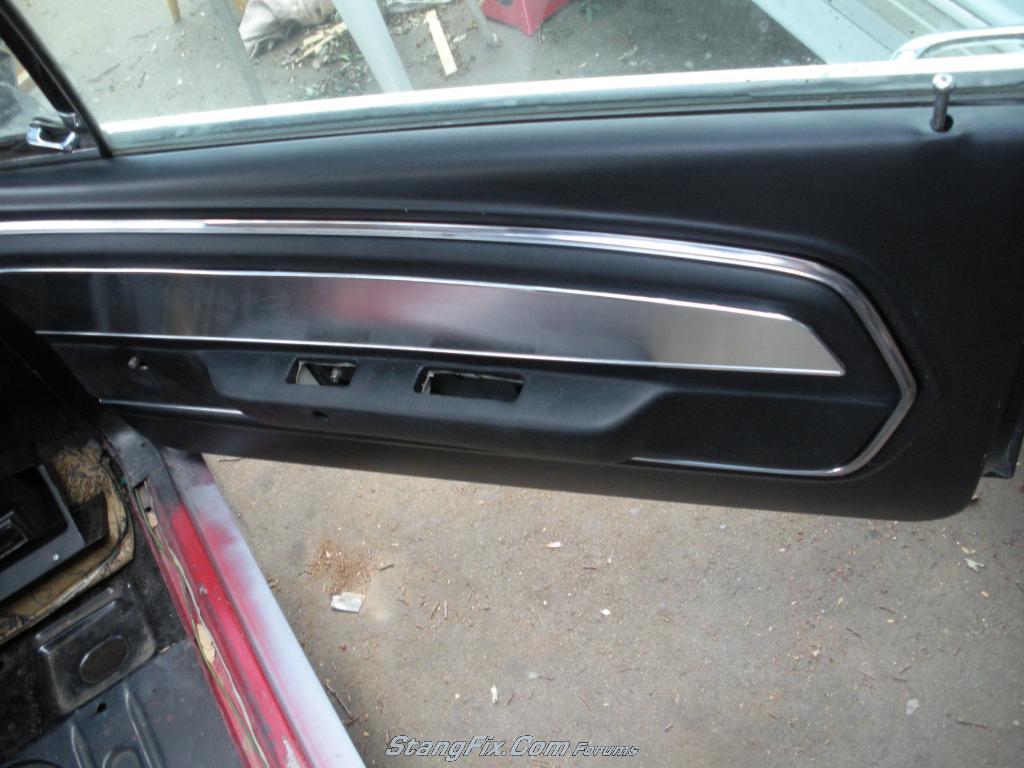
Interior doors have little rust but dents
Plan:
Turn it into a show car and autocross it while driving it on weekends in good weather
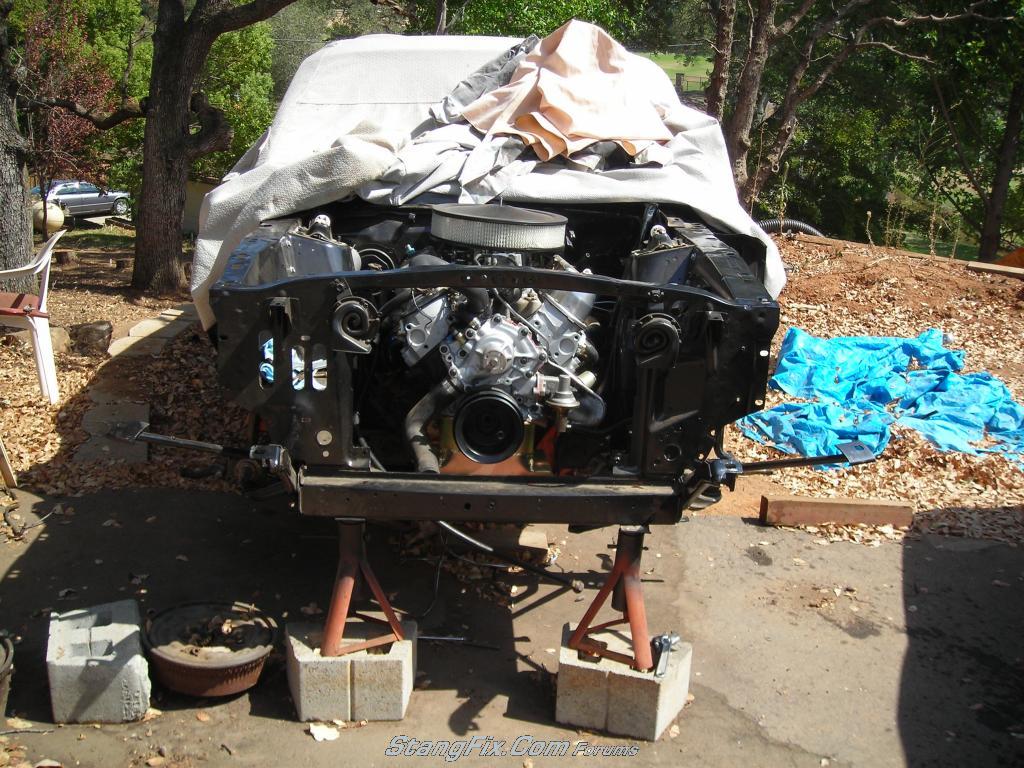
5.0 or 5.8 EFI
c4 to t-5 trans with hydraulic clutch
disc brakes
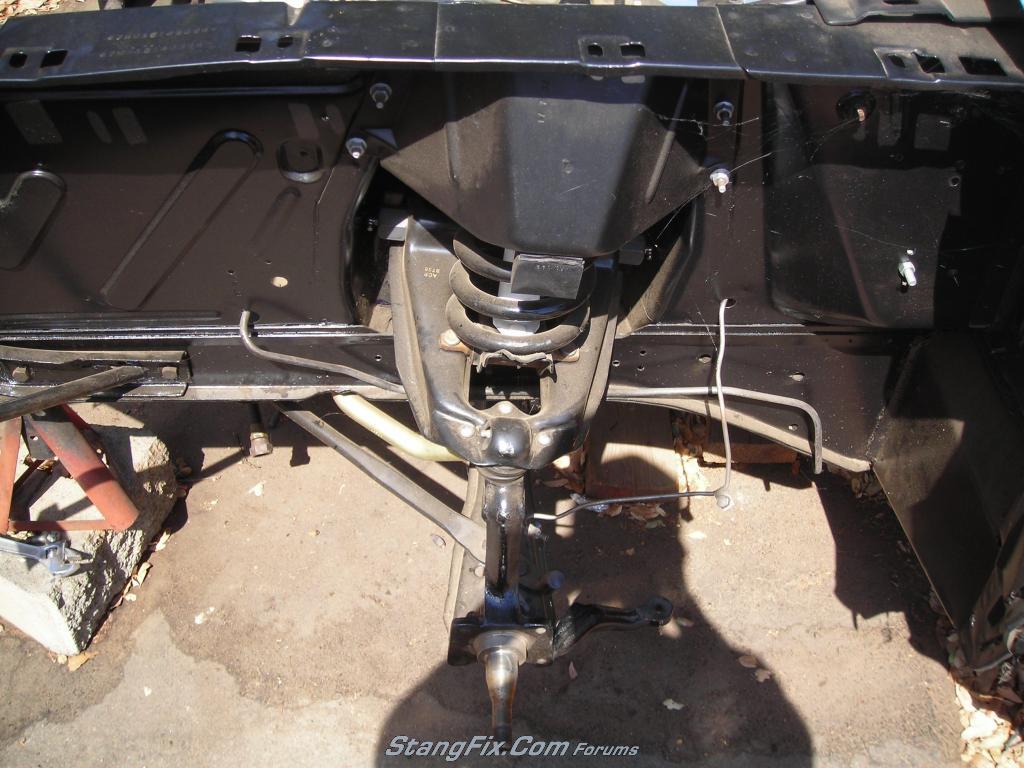
upgrade suspension
more modern interior
cage
New doors
extensive metal work but nothing to crazy looking
remove chrome and smooth emblems
make a driveable car
Has to be done by Hot August Nights for a very special surprise
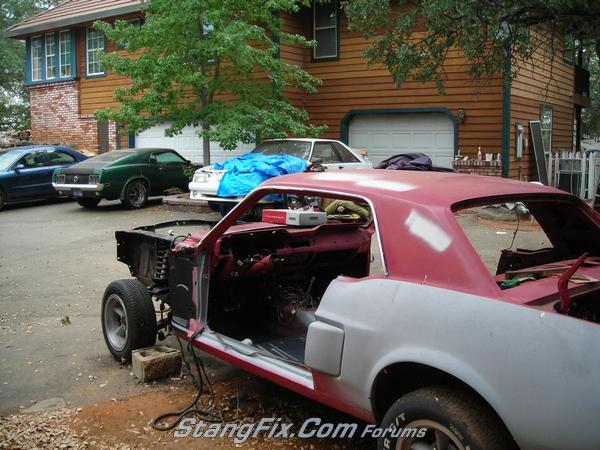
I have alot of new pics that will be coming
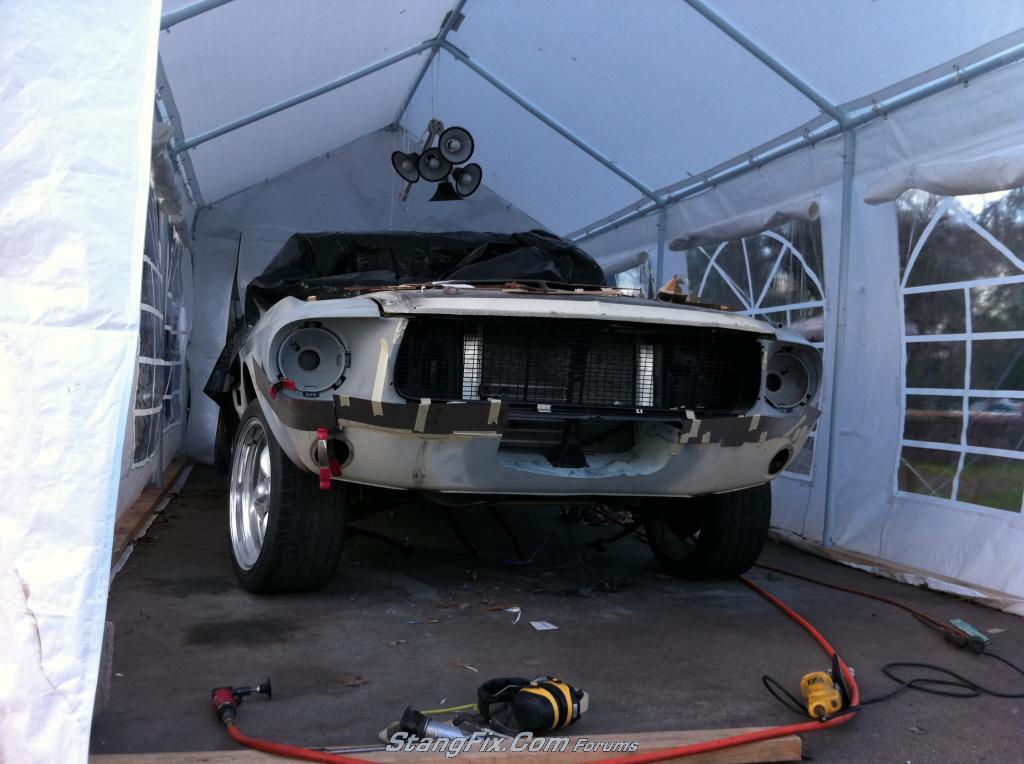
Oh and it's all being built outside
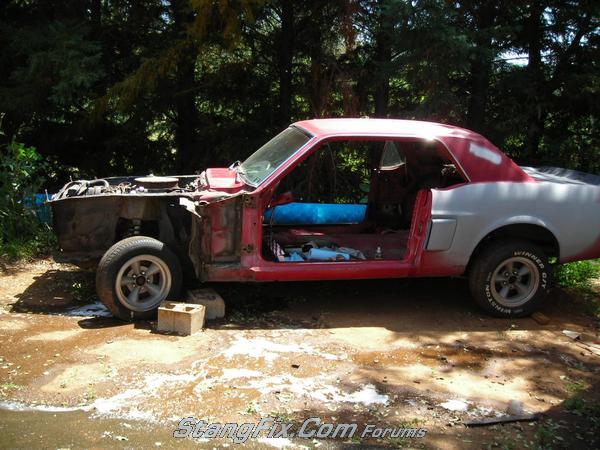
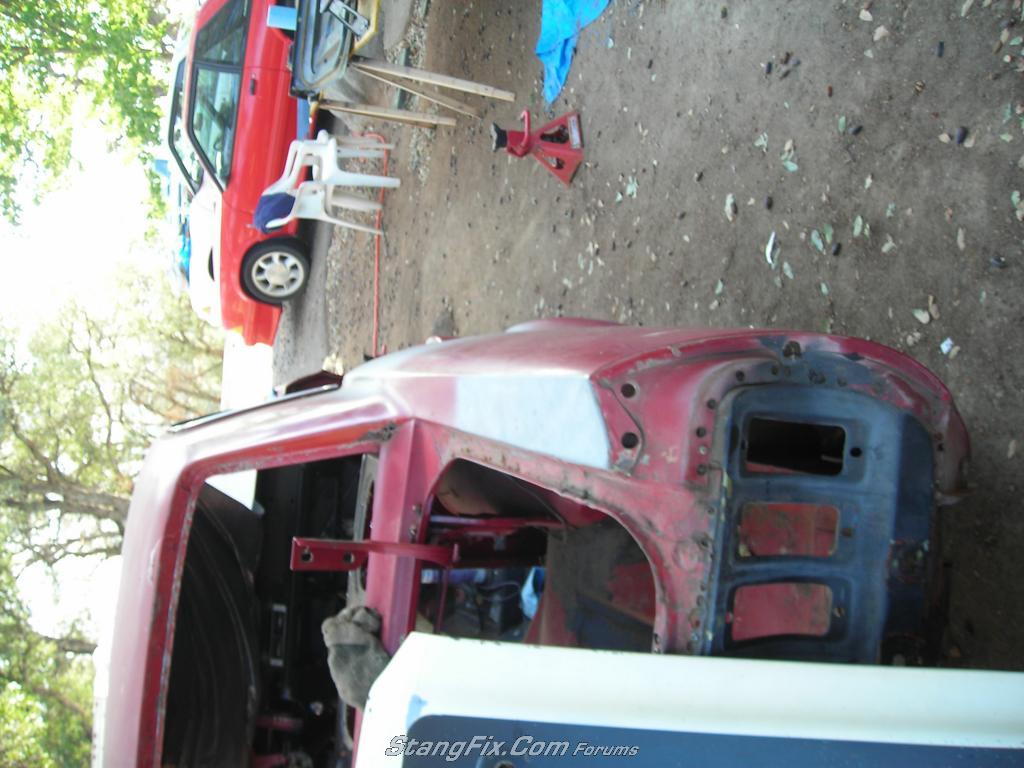
This is the earliest photo i still have
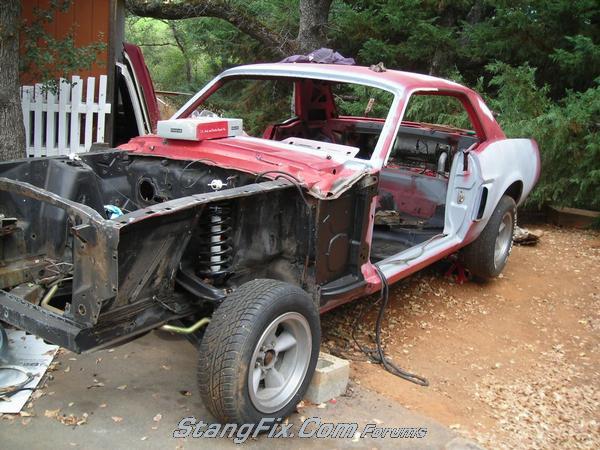
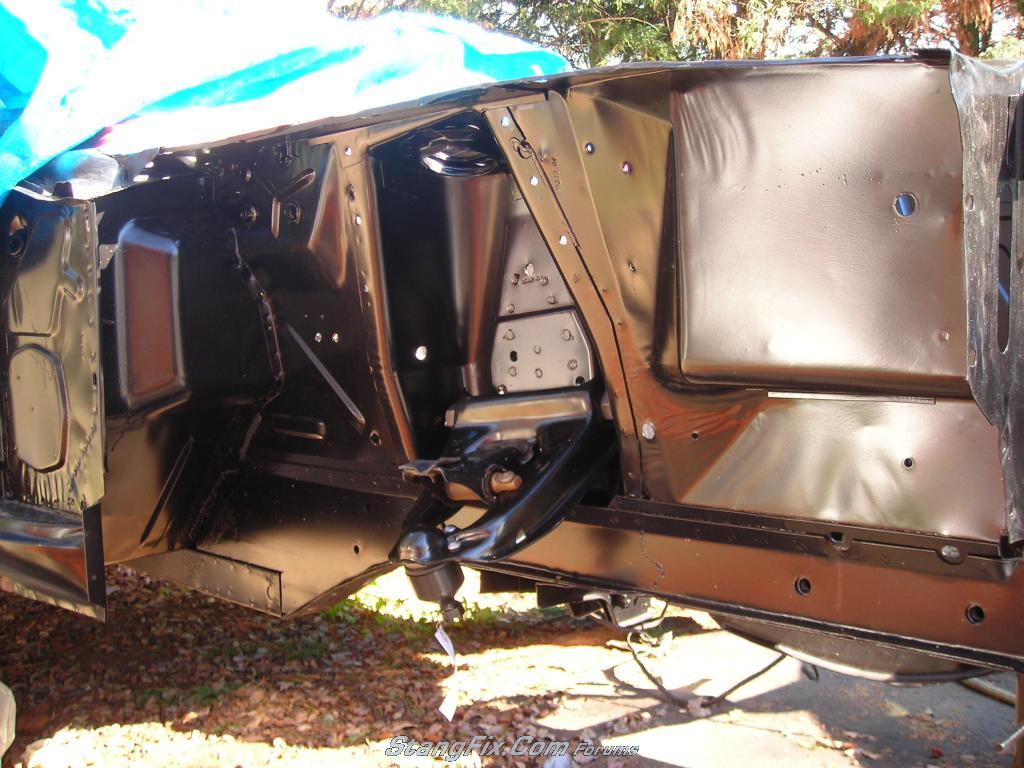
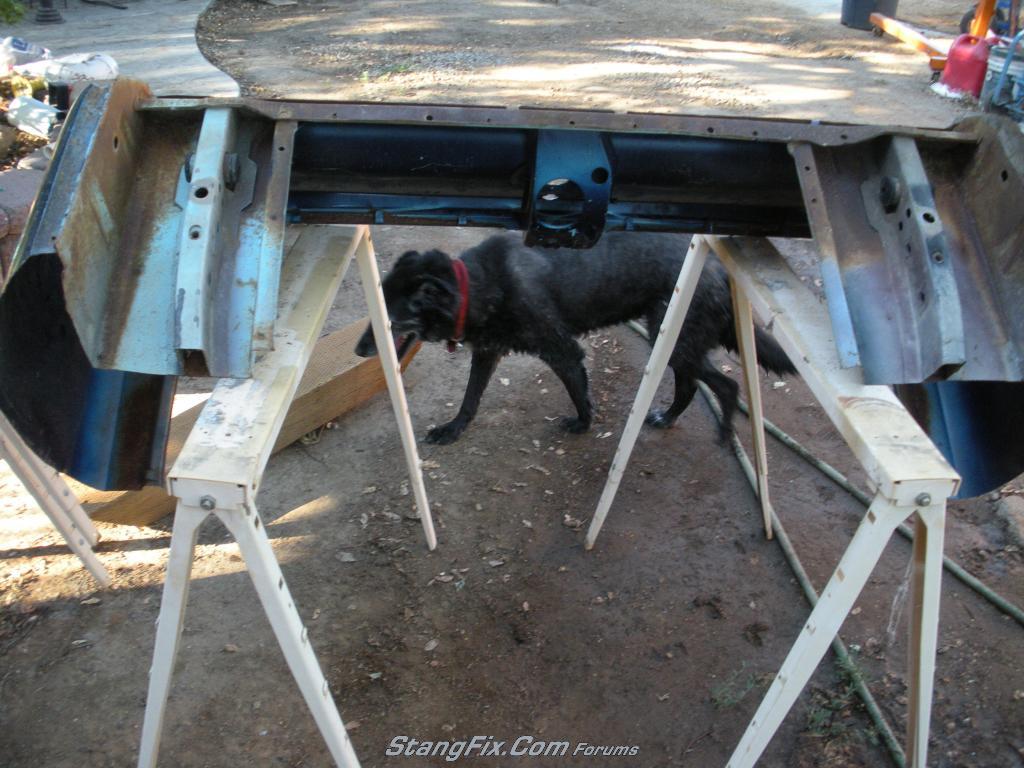
Tear down begins

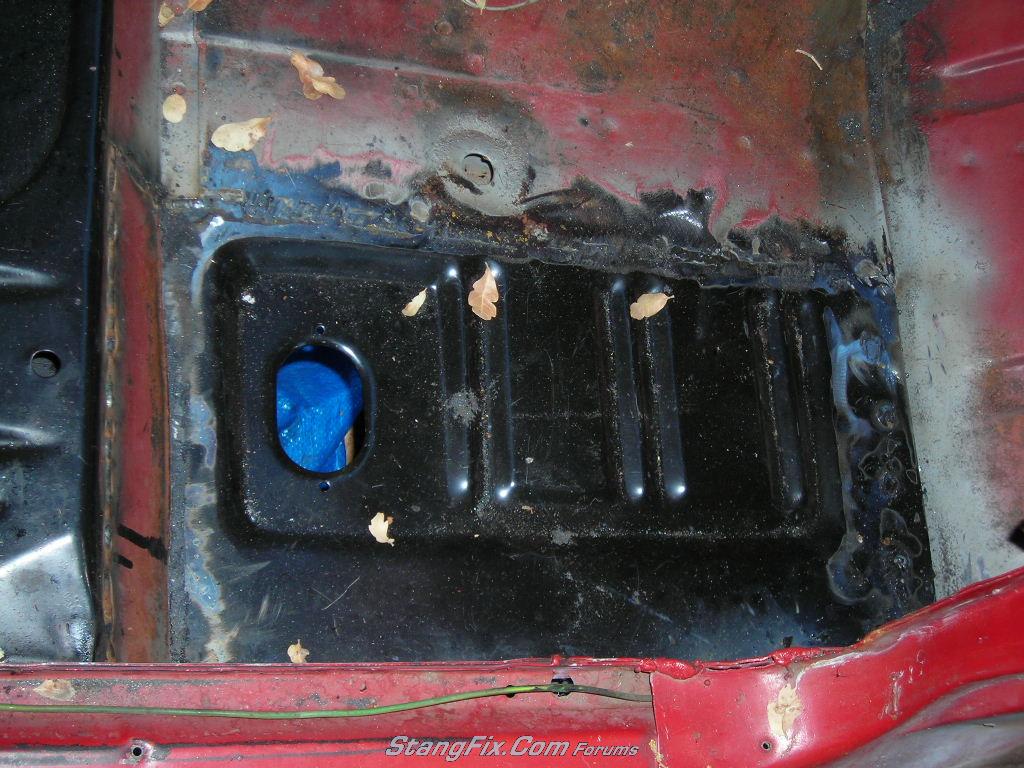
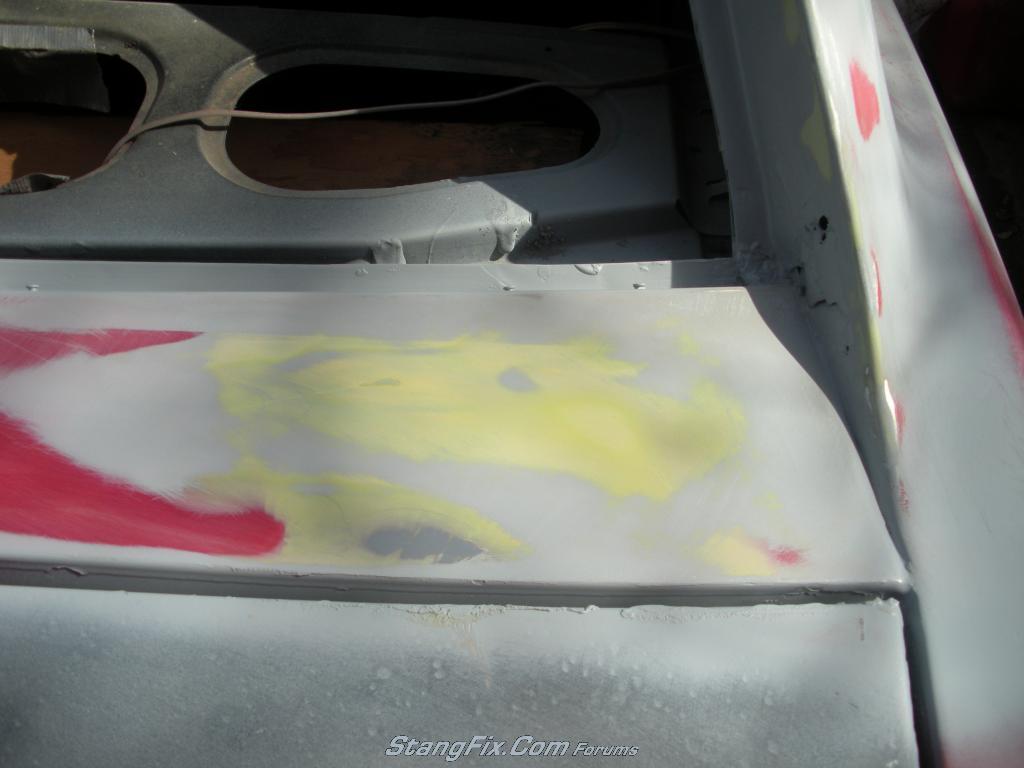
Floor pan patched, and all to be POR-15
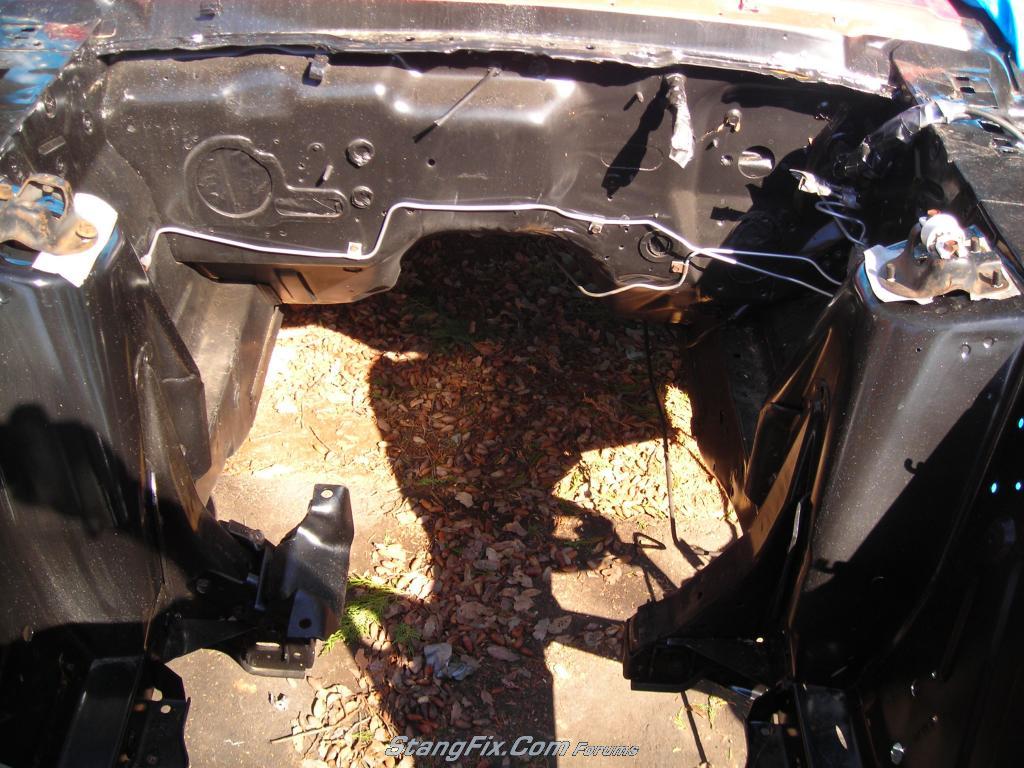
Engine bay and fenderwells all sandblasted and painted semi-black, with the rest of the undercarriage to come
Just dirty from sitting outside turned out great
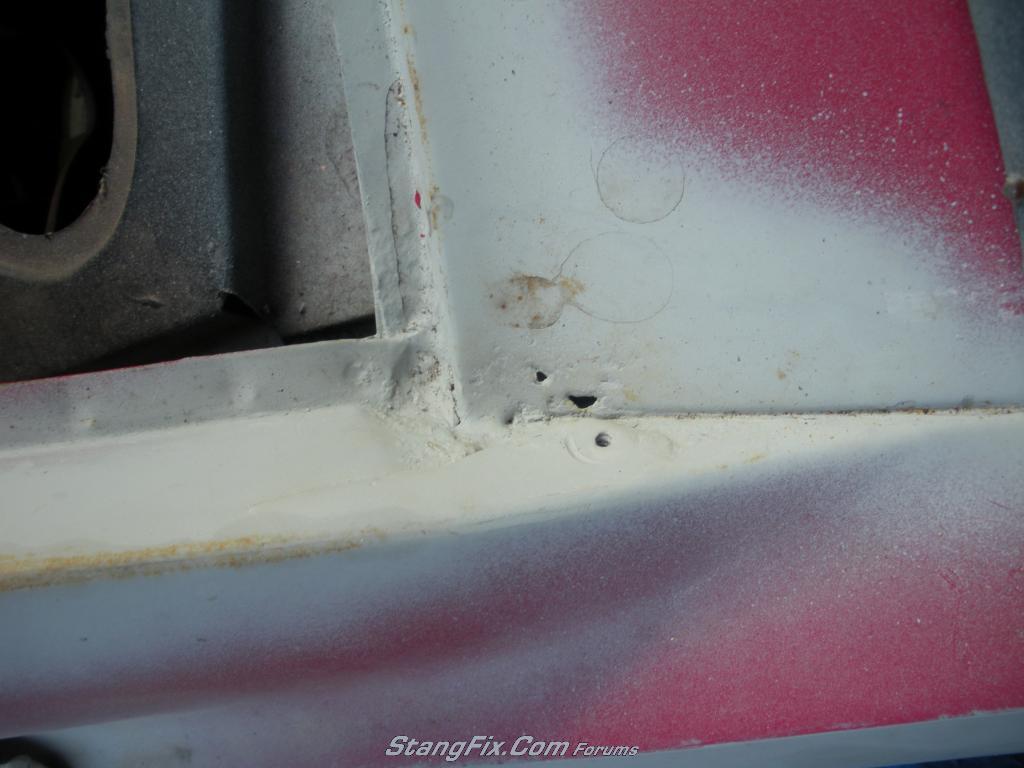
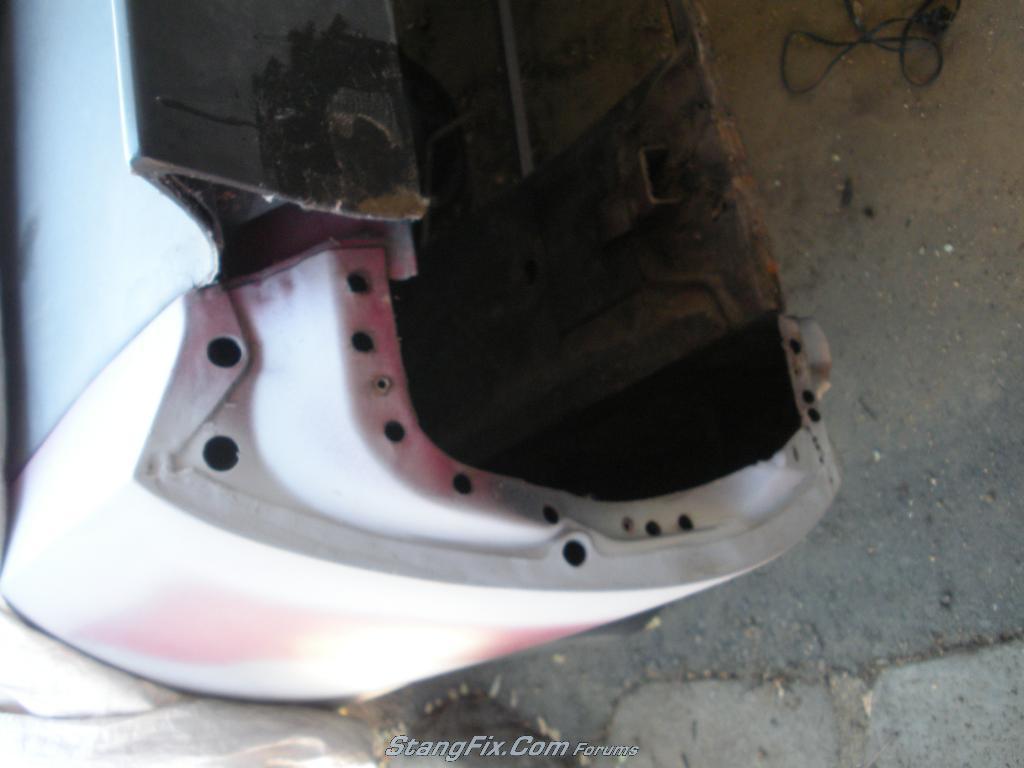
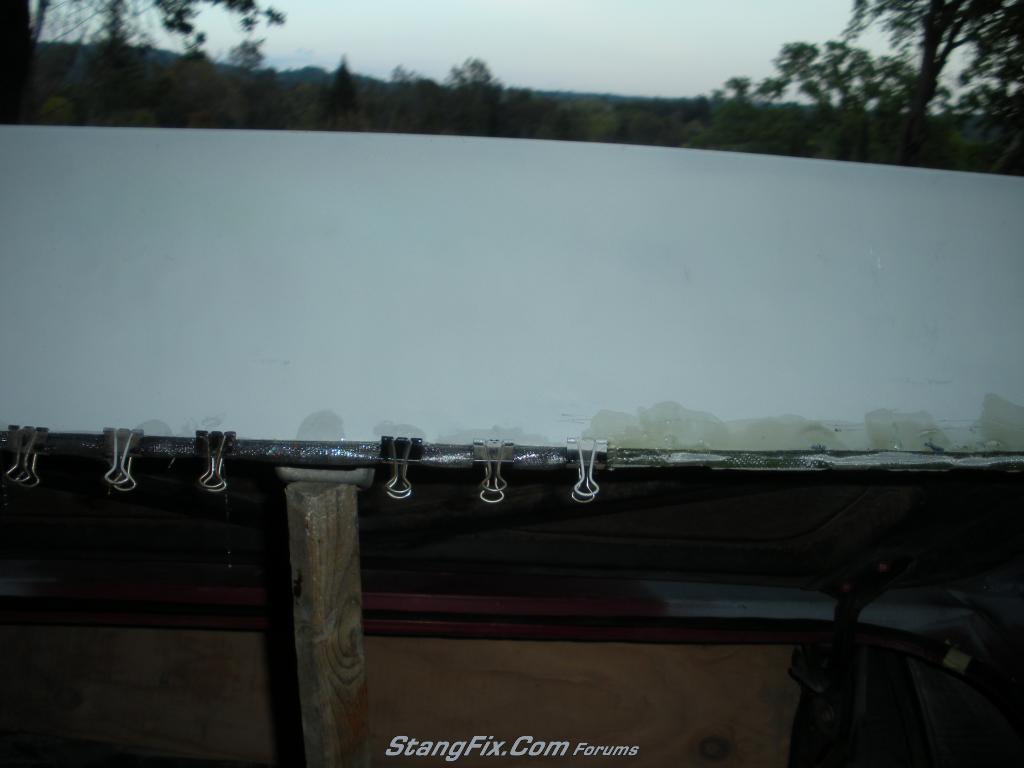
Both sides rear window rust repair
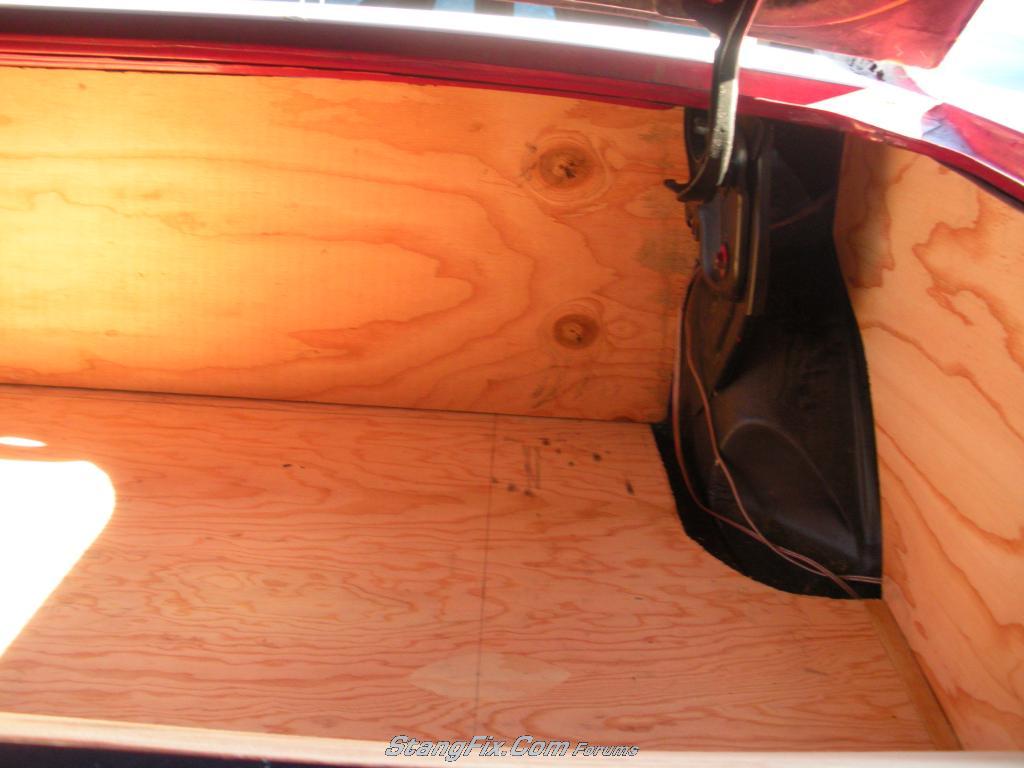
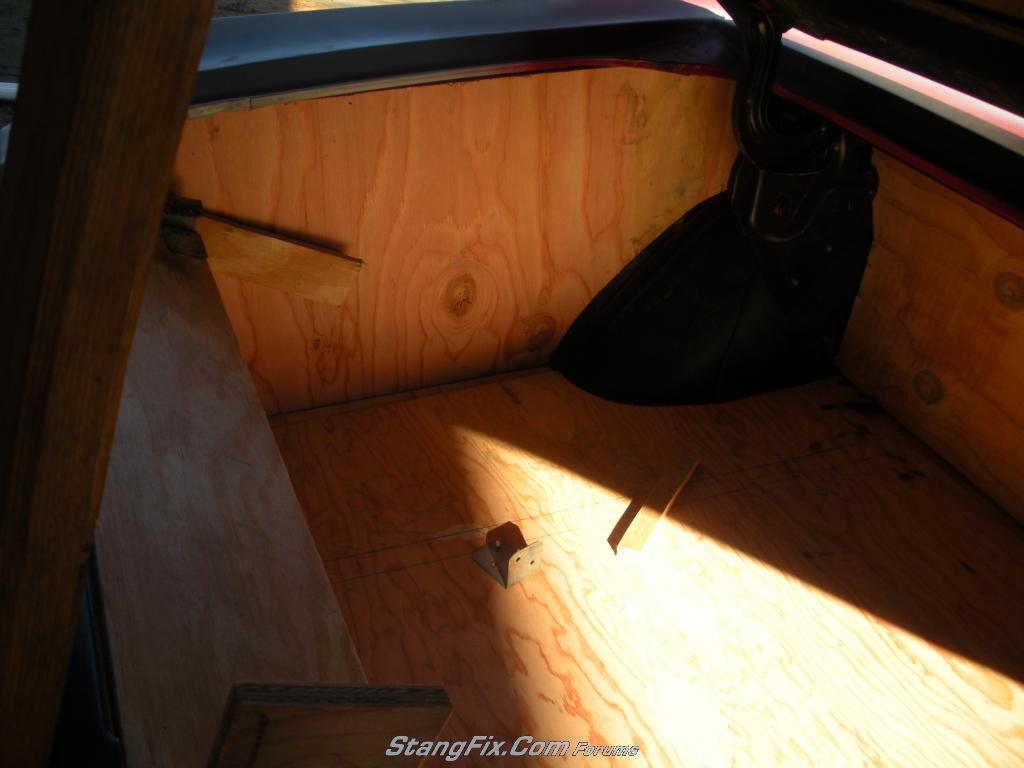
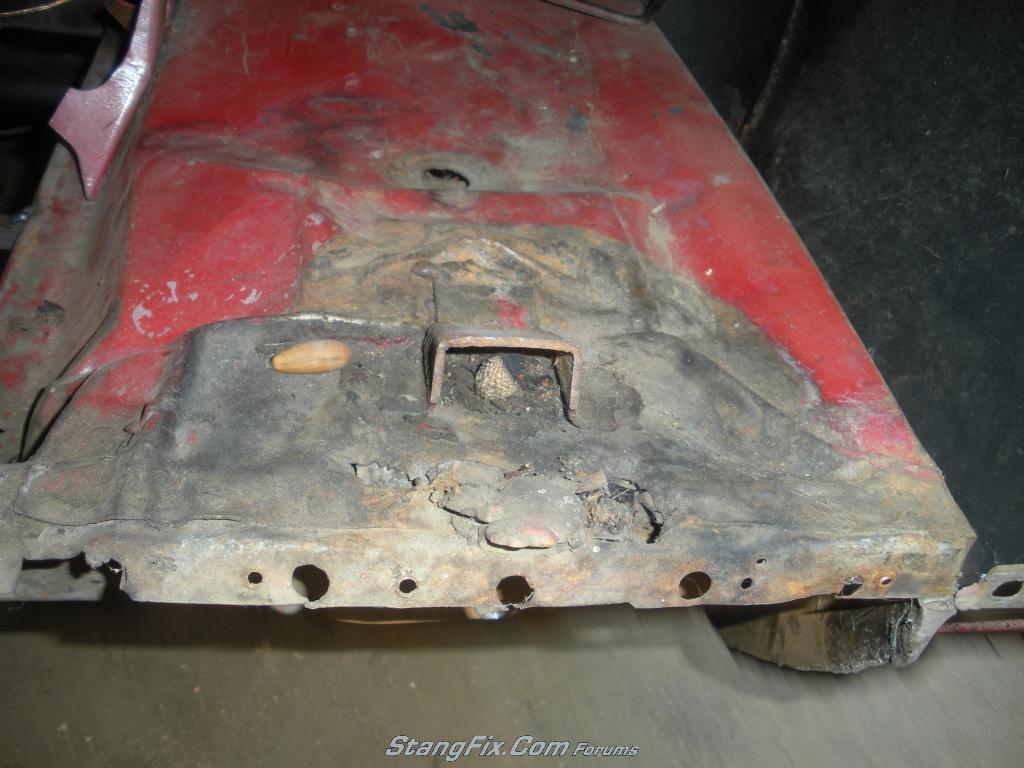
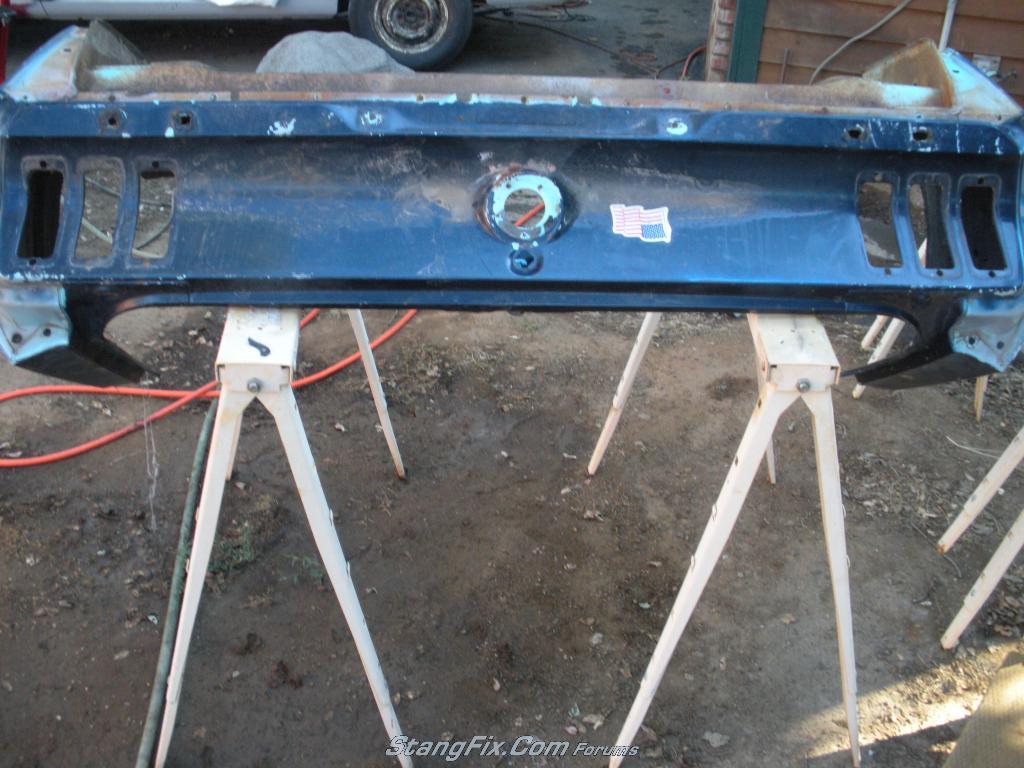
Now for the trunk! This was definitely a long job
before: (sorry forgot to take more pics trust me it was bad!)
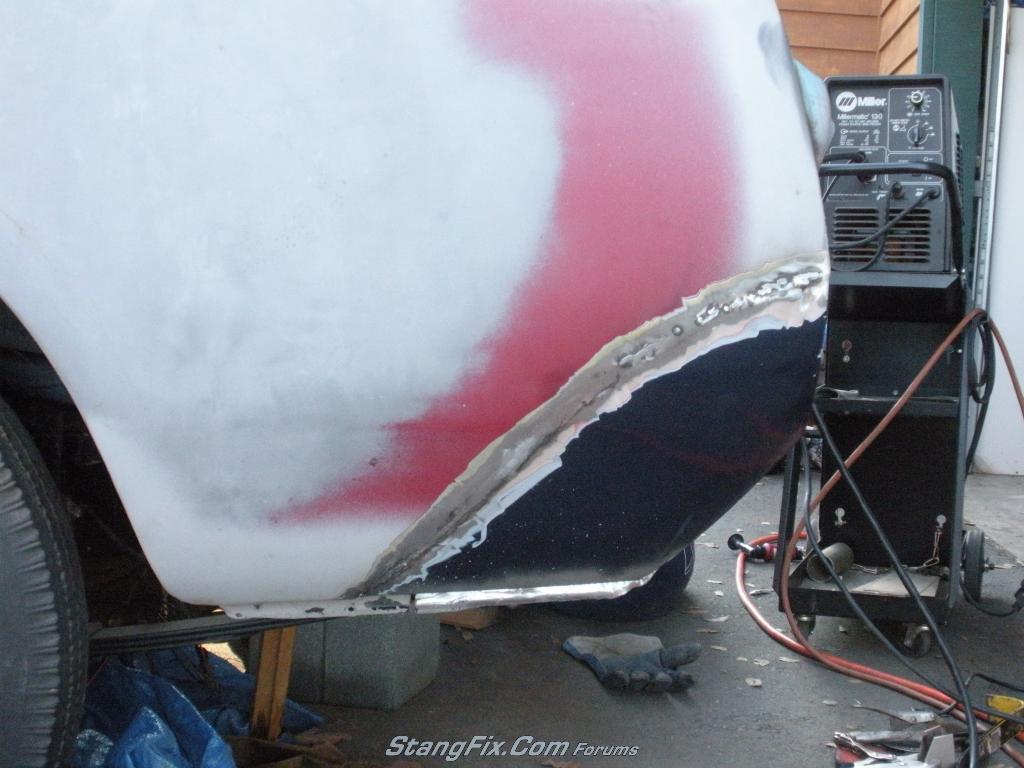
during:

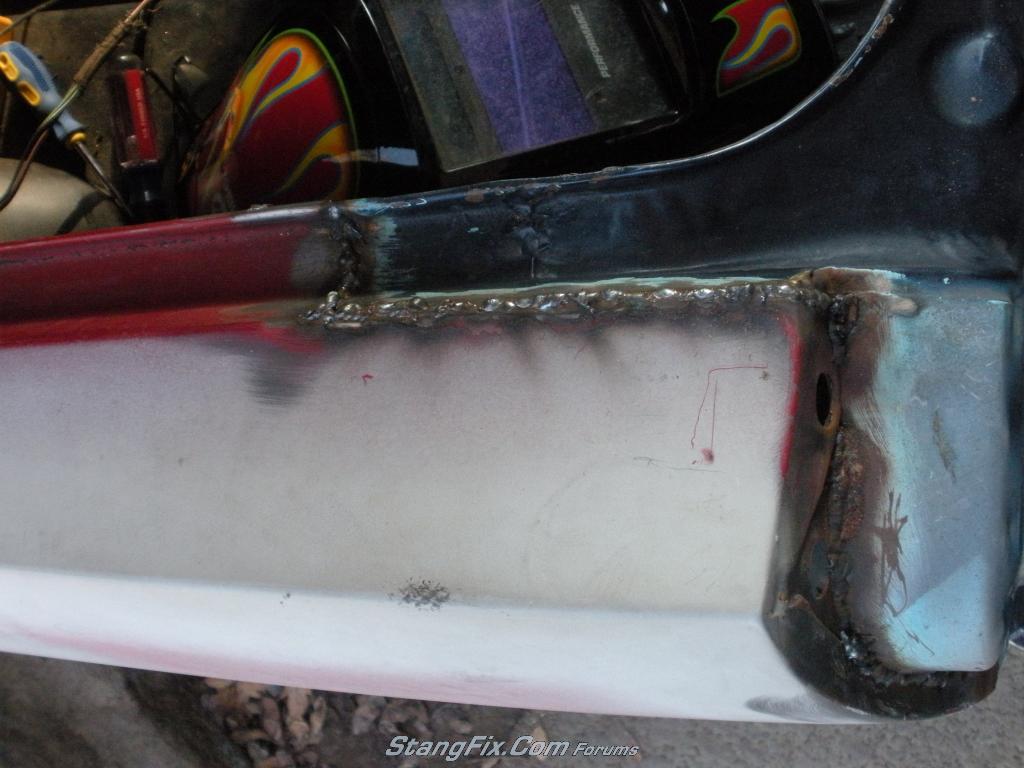
new section:
 fibergl
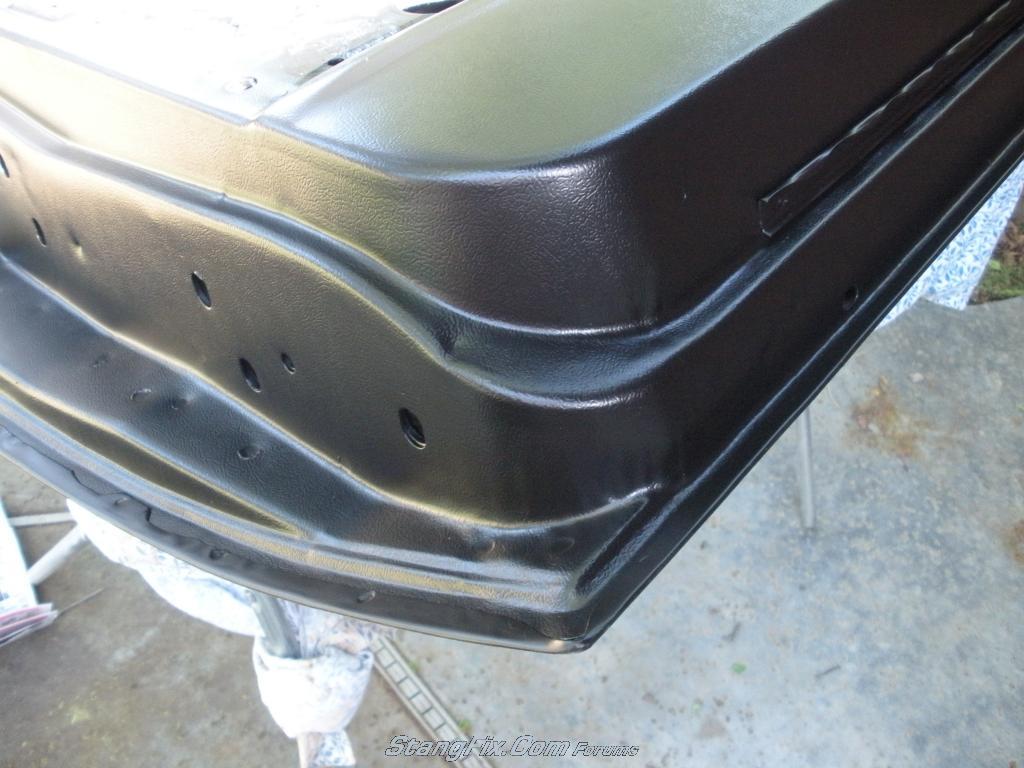
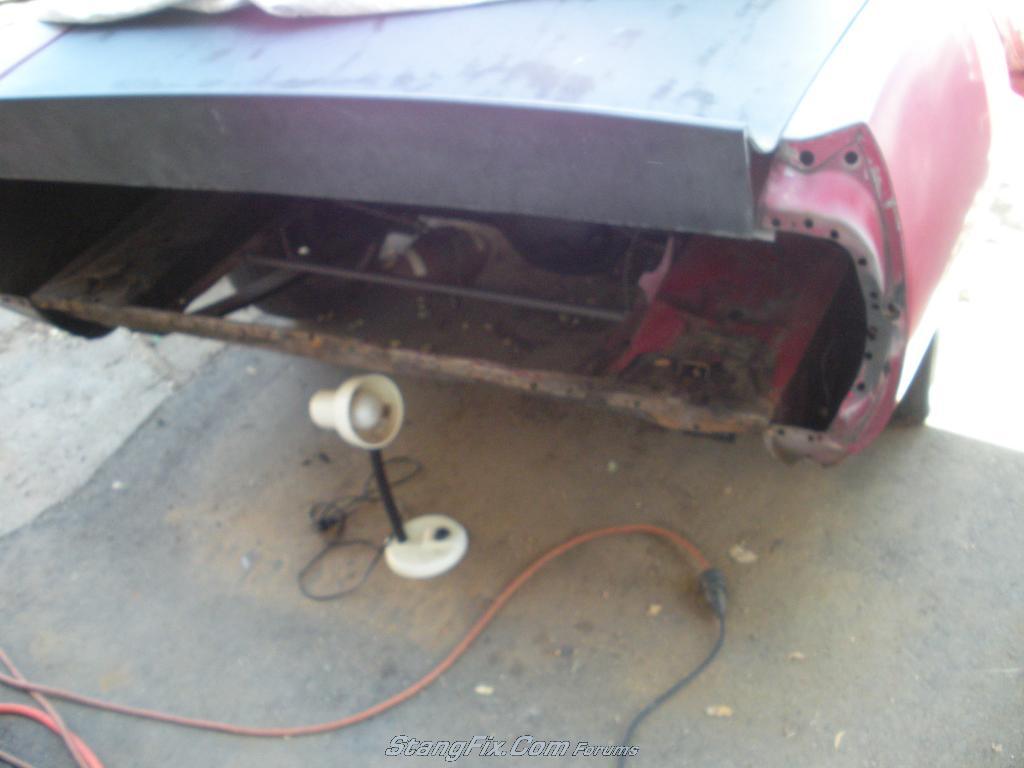
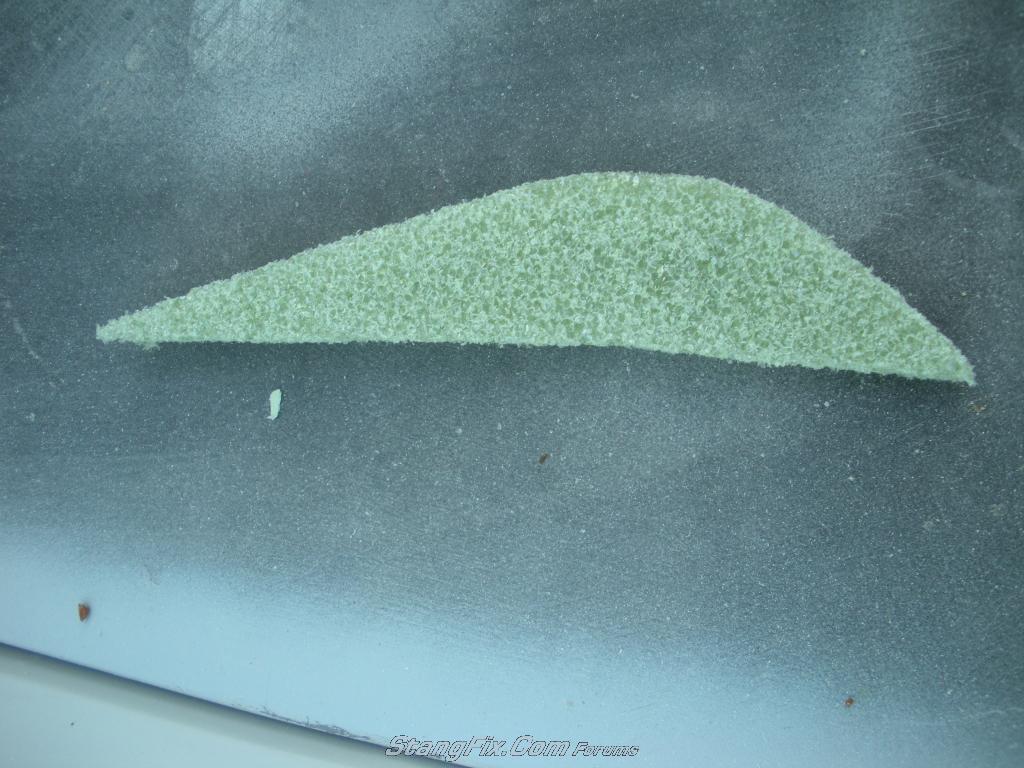
fiberglass section: Added several more layers of glass and resin and did plenty of shaving to make them fit just right. The endcaps and spoiler line up terrible at first and one side of the spoiler was about 3/8" taller than the other but a little work and it actually looks decent.
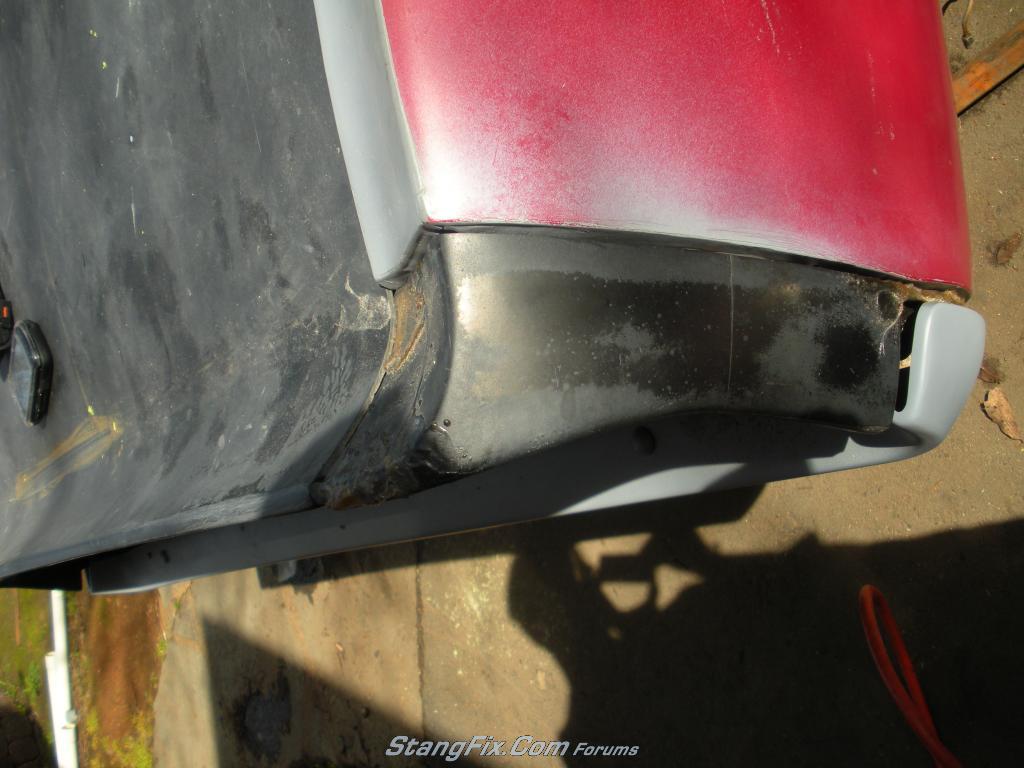

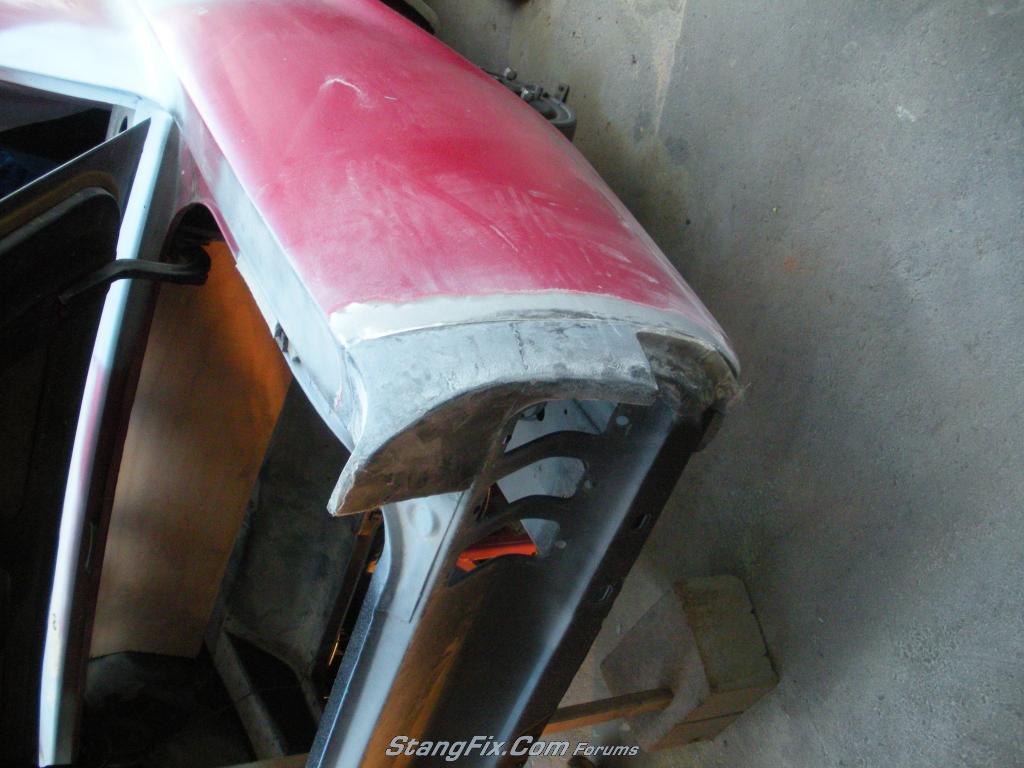
Look at how high the endcaps are compared to the spoiler vs.the other side, but will be fixed

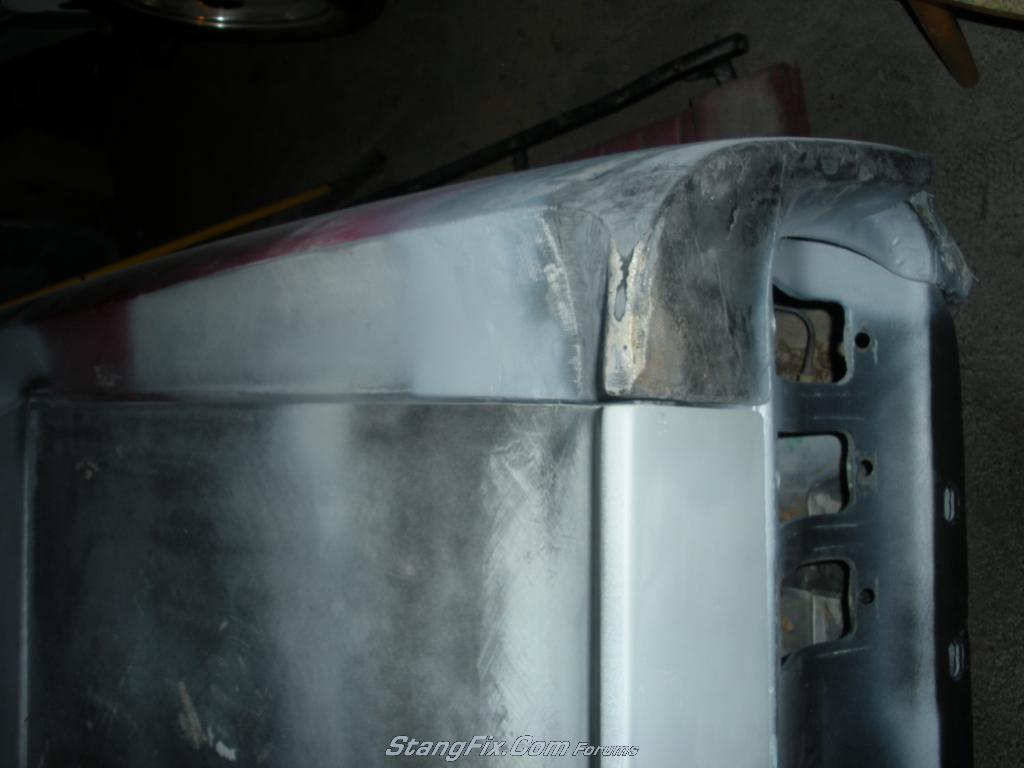
Feathering the difference and uneven spoiler

new fiberglass molds to fill gap between endcaps and taillight panel
She fits!

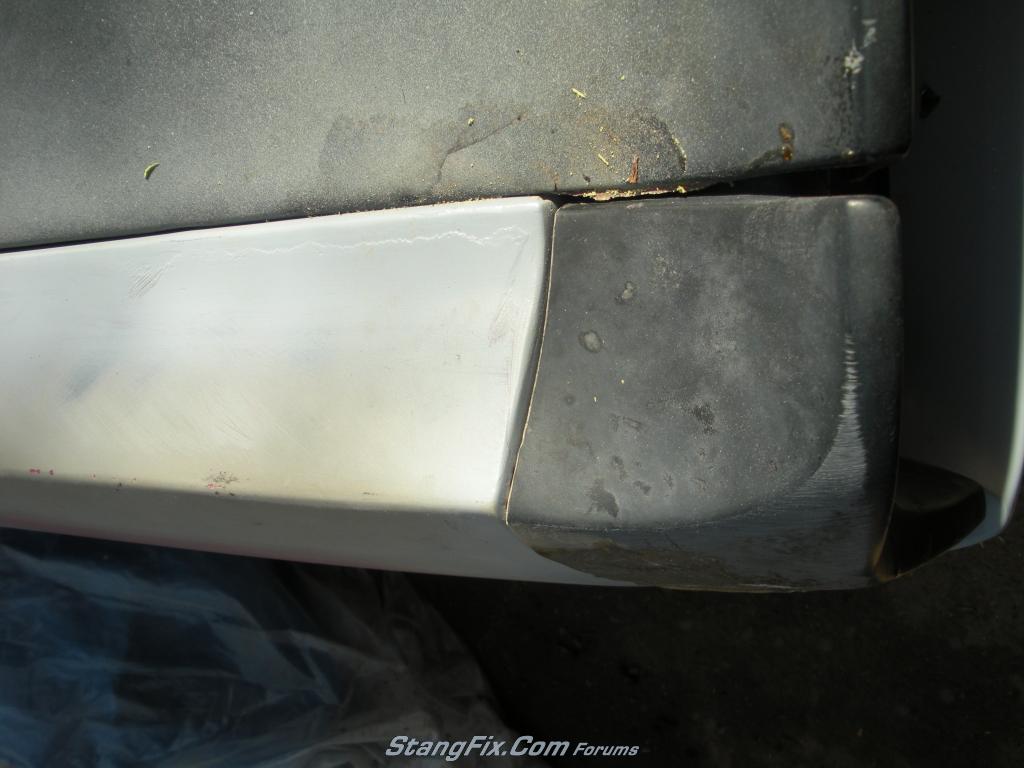
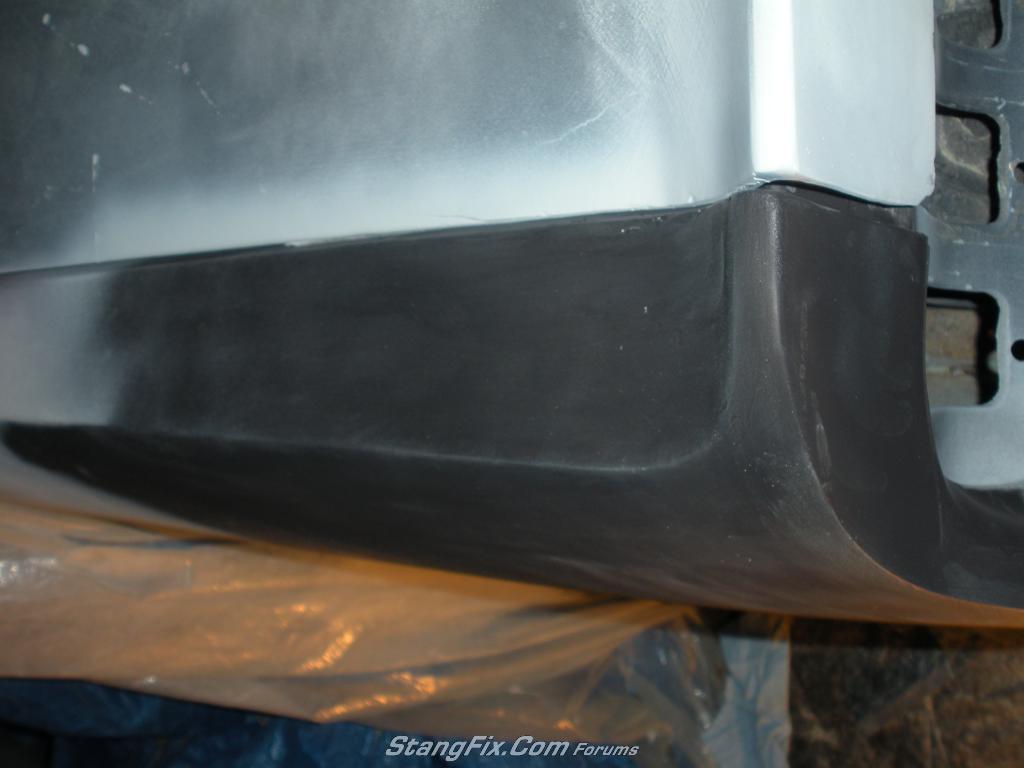
Smoothed and brought down the height of the endcap to better fit in line with spoiler now
Even gaps both sides

Extra fiberglass to flow evenly with metal (about 4 layers when all said and down)


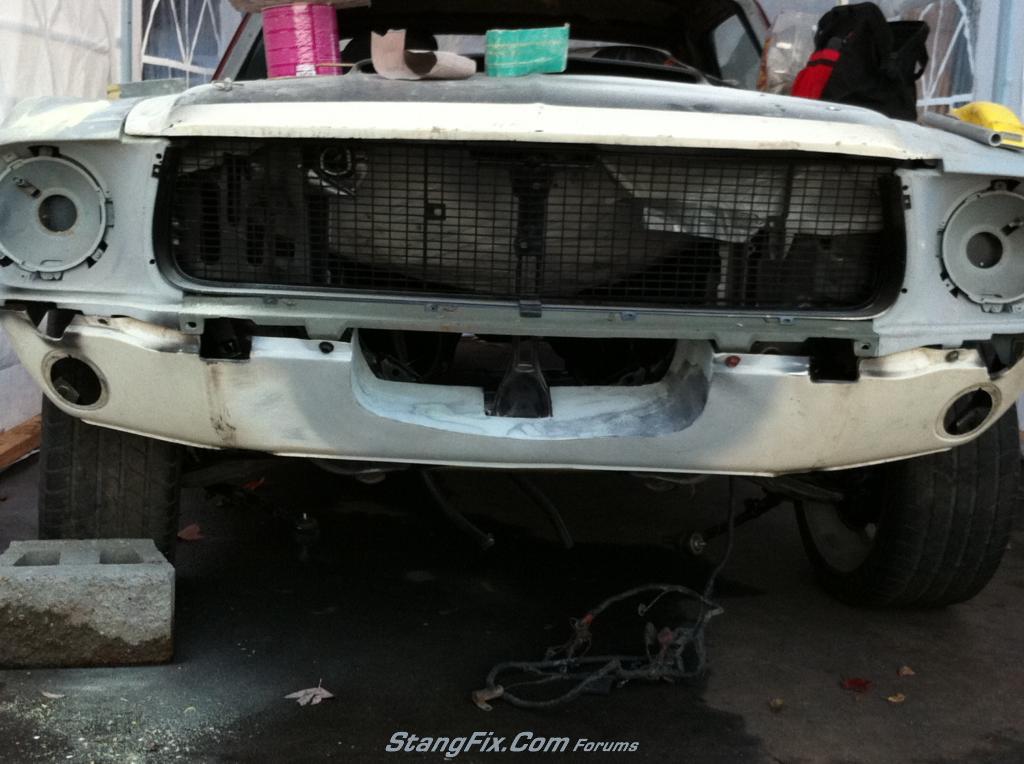
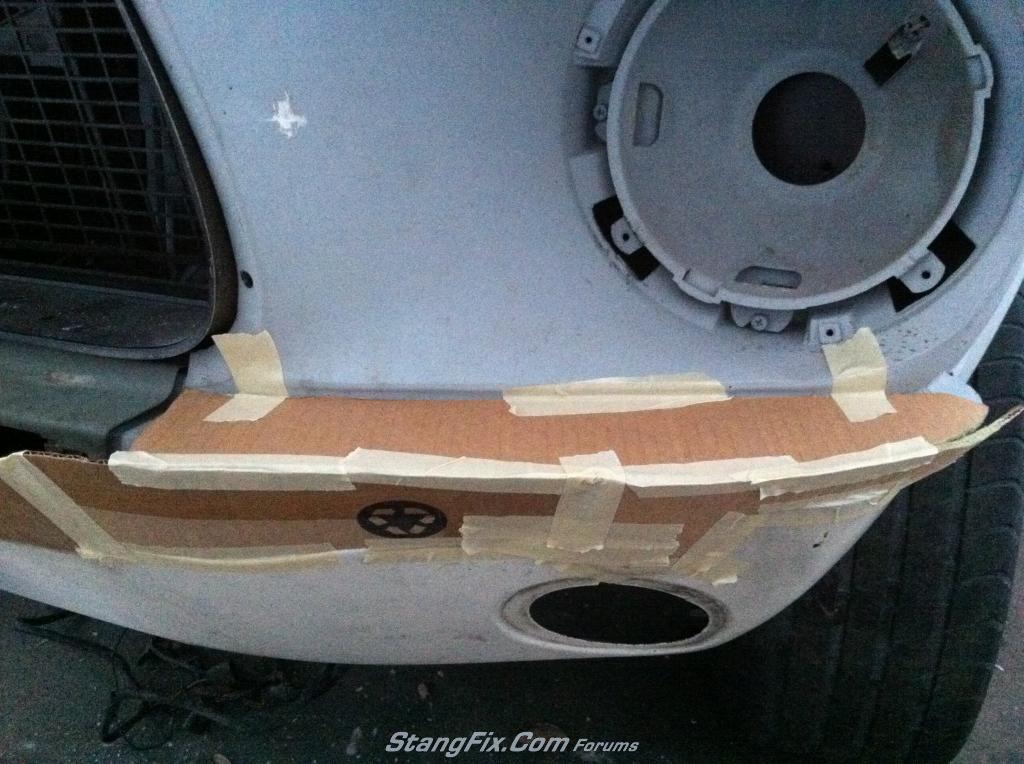
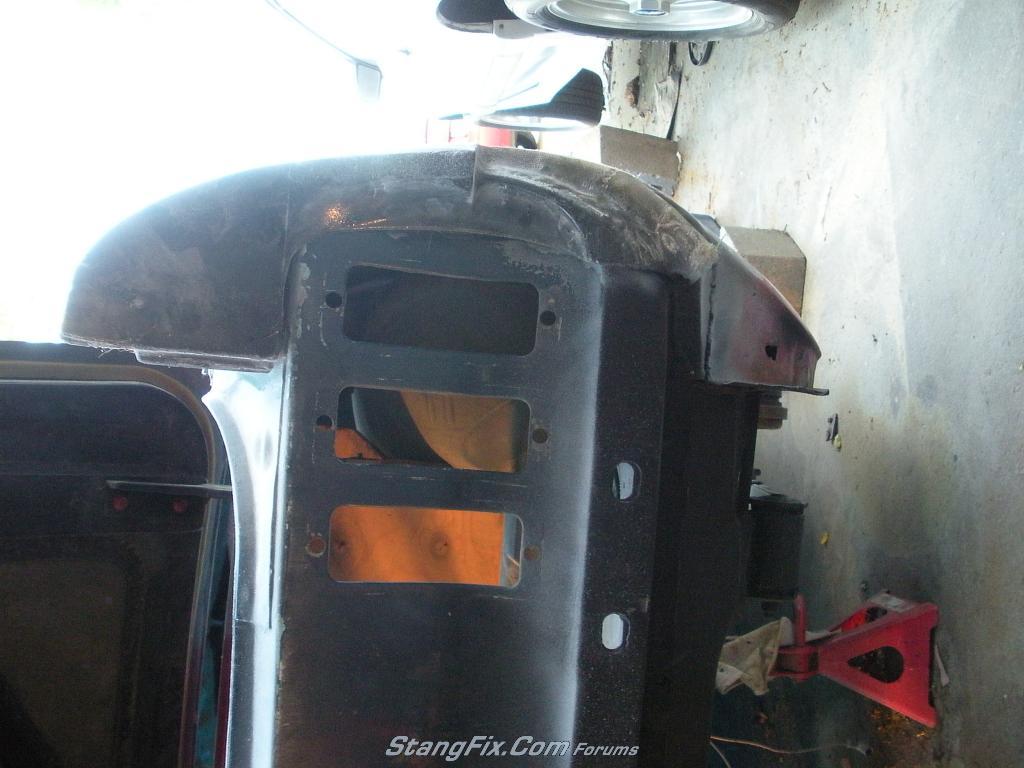
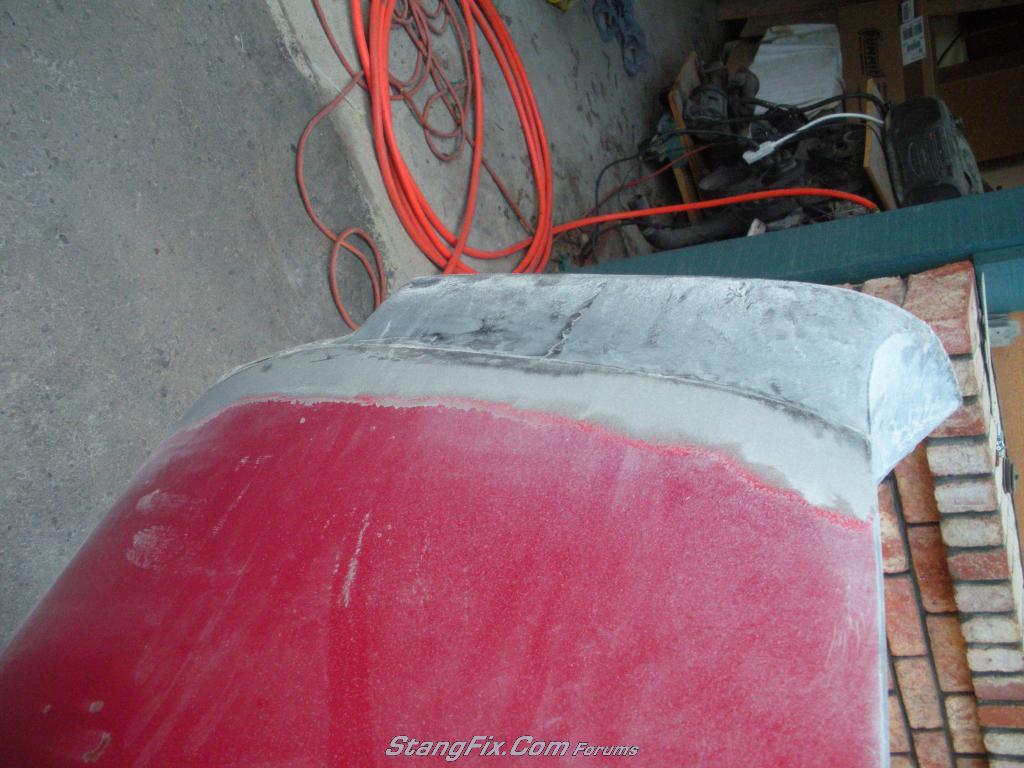
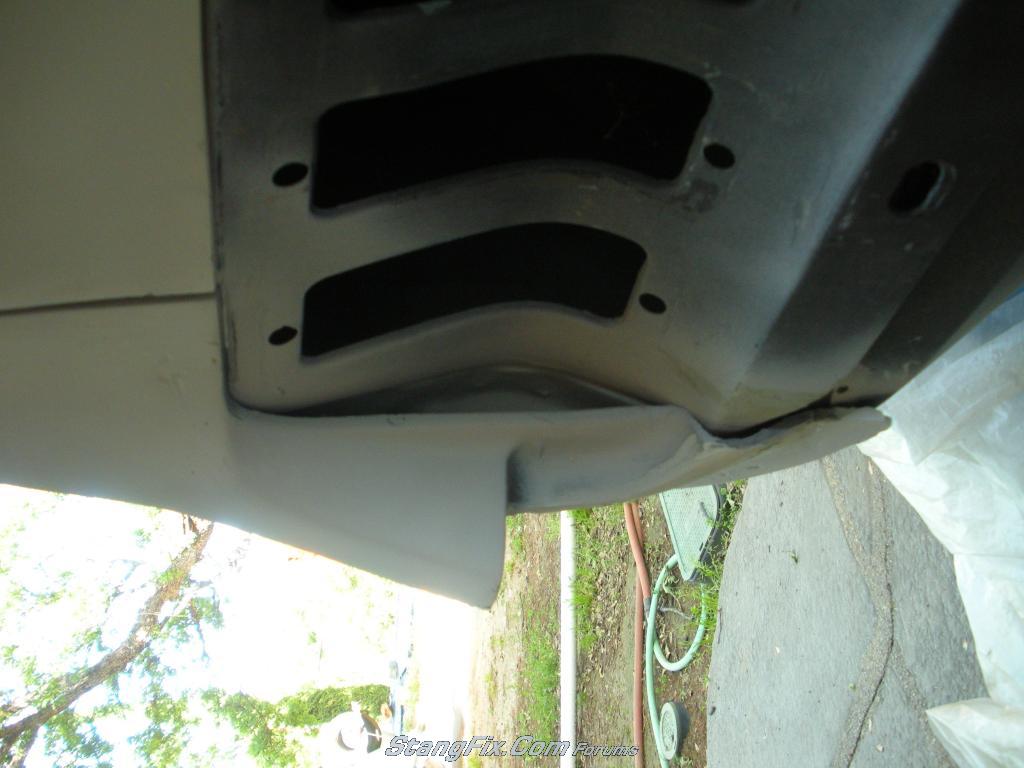
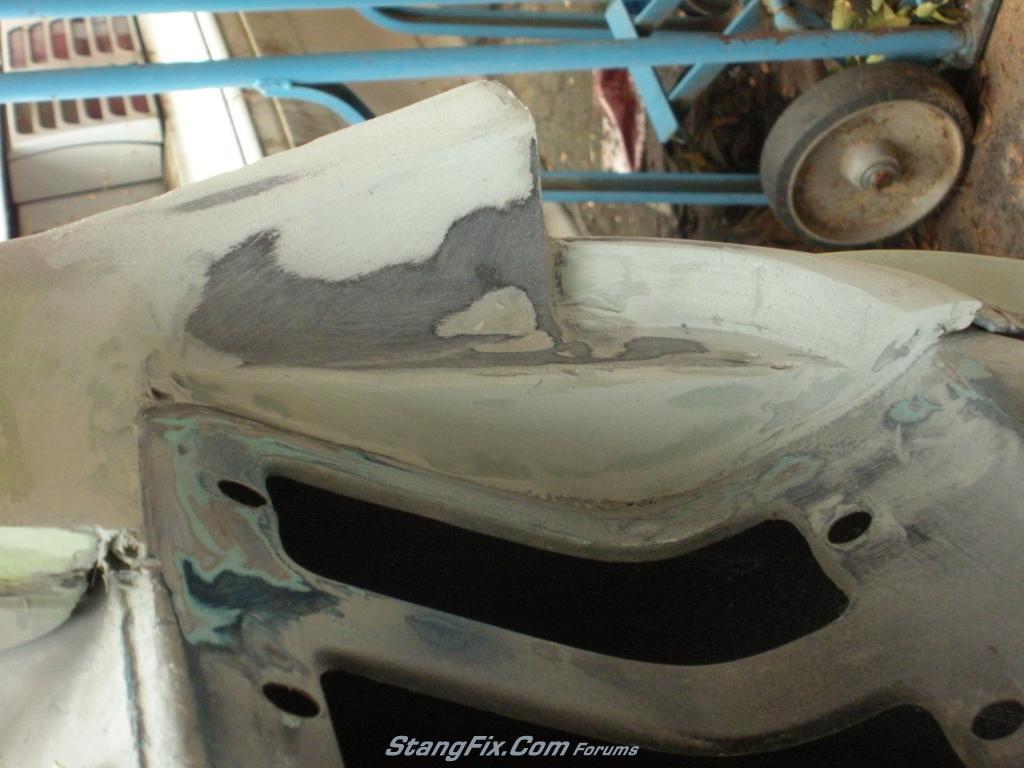
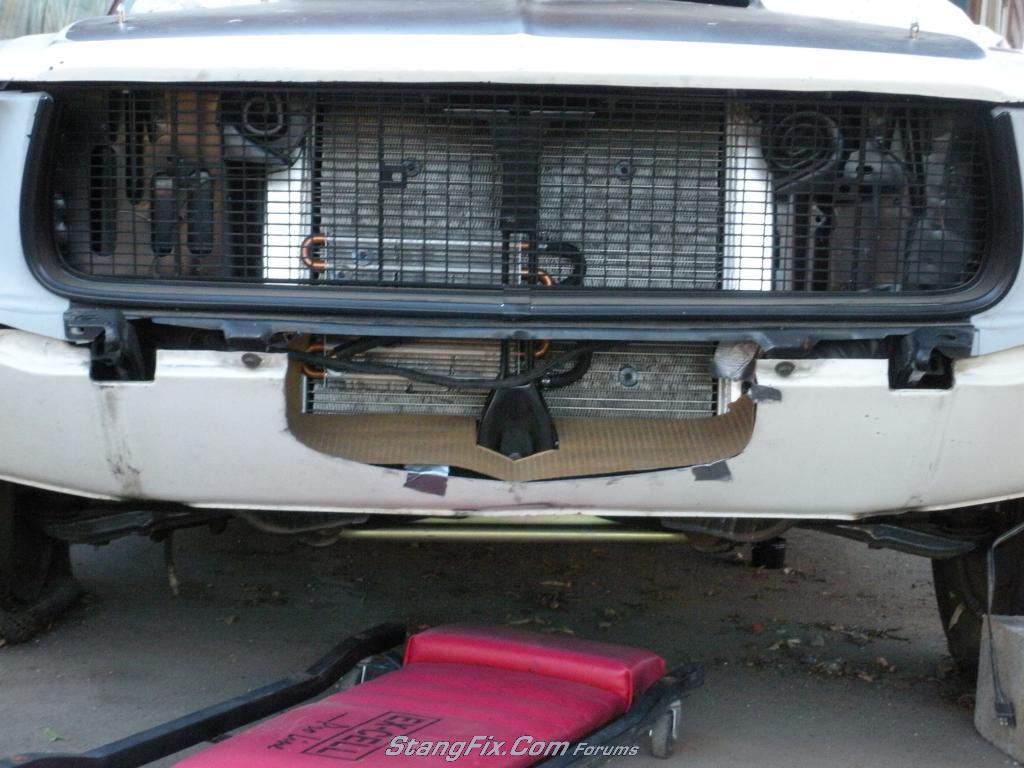
And we will end todays post with a tease of the front valance
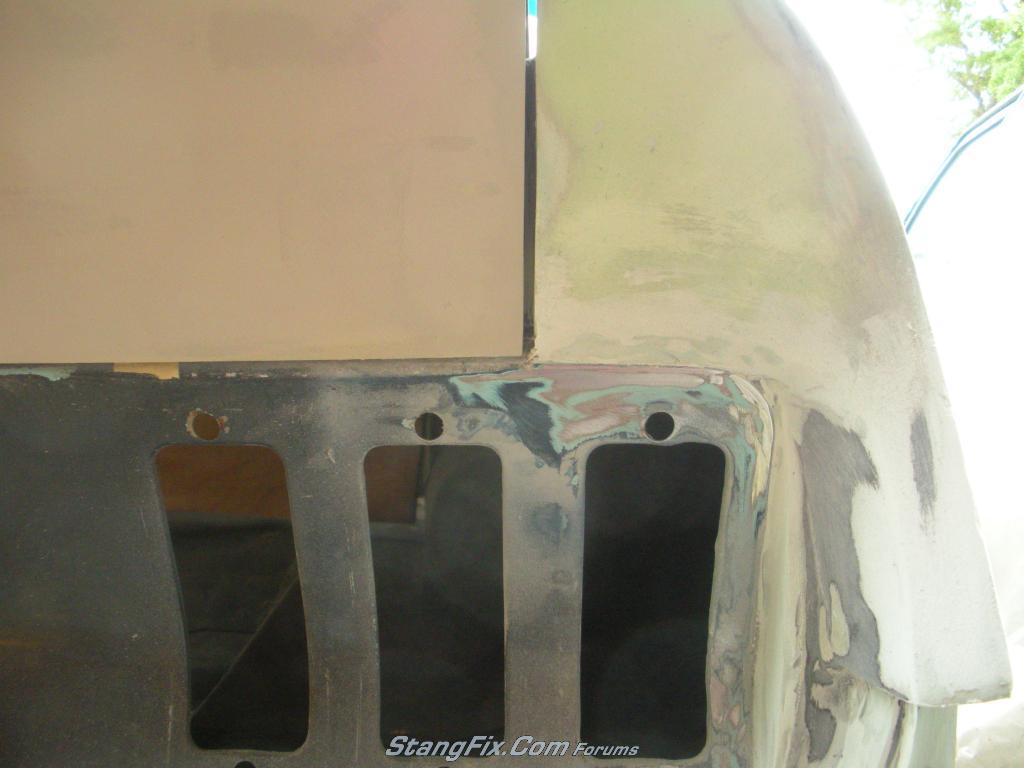
Before:

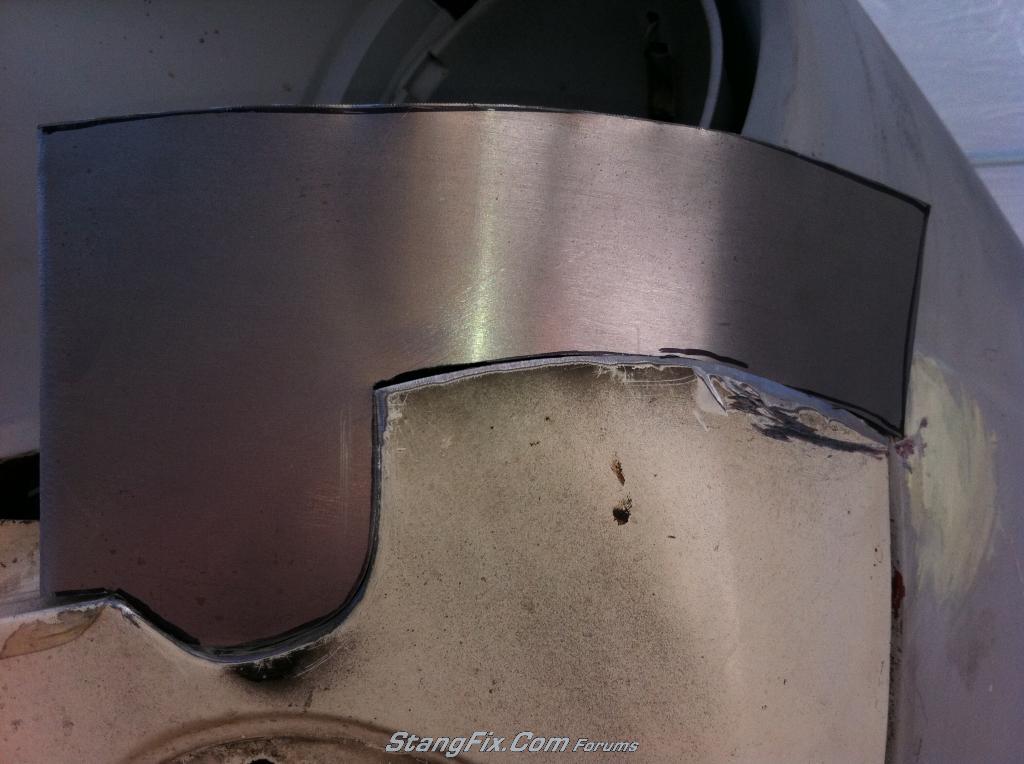
During:
Thanks for sticking with it all input is welcomed
Craig
My car is a 67 coupe deluxe interior with alot wrong with the car unfortunately i lost some of the car from the very beginning but ill try my best to keep this updated.
First off the car was bought for my by my dad when i was 12 for a project for me to work on i have always had classic stangs in the garage so this was my first real turn doing it all myself.
Problems:
Car sat for about 10 years
very poorly fit fiberglass pieces (like all them)
missing front end
rust in floor pans, DS rear rocker, quarter, window trims, trunk
rear collison with frame damage, trunk damage, and whole rear section
Interior was pretty poor but hey it's a deluxe
Interior doors have little rust but dents
Plan:
Turn it into a show car and autocross it while driving it on weekends in good weather
5.0 or 5.8 EFI
c4 to t-5 trans with hydraulic clutch
disc brakes
upgrade suspension
more modern interior
cage
New doors
extensive metal work but nothing to crazy looking
remove chrome and smooth emblems
make a driveable car
Has to be done by Hot August Nights for a very special surprise
I have alot of new pics that will be coming
Oh and it's all being built outside
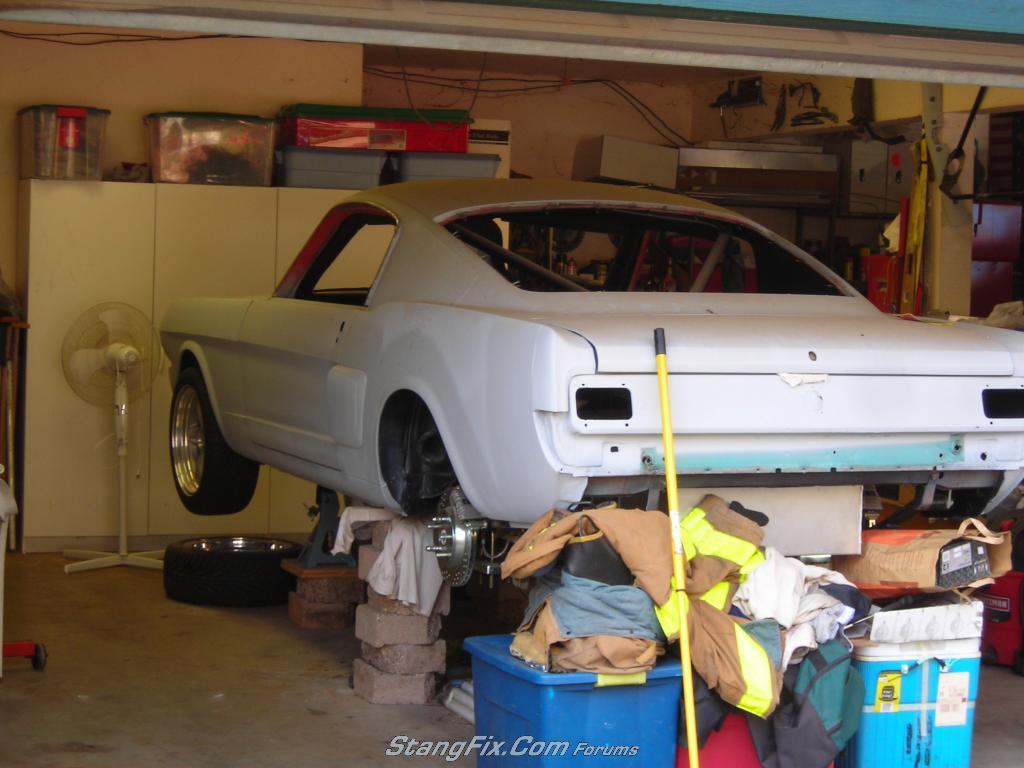
This is the earliest photo i still have
Tear down begins
Floor pan patched, and all to be POR-15
Engine bay and fenderwells all sandblasted and painted semi-black, with the rest of the undercarriage to come
Just dirty from sitting outside turned out great
Both sides rear window rust repair
Now for the trunk! This was definitely a long job
before: (sorry forgot to take more pics trust me it was bad!)
during:
new section:
fiberglass section: Added several more layers of glass and resin and did plenty of shaving to make them fit just right. The endcaps and spoiler line up terrible at first and one side of the spoiler was about 3/8" taller than the other but a little work and it actually looks decent.
Look at how high the endcaps are compared to the spoiler vs.the other side, but will be fixed
Feathering the difference and uneven spoiler
new fiberglass molds to fill gap between endcaps and taillight panel
She fits!
Smoothed and brought down the height of the endcap to better fit in line with spoiler now
Even gaps both sides
Extra fiberglass to flow evenly with metal (about 4 layers when all said and down)
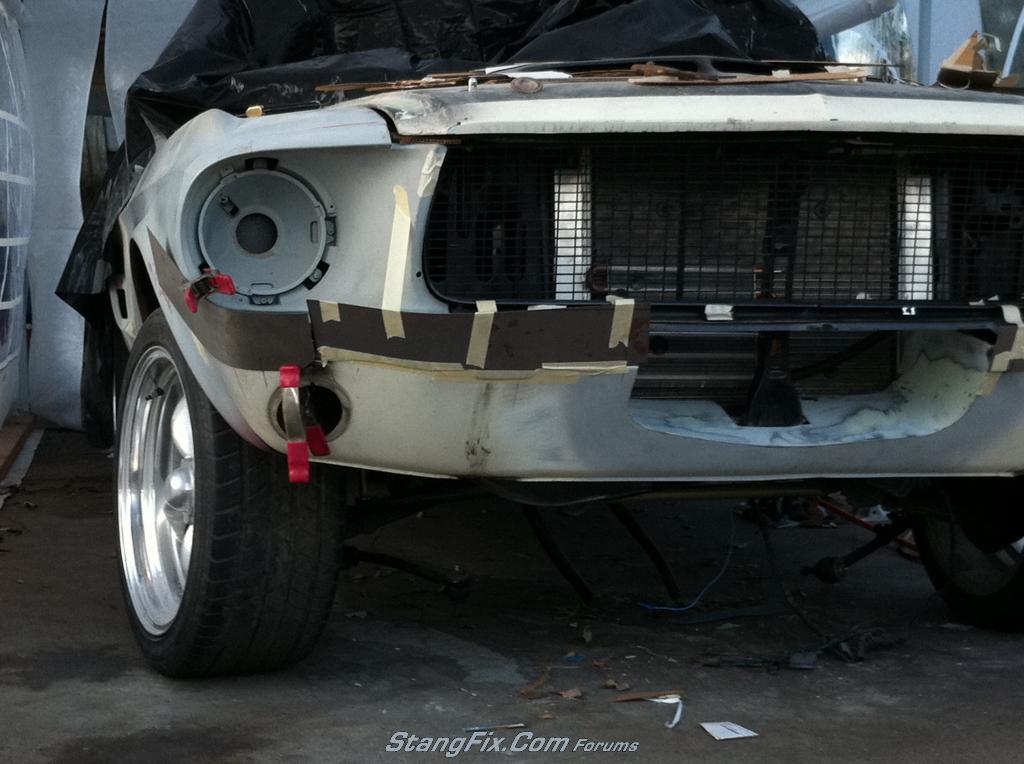
And we will end todays post with a tease of the front valance
Before:
During:
Thanks for sticking with it all input is welcomed
Craig
Last edited by a moderator: