-
Hello there guest and Welcome to The #1 Classic Mustang forum!
To gain full access you must Register. Registration is free and it takes only a few moments to complete.
Already a member? Login here then!
You are using an out of date browser. It may not display this or other websites correctly.
You should upgrade or use an alternative browser.
You should upgrade or use an alternative browser.
1966 F100 Build
- Thread starter JRANGER
- Start date


JRANGER
Active Member
Slow and steady.....I had a steering issue where the set screw was binding against the housing under the hood. I grinded away the housing to fix this issue but i think the root cause is the rusted out cab mounts. I have since parked the truck in the driveway, cut out the bushing bolts, and jacked the cab up onto some cinder blocks on that side. I cut away some of the floor with my EBAY plasma cutter and it worked great for about 2 days. Then it stopped working. Luckily its under warranty and i got a replacement high frequency board for it. I go on STAY-cation after this week so hopefully i can get some stuff done and get the new cab mount and floor in on the driver side.
JRANGER
Active Member
1 Week off for a staycation equals progress
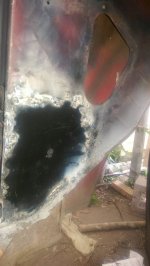
It has begun. Finished cutting out the floor and cab support. Then removed the fiberglass i found next to it...ugh and surprise surprise..Rust and rut. So i welded that up and made a patch. Patched it and that was pretty much today. Tomorrow...I try to start getting everything in place for the floor and cab mount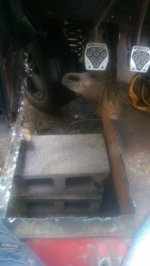
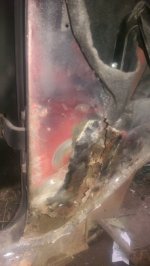
Well other then blowing up my angle grinder things went pretty well today. Got a little metal cut out, fitted, and welded in the cab mount and test fitted the floor. Just need to grind some before i put it in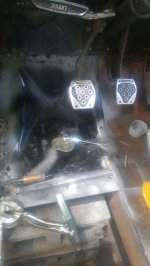
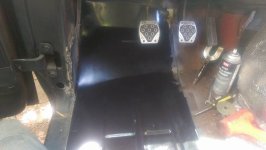
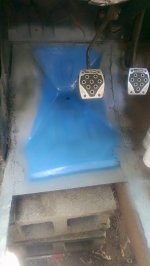
Another day and i got the floor almost completely welded in. Their is a hole i have some flat stock to fix at the back but thats pretty much it. I coated most of it with rustoleum so i can seam seal it tomorrow. Would of finished but ran out of weld wire...blah
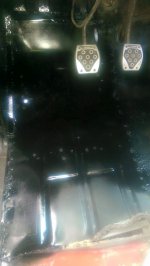
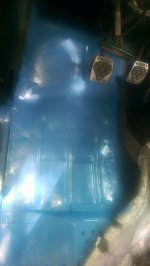
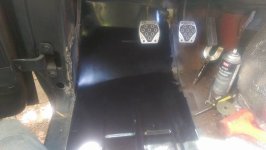
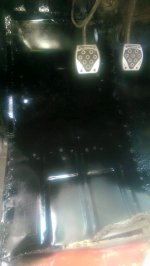
Finished all welding and hit it with more rustoleum before seam sealer
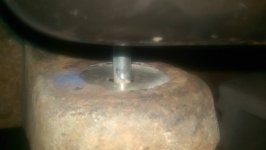
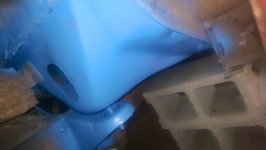
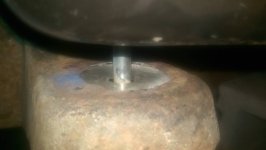
welded in a really thick washer i drilled out for the bushing tube to fit through
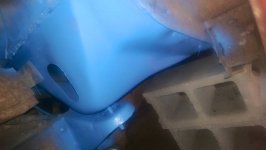
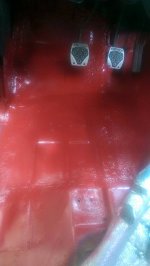
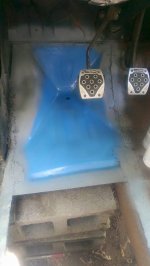
painted before seam sealer
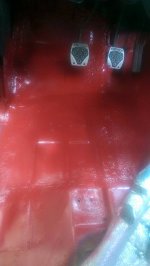
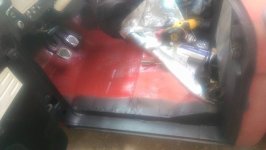
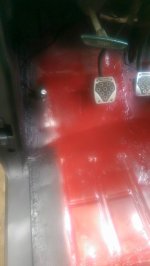
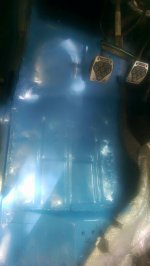
painted after seam sealer
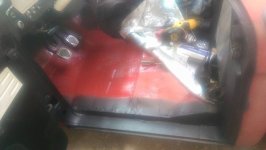
painted the outside edges back flat black
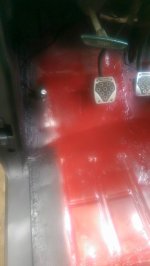
Installed new dimmer switch
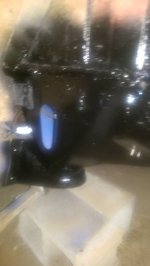
Cab mount painted after seam sealer and bushing install
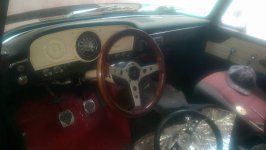
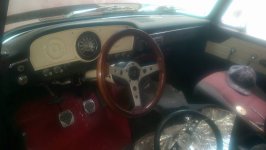
Installed my wood wheel i got for cheap and fixed the horn. Now i have to get rid of the button on the dash that was the horn button
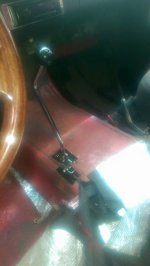
Well I finally replaced my shifter that was rigged in with angle iron and bolted to the floor with a real truck shifter. I also fixed the rods somewhat so now atleast Rev and 1st are on the driver side and not passenger side. Unfortunatly i didnt pay enough attention to the diagram and instead looked at the previous setup when i replaced the shift arms. So its Left Up 1, Left Down R, Right Down 2, Right Up 3... O well, it started to rain and ive had enough for the day. Ill leave it be for now, atleast its a bit better
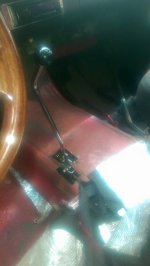
Finally replaced the shifter with a truck shifter mounted to the trans
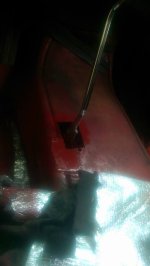
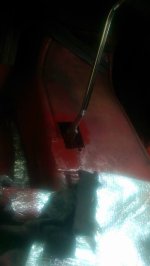
Patched the hole from the previous shifte
It has begun. Finished cutting out the floor and cab support. Then removed the fiberglass i found next to it...ugh and surprise surprise..Rust and rut. So i welded that up and made a patch. Patched it and that was pretty much today. Tomorrow...I try to start getting everything in place for the floor and cab mount
Well other then blowing up my angle grinder things went pretty well today. Got a little metal cut out, fitted, and welded in the cab mount and test fitted the floor. Just need to grind some before i put it in
Another day and i got the floor almost completely welded in. Their is a hole i have some flat stock to fix at the back but thats pretty much it. I coated most of it with rustoleum so i can seam seal it tomorrow. Would of finished but ran out of weld wire...blah
Finished all welding and hit it with more rustoleum before seam sealer
welded in a really thick washer i drilled out for the bushing tube to fit through
painted before seam sealer
painted after seam sealer
painted the outside edges back flat black
Installed new dimmer switch
Cab mount painted after seam sealer and bushing install
Installed my wood wheel i got for cheap and fixed the horn. Now i have to get rid of the button on the dash that was the horn button
Well I finally replaced my shifter that was rigged in with angle iron and bolted to the floor with a real truck shifter. I also fixed the rods somewhat so now atleast Rev and 1st are on the driver side and not passenger side. Unfortunatly i didnt pay enough attention to the diagram and instead looked at the previous setup when i replaced the shift arms. So its Left Up 1, Left Down R, Right Down 2, Right Up 3... O well, it started to rain and ive had enough for the day. Ill leave it be for now, atleast its a bit better
Finally replaced the shifter with a truck shifter mounted to the trans
Patched the hole from the previous shifte
Attachments
-
 t_painted_c9dc577d0ec53f4d6eb644f1aa13669d6c7fd7c6.jpg35.9 KB · Views: 0
 -
 eam_paint_422d98e7b44496084221294f0c4709ee91aaecfa.jpg32.9 KB · Views: 0
 -
 fter_seam_d7bc723bf27047d2b044e40a459ccca82117ddd0.jpg47 KB · Views: 0
 -
 am_sealer_1c00ae303f49b29c68897e4fda779e8c6fcbadb6.jpg45.6 KB · Views: 0
 -
 er_switch_b62a935a1772ac8f7e9682c8869af418e086b82b.jpg42.4 KB · Views: 0
 -
 ood_wheel_1d907194d485af1ee4e3eaba116184ce4825569d.jpg40.4 KB · Views: 0
 -
 _replaced_16a1b0fd91e081d34eb9a1c29d6f9f5b374564ea.jpg43.5 KB · Views: 0
 -
 ter_patch_2d2e157d399595793dbd6f3ab6dd7be61f7cce8f.jpg33.3 KB · Views: 0
 -
 _in_mount_9ea7511e31dcb8517450a9a1b4ca776b8324655d.jpg24.8 KB · Views: 0
 -
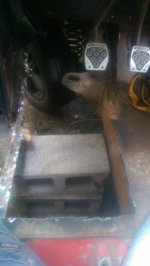 floor_out_bd9dbf75f5ffd145dbd04eed6437a0fbde8e40b9.jpg39.7 KB · Views: 0
 -
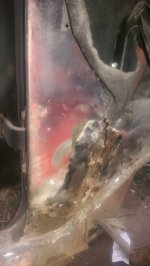 80-rust_d7f3ccc4ab7d0c265fb4fb68bdf916f6e5462fd4.jpg51.2 KB · Views: 0
 -
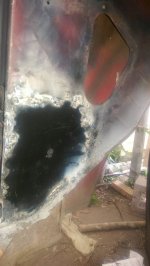 80-patch_9ee9f40cec1ef56d0cd96b5da52cf439fd920fd5.jpg57.8 KB · Views: 0
 -
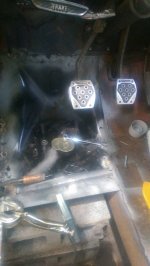 ount_weld_429df2b45737cfc65b66f9ec32ad2eb6151edf32.jpg50.6 KB · Views: 0
 -
 loor_test_dcfc71accab8a29a2dc58a33c3a7fcf77f973f10.jpg40.9 KB · Views: 0
 -
 cab_mount_6dbf9ceb0e68d2ad3de1d5f049013855de1116b2.jpg52.1 KB · Views: 0
 -
 -floor_in_e860d964be6af11b16475a085047f2331982b070.jpg51.4 KB · Views: 0
 -
 eld_paint_224a656e8ed8038b128004009f534a0dec9ad408.jpg46.4 KB · Views: 0

Looking good keep up the progress.
From Infinity and beyond
From Infinity and beyond
JRANGER
Active Member
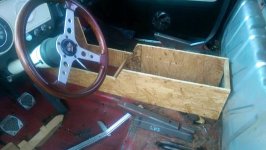
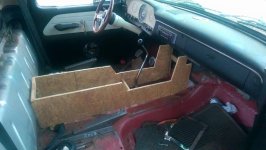
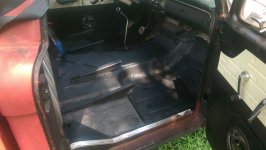
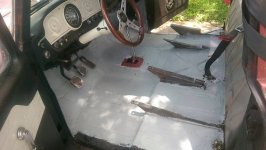
Well got the sound deadener in and waiting for it to dry. Then i will top coat it with bed liner. I hope it sticks
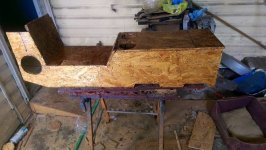
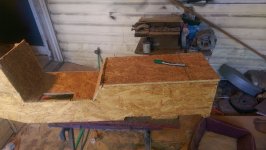
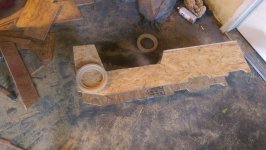
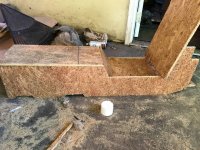
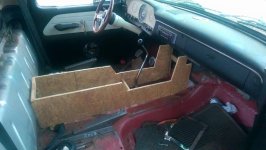
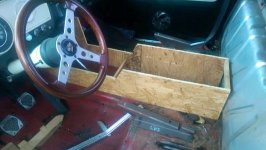
I also cut some notches in my console and test fitted some pieces i cut. Nothing is together though
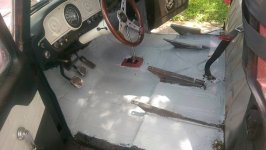
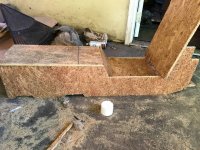
Hit it with bed liner and did more work on the console
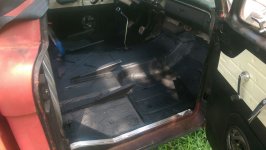
bed liner
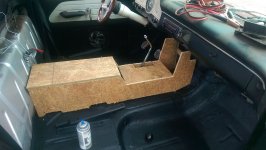
testing shifter cutout
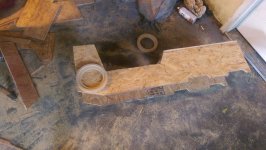
May or may not use these. Eitherway checking placement for my speakers
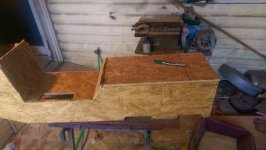
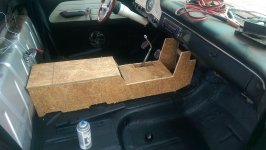
Mostly put together the base of it. Lots left to do
Attachments
-
 -imag1687_9384b8e865fb104fa40c19078e7754f33b7463bf.jpg338.9 KB · Views: 0
 -
 -imag1686_daec8cfa484ff618bde4b5fa1bf0d4a3e9de2d69.jpg369.6 KB · Views: 0
 -
 -imag1685_6da3e1ce4897056313242c7ee7b35b9c9d964737.jpg307.9 KB · Views: 0
 -
 -imag1682_12c973a884964f757b47f1c8357b33682249a8c2.jpg270.1 KB · Views: 0
 -
 2050176_n_7e702900a3d6b654ac239e7e67814790eade49cb.jpg161.9 KB · Views: 0
 -
 0-deadner_5bb81510c3a3914034f61cb0c4bfcd6598a36bca.jpg68 KB · Views: 0
 -
 80-pass_2857ab3da3ab266742d181031283f01b4865f1fa.jpg67.8 KB · Views: 0
 -
 80-driver_68da711bf083c0006e7507e464b712d5cf29d5a4.jpg68.9 KB · Views: 0
JRANGER
Active Member
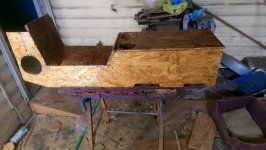
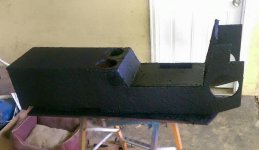
Coated in fiberglass resin
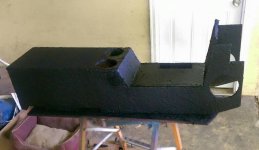
Filled seams/gaps with hot glue and coated with bed liner. Nothing perfect but its for the truck. Waiting on my arm rest piece and then ill build a cubby on the top and attach it. I really should get it covered in vinyl. It would look awesome