GPR
Active Member
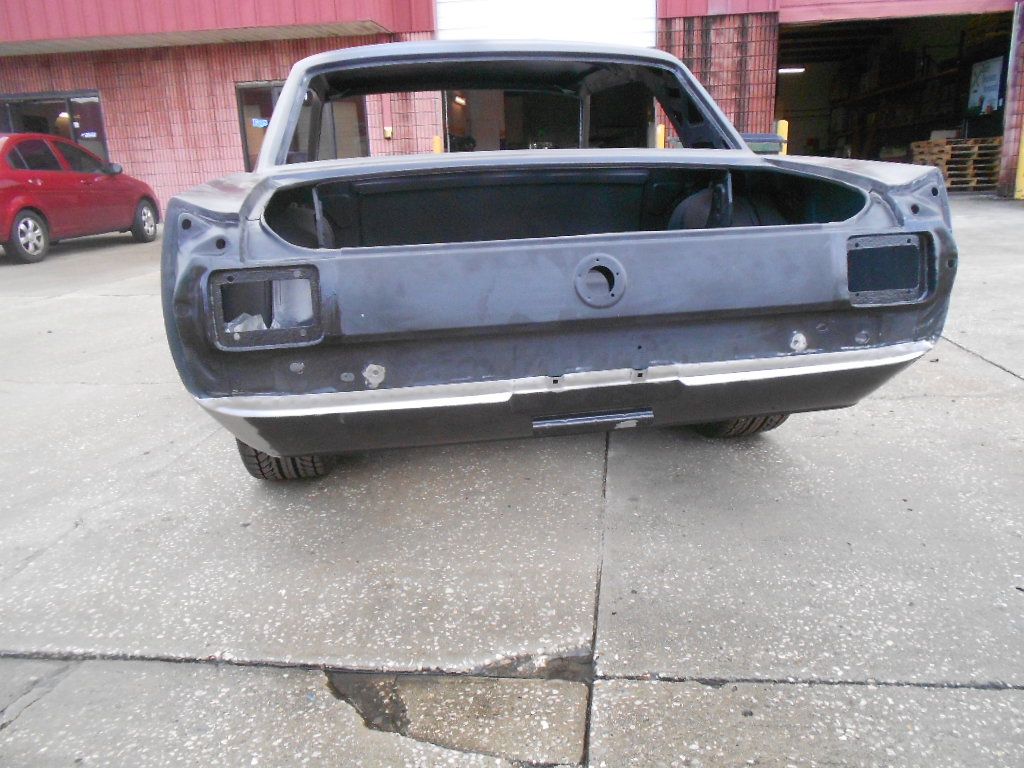
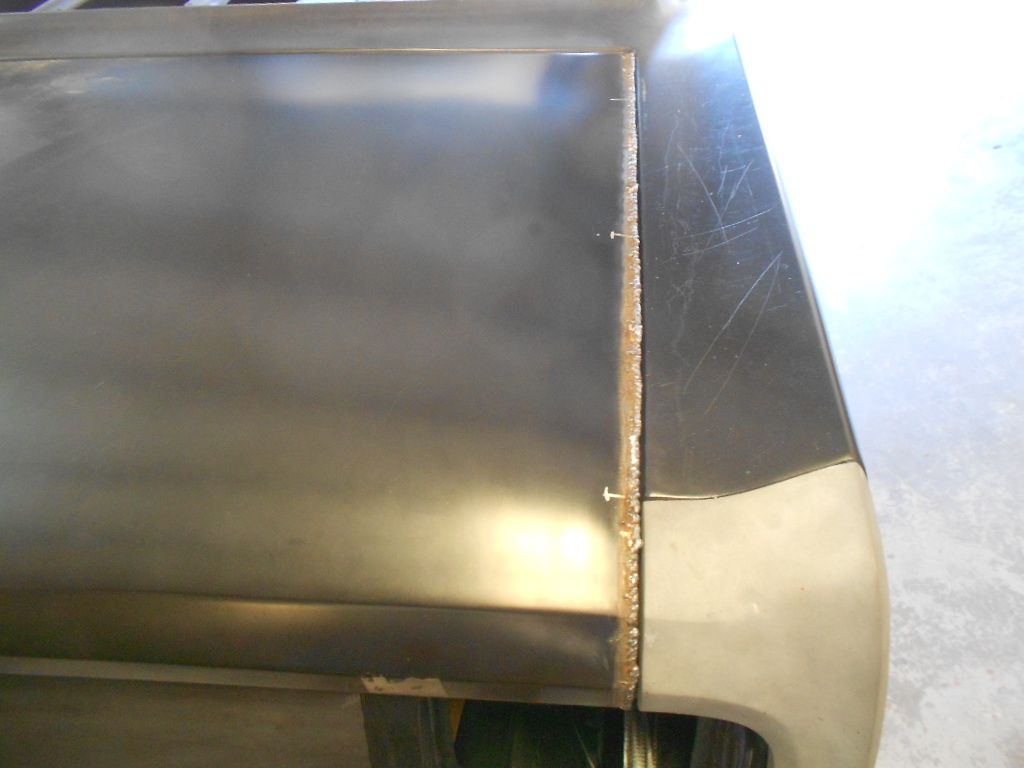
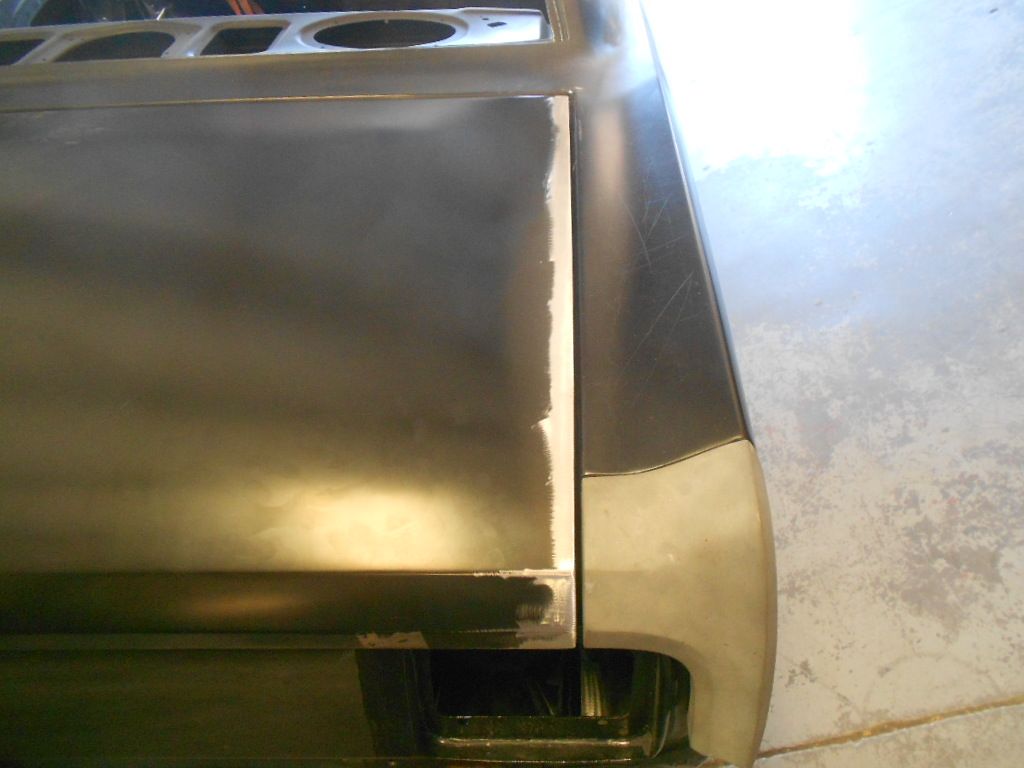
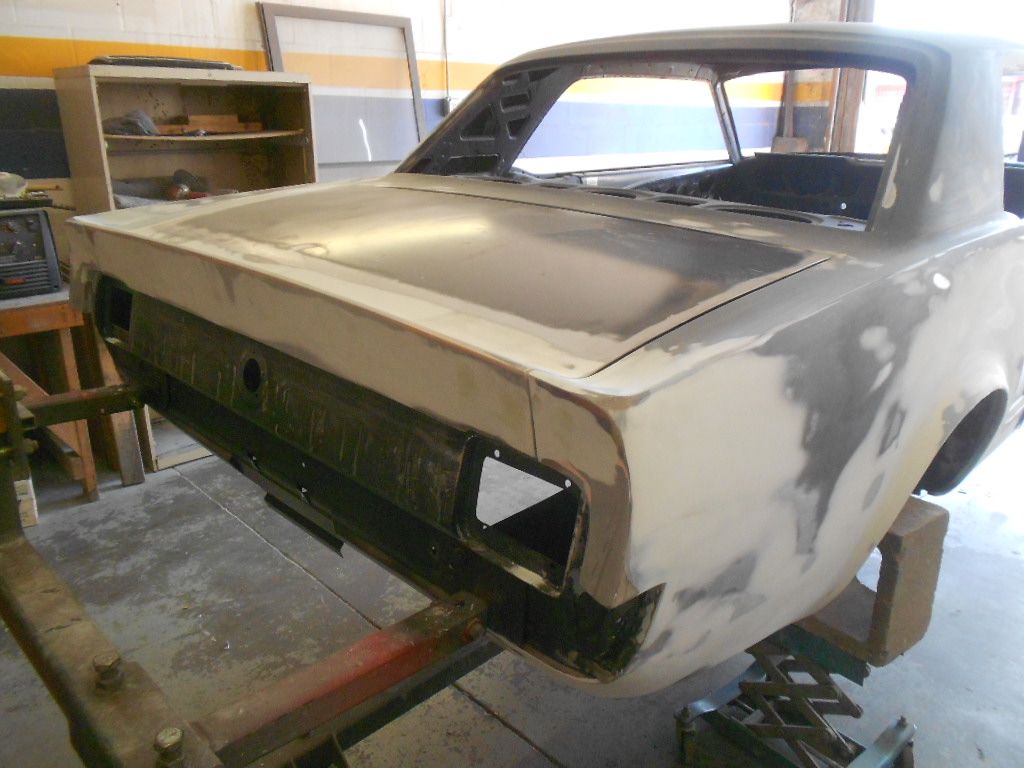
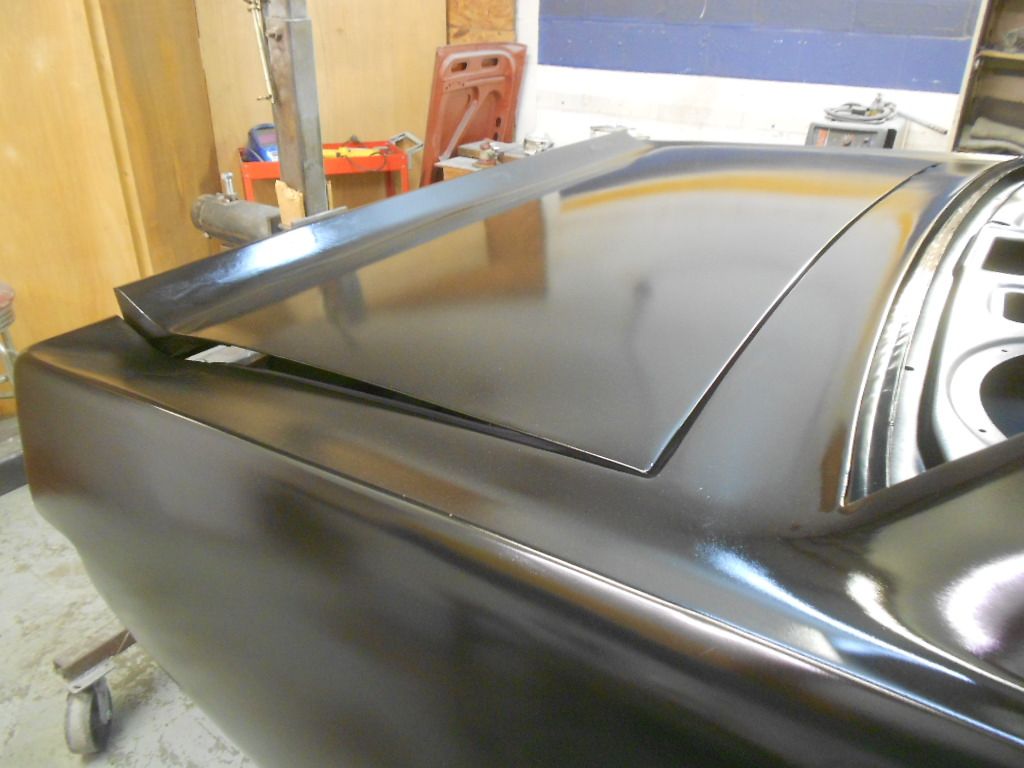
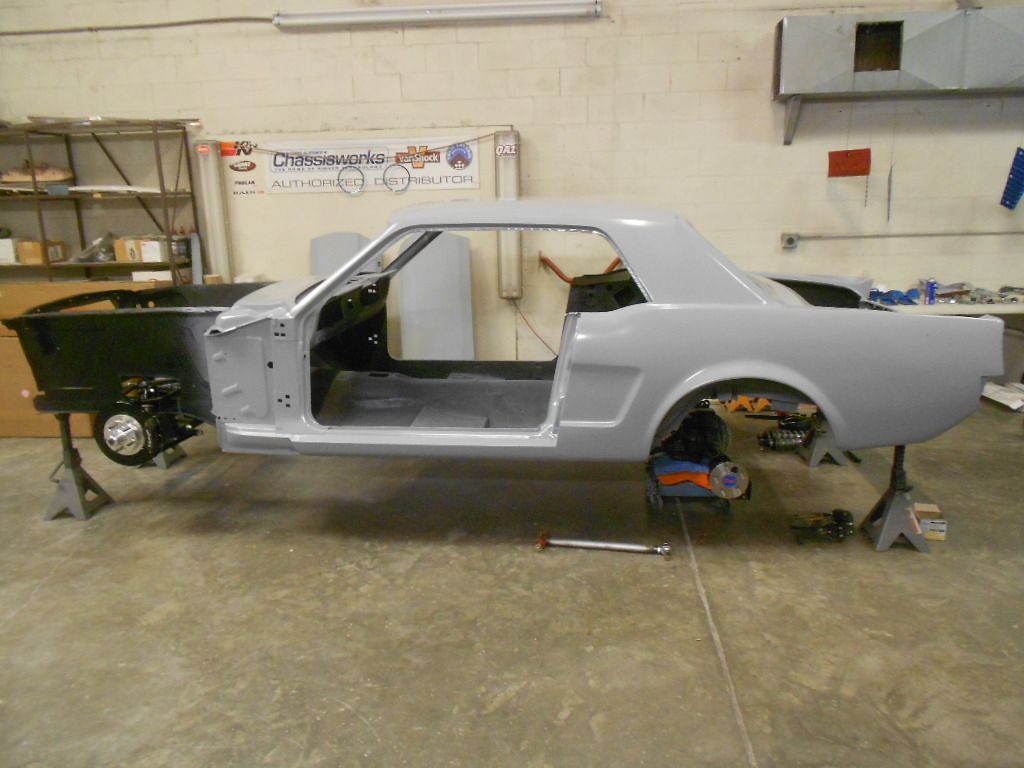
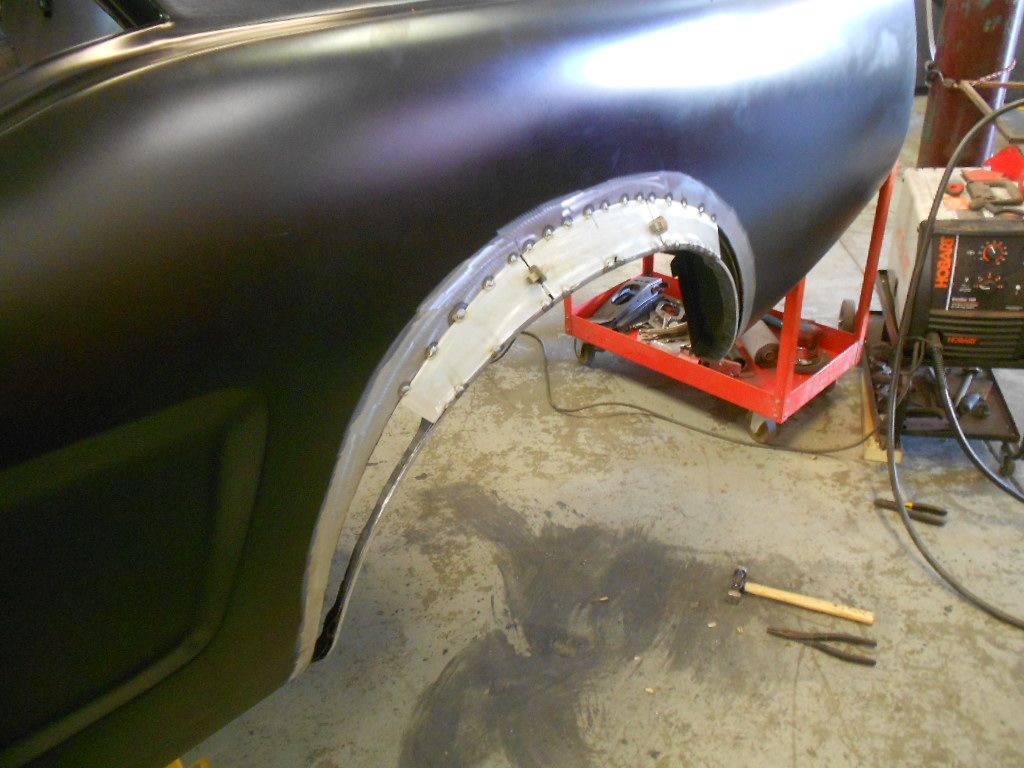
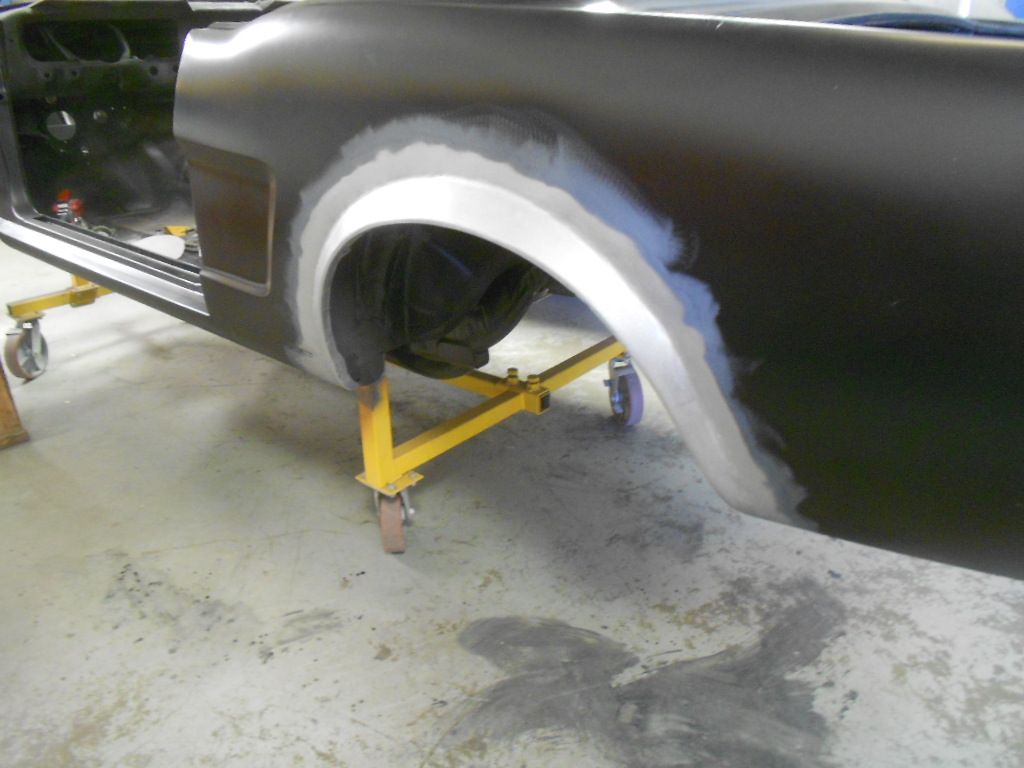
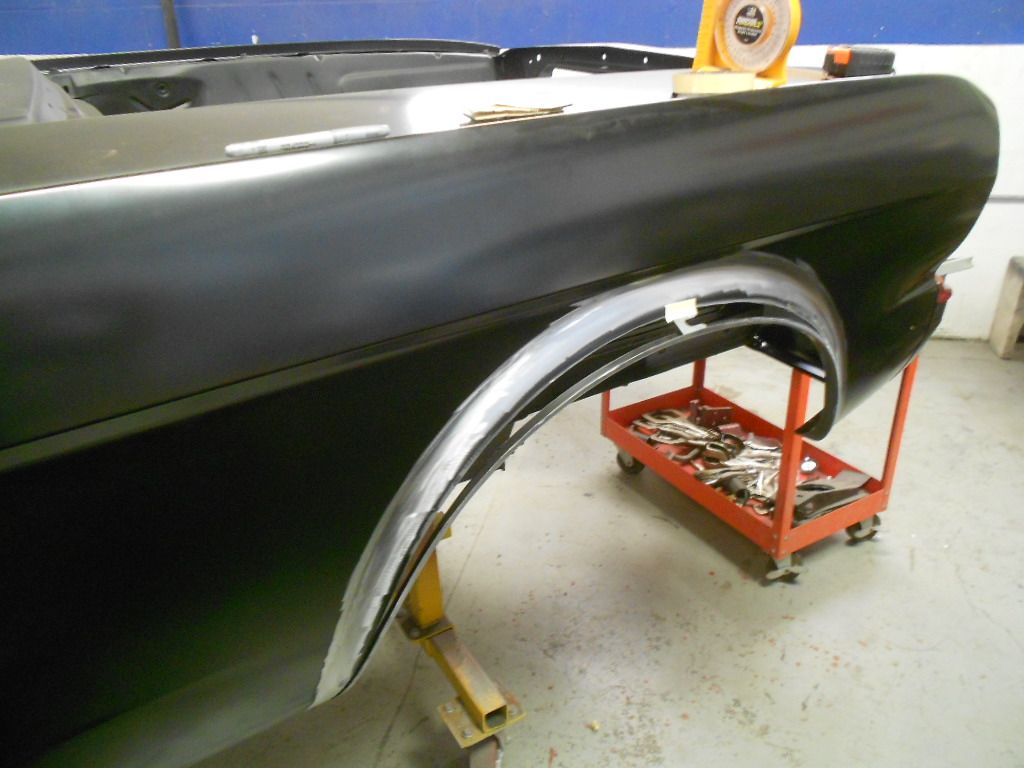
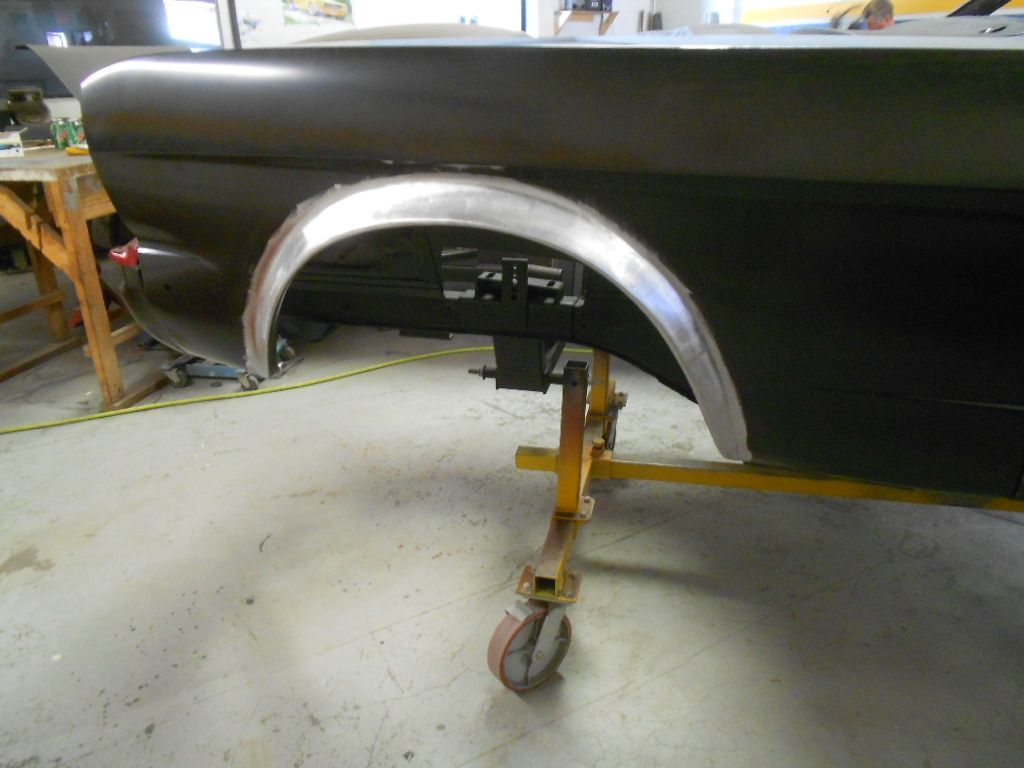
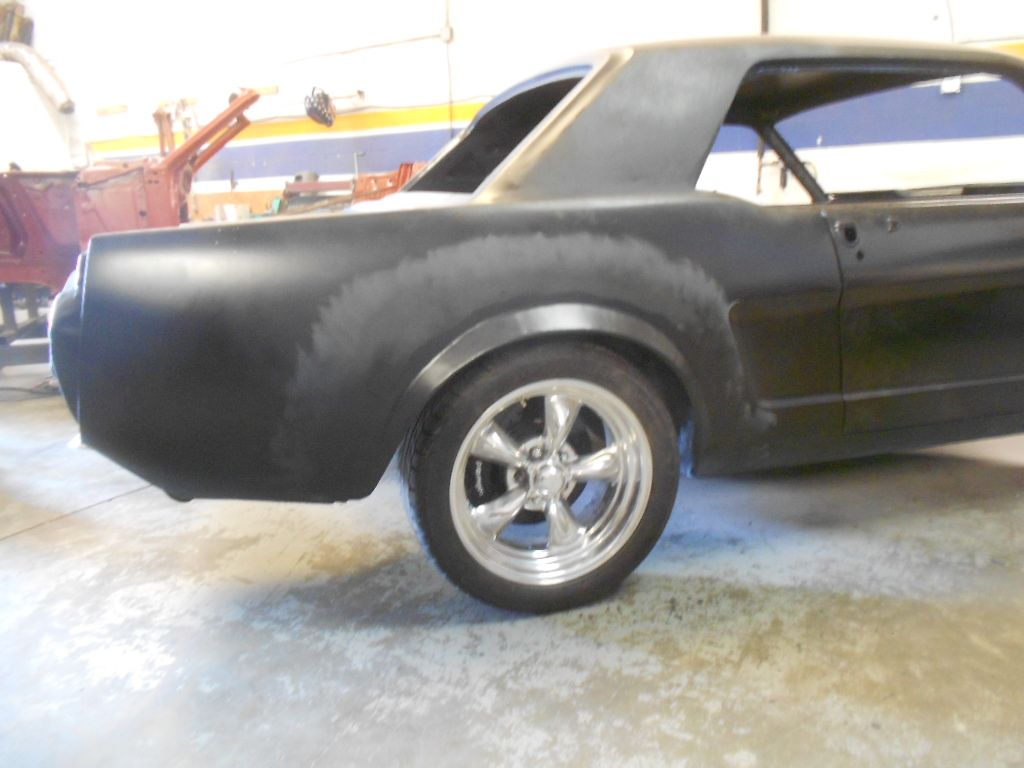
Round 2. The black line is where Brian will be cutting

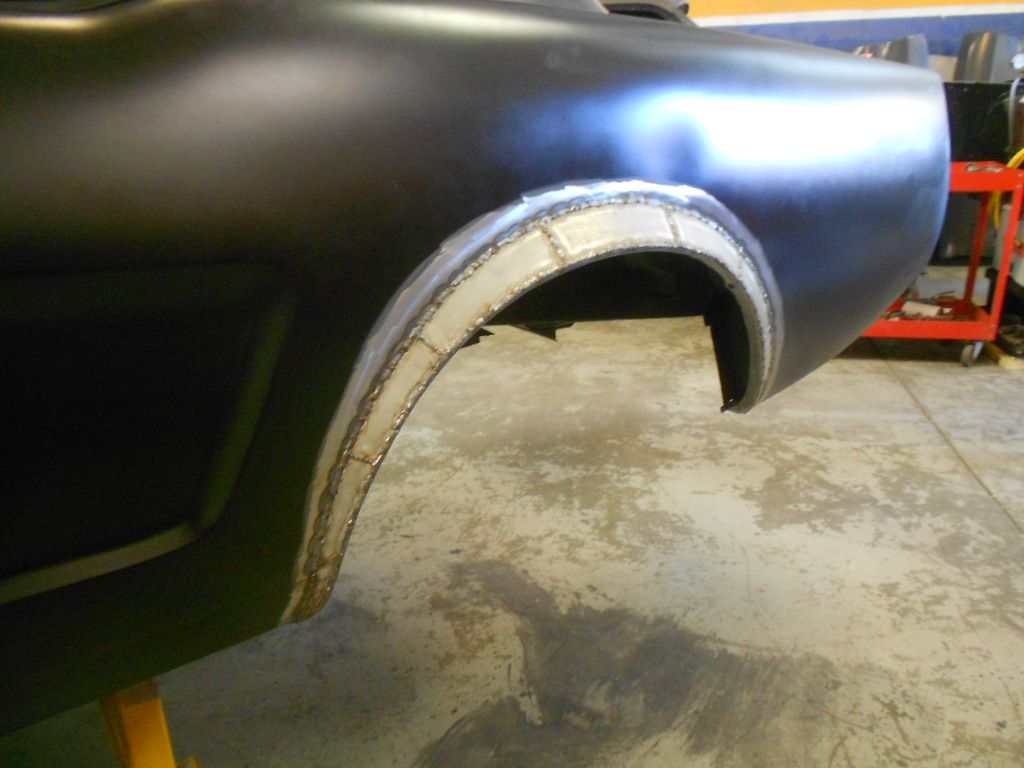
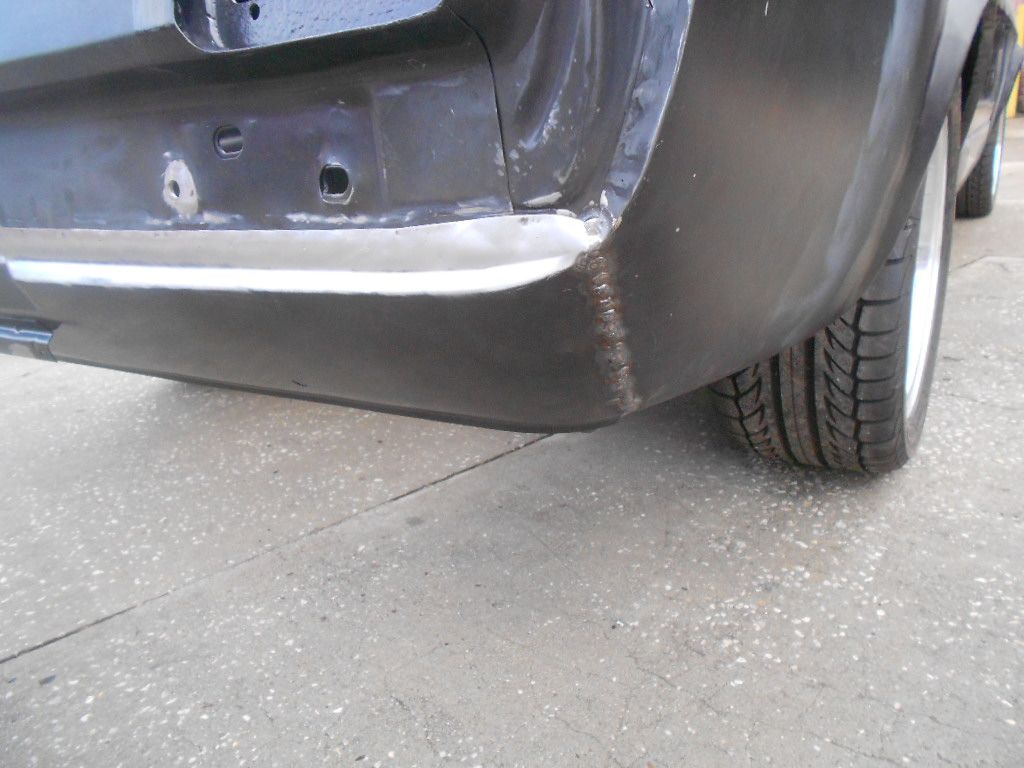
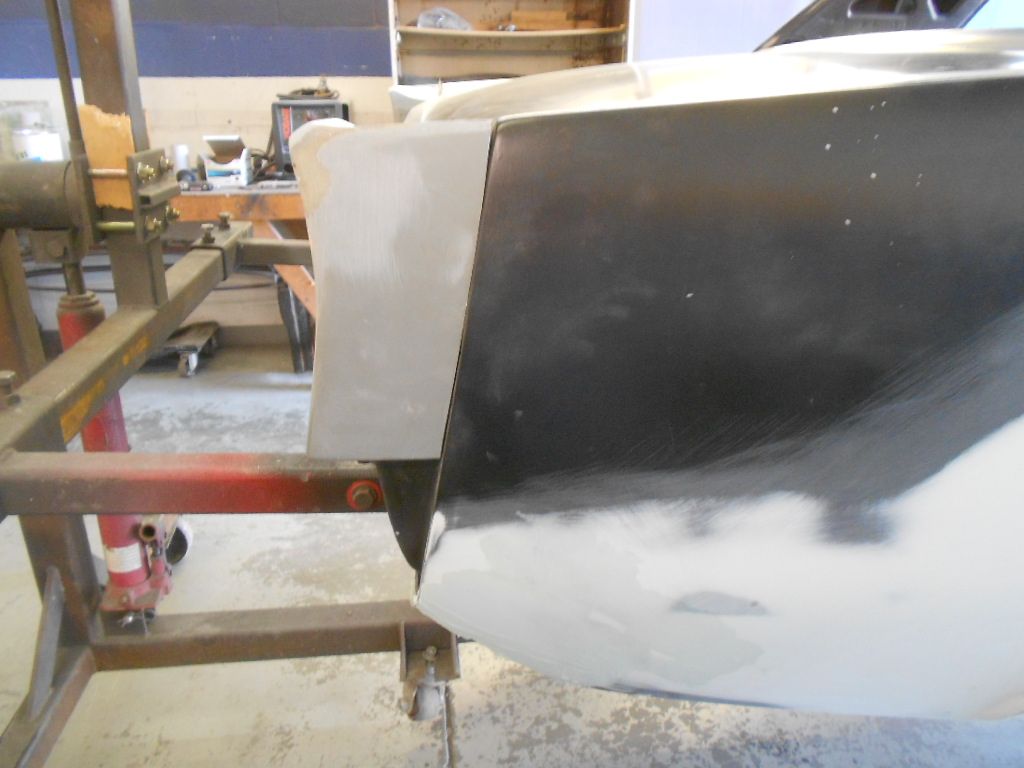
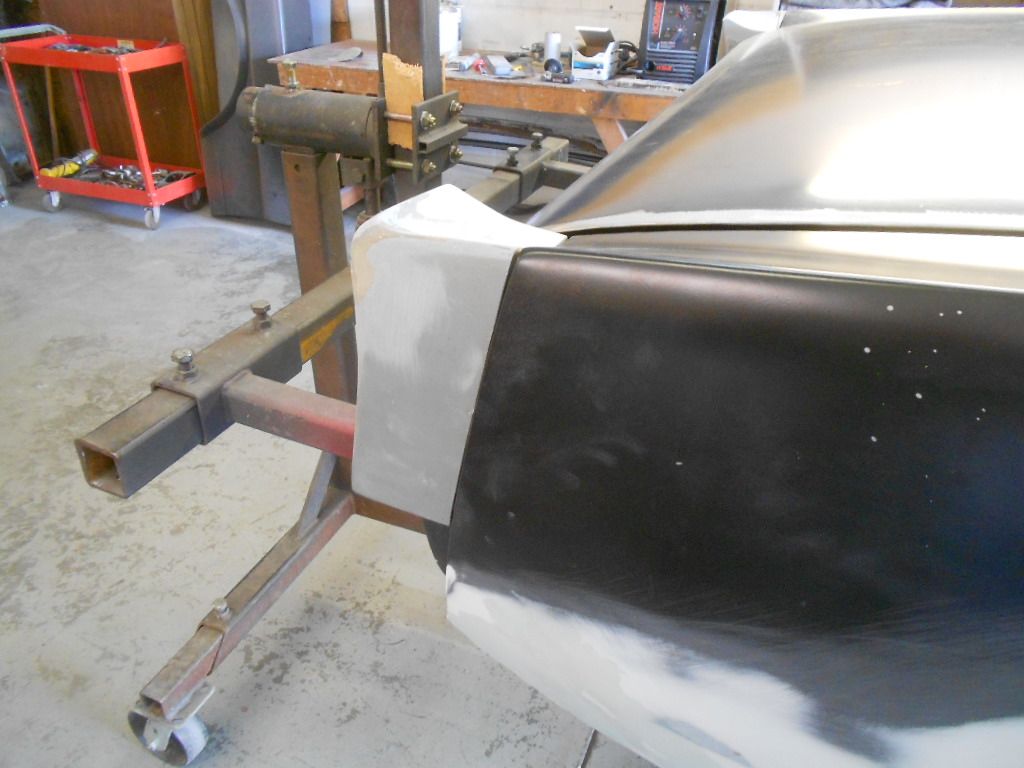
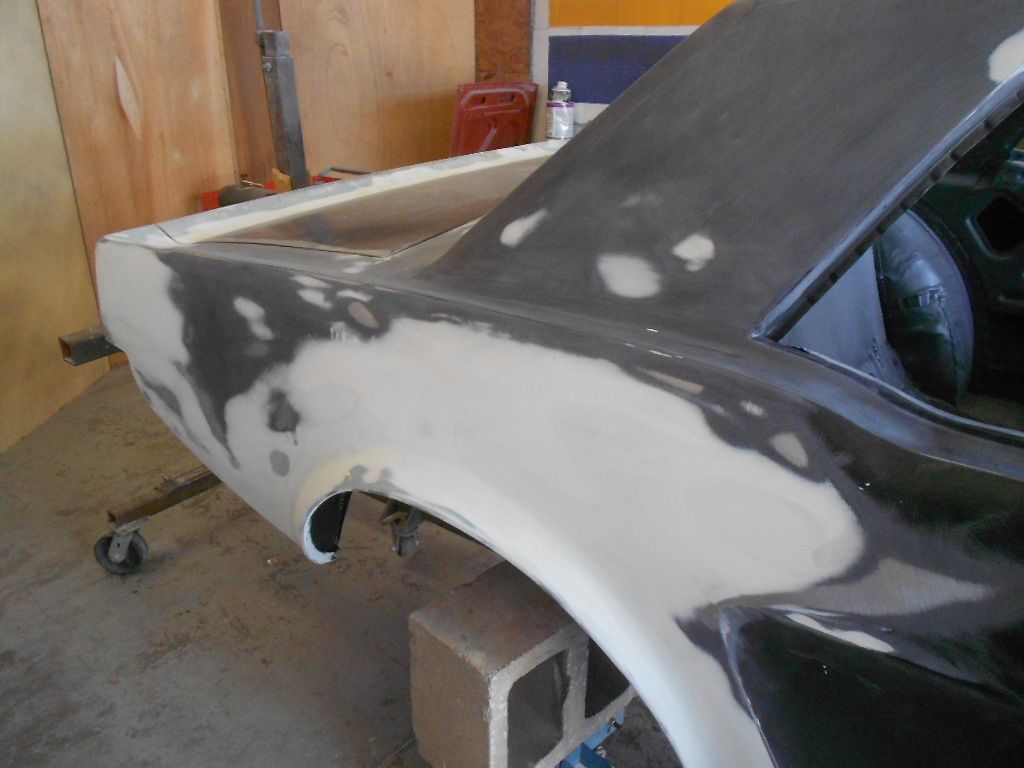
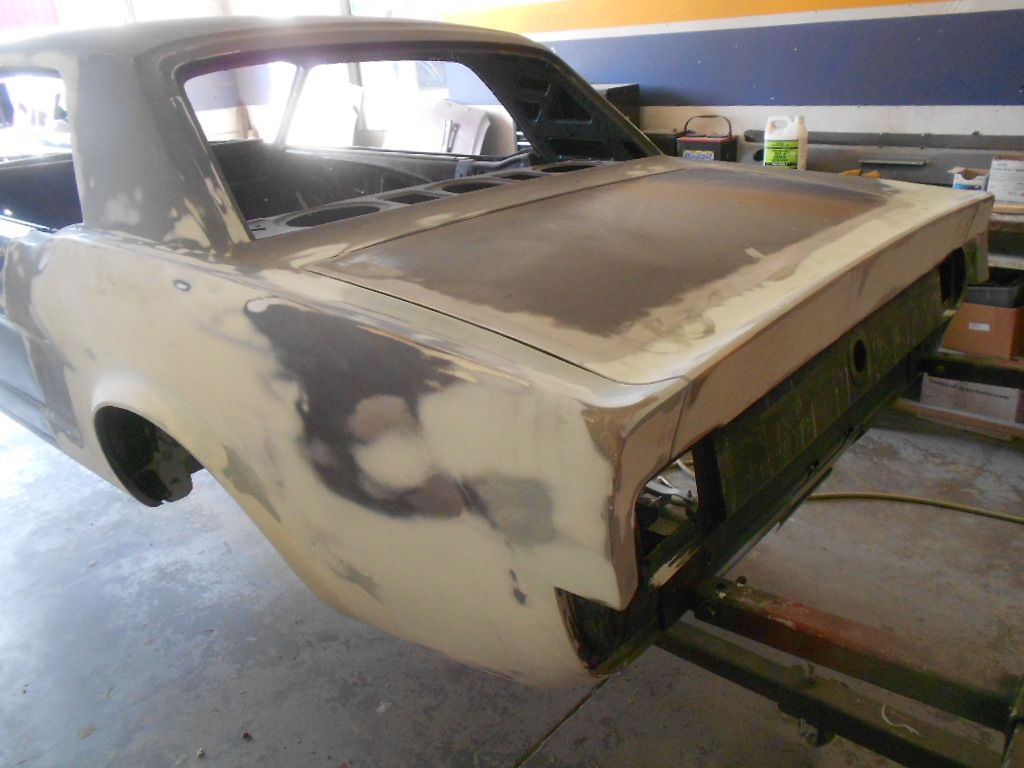
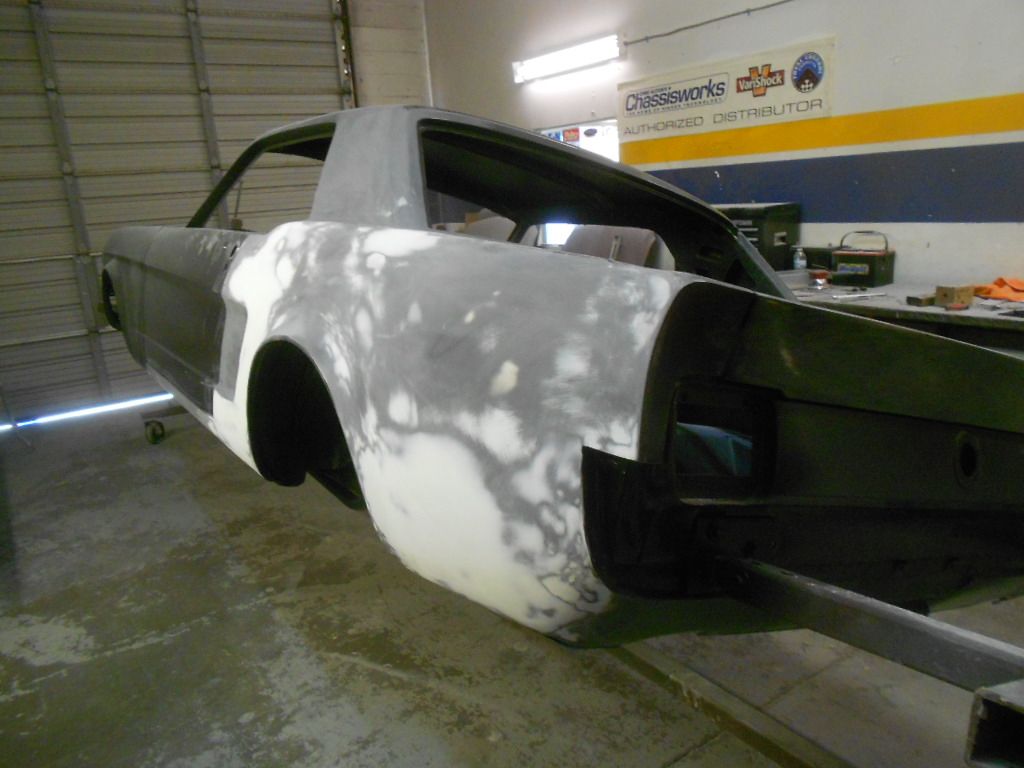
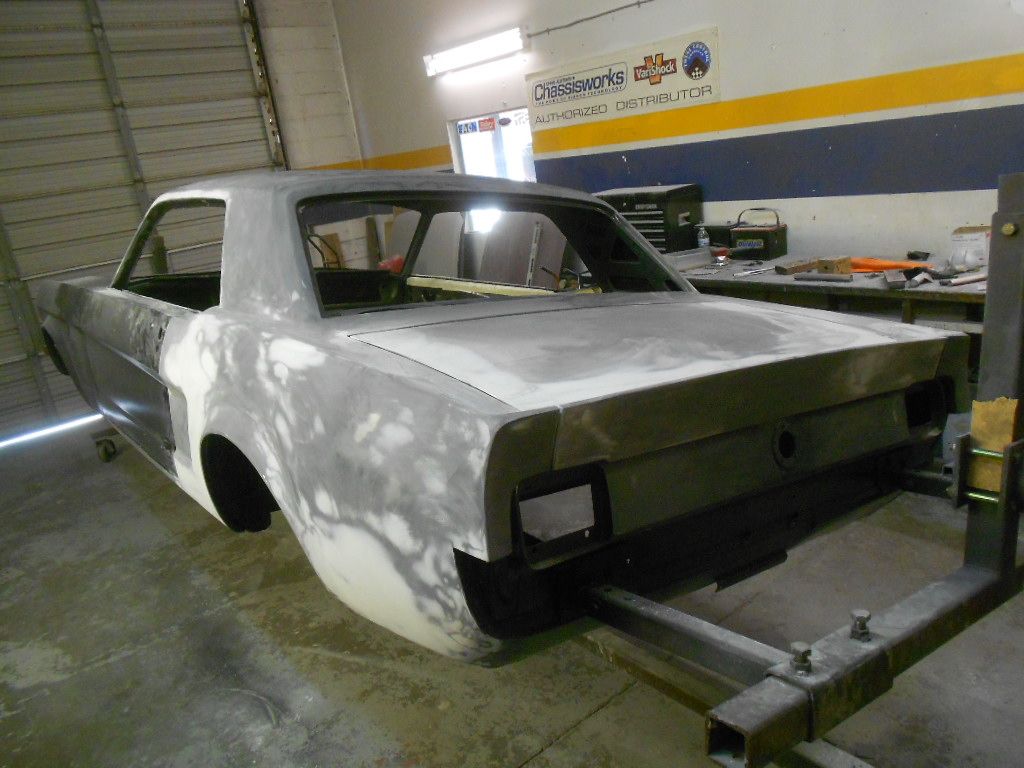
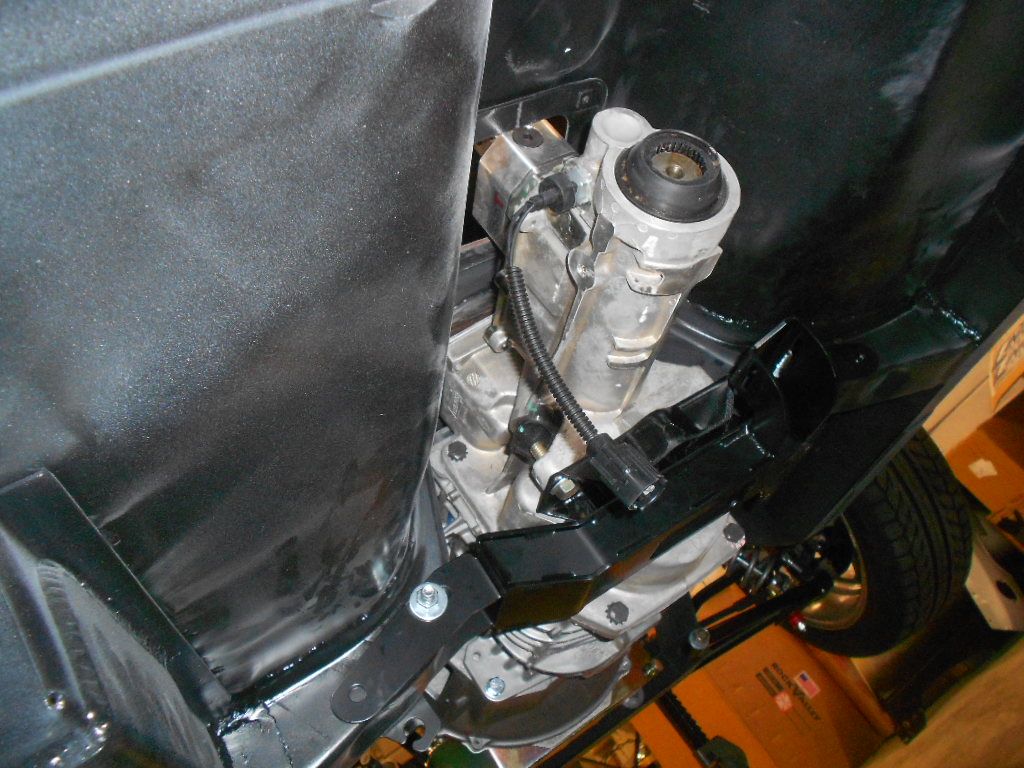
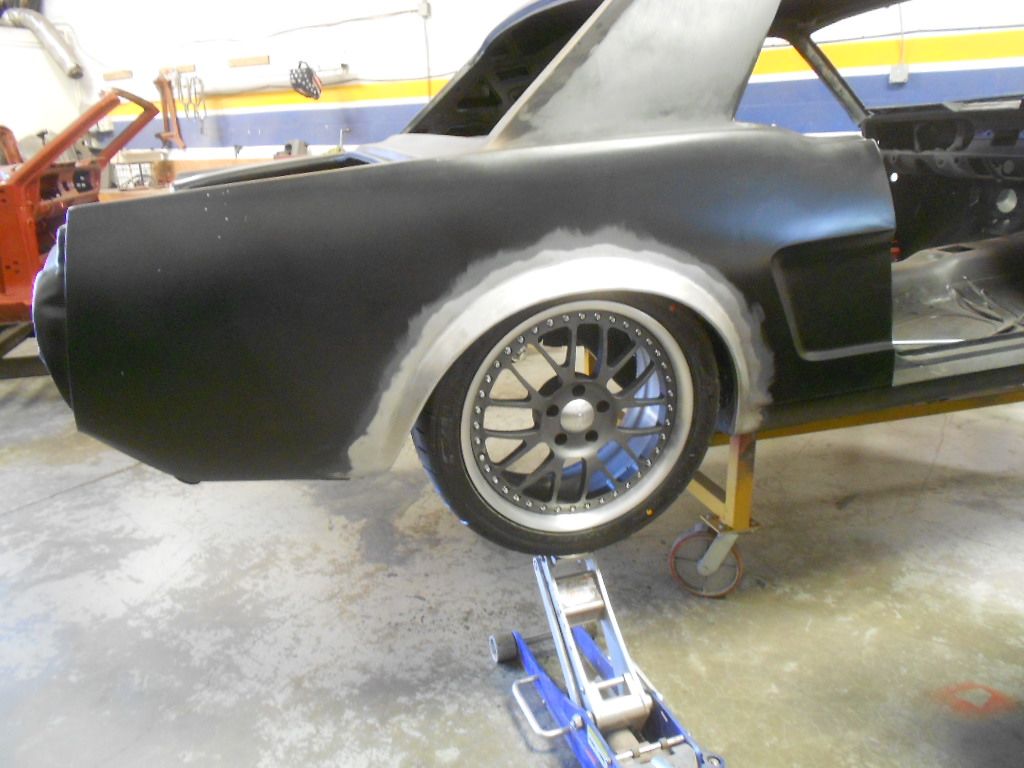
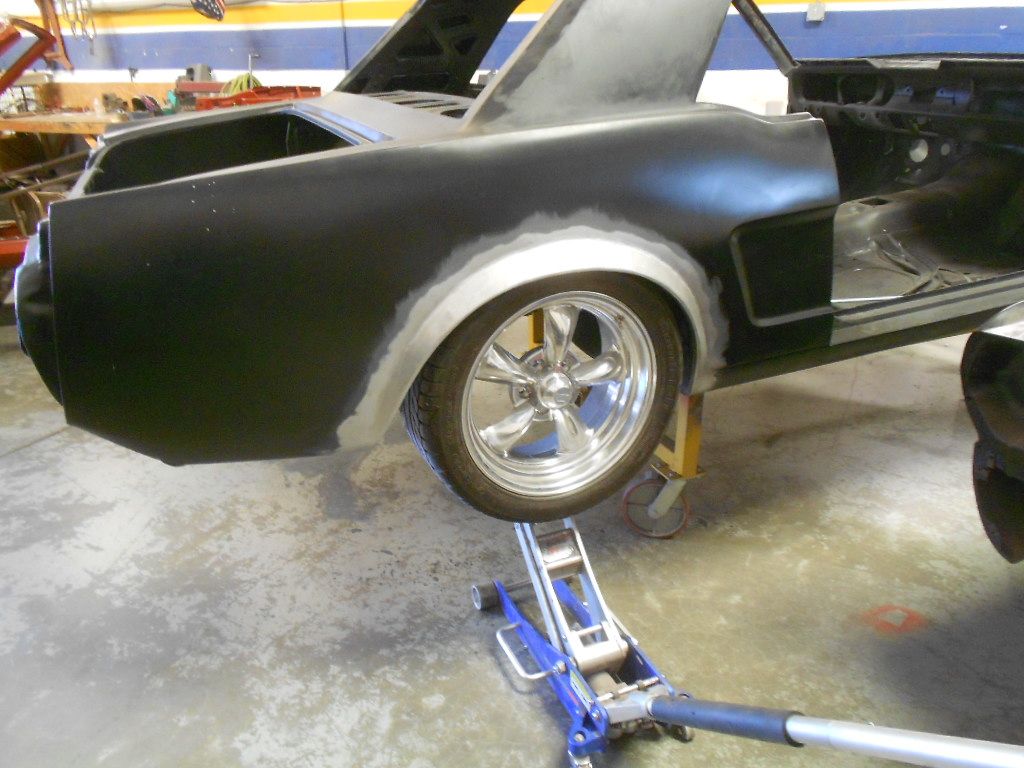
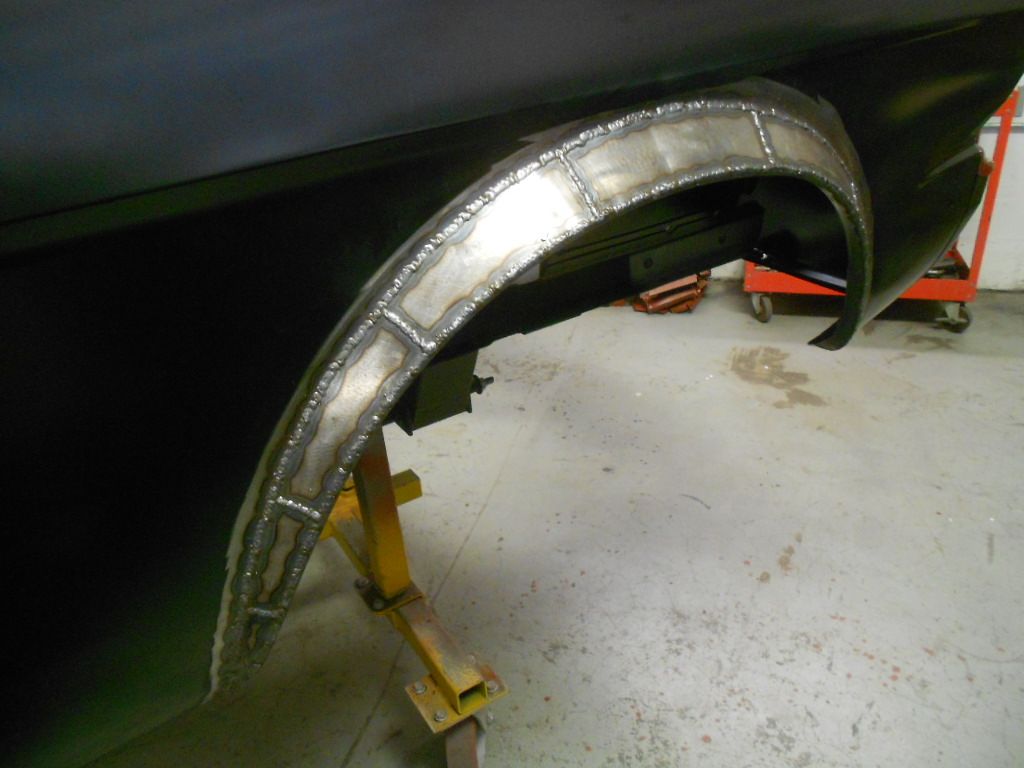
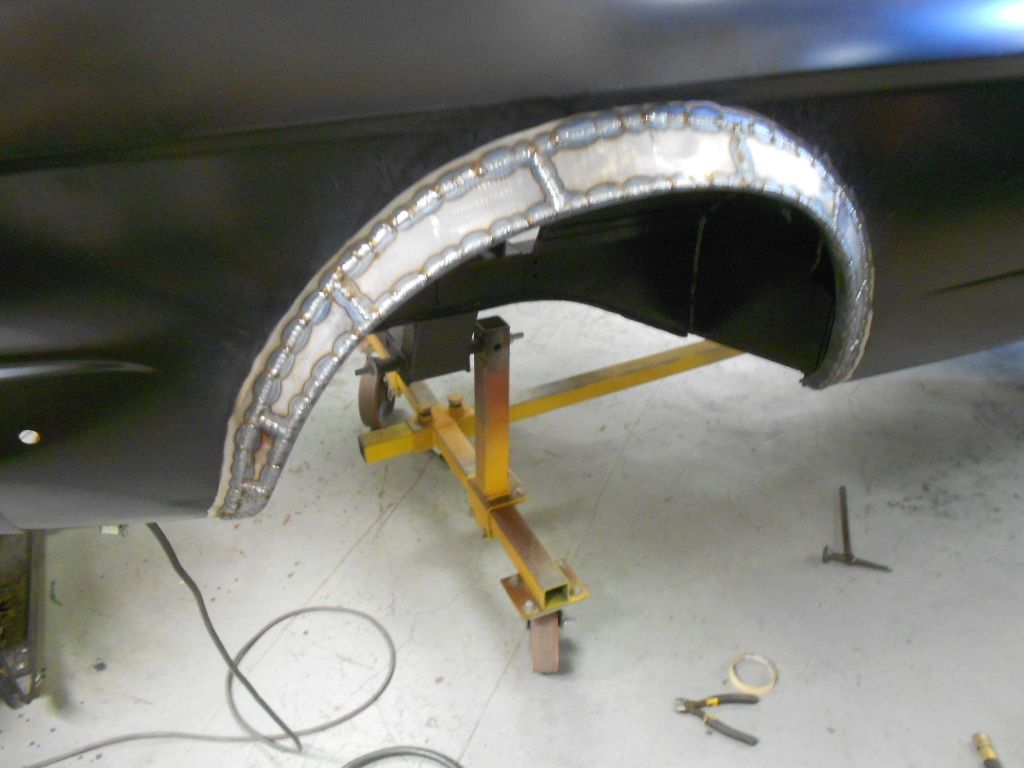
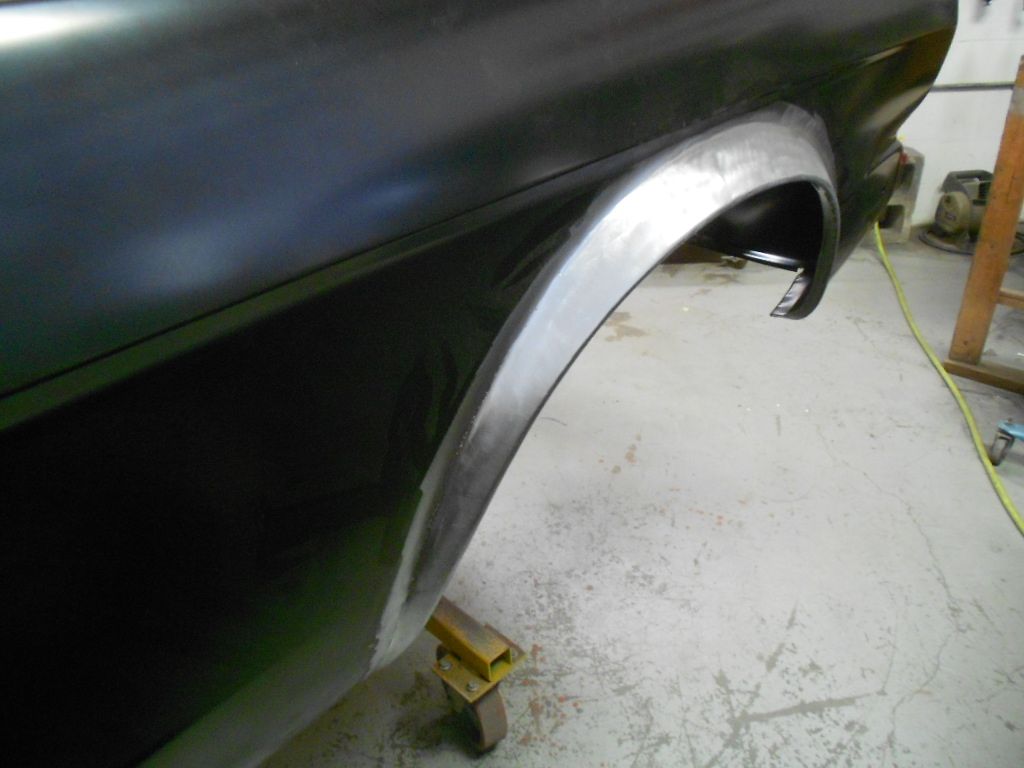
Welds ground
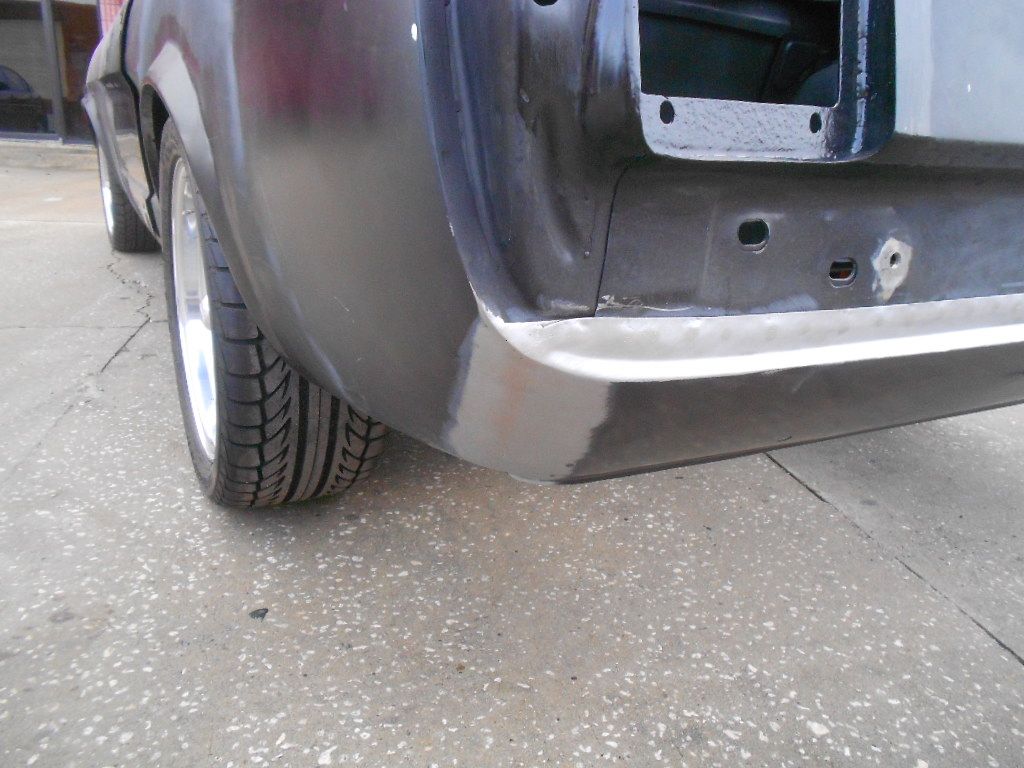
Welds ground
Follow along with the video below to see how to install our site as a web app on your home screen.
Note: This feature may not be available in some browsers.
Hello there guest and Welcome to The #1 Classic Mustang forum!
To gain full access you must Register. Registration is free and it takes only a few moments to complete.
Already a member? Login here then!
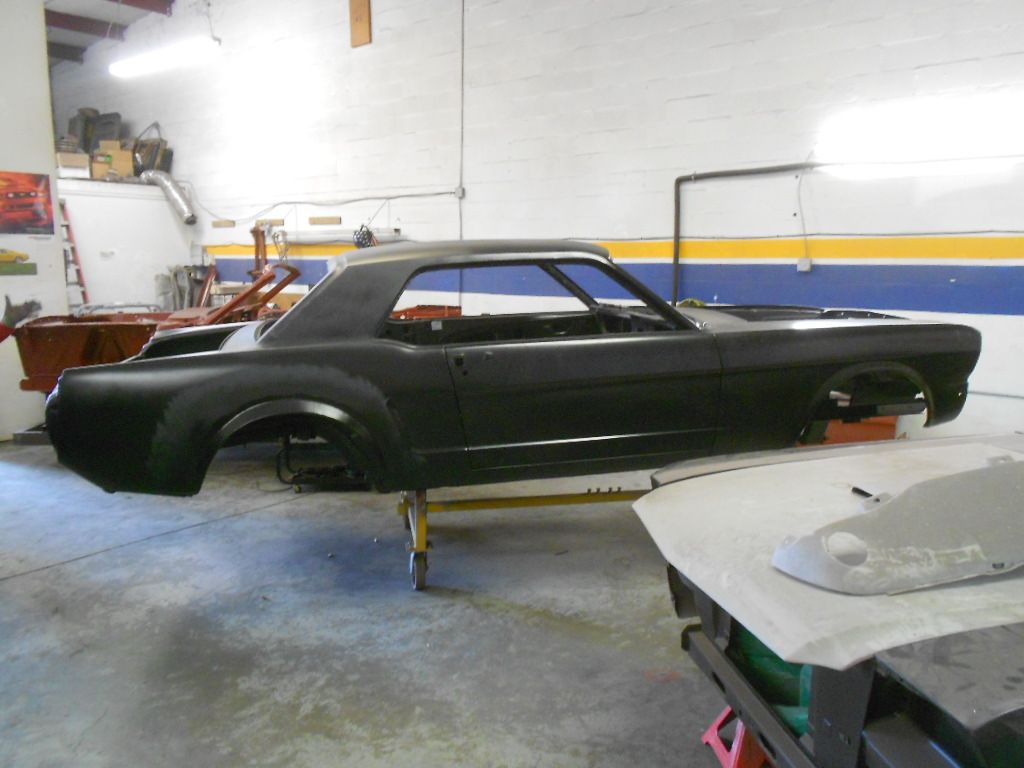
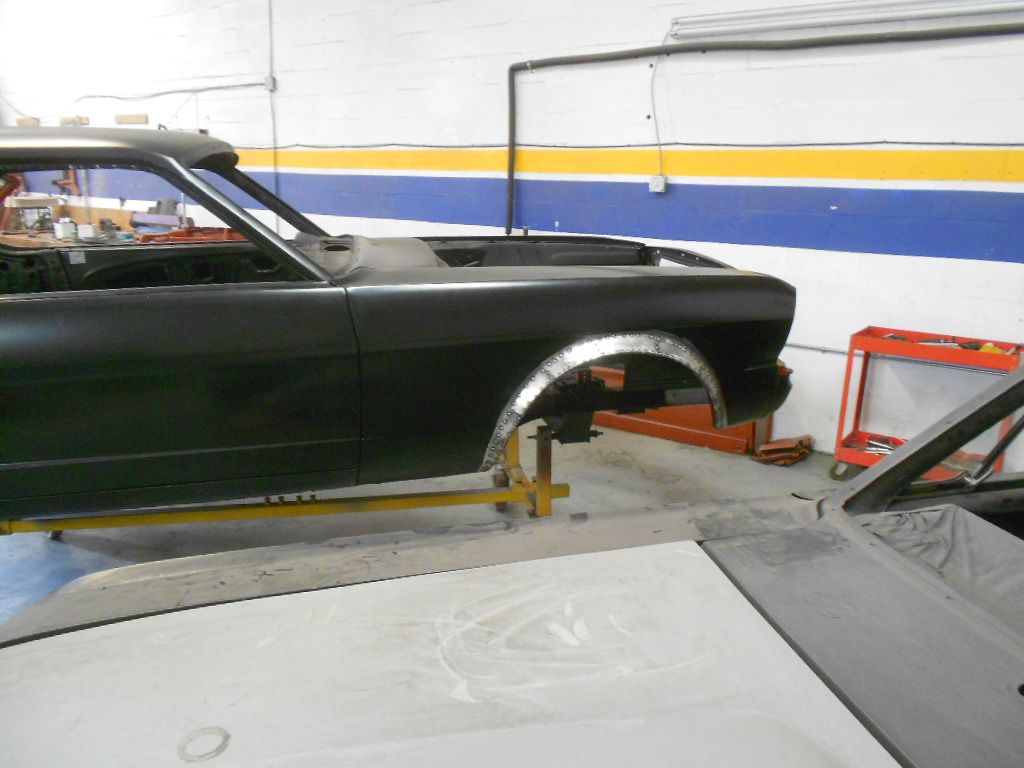
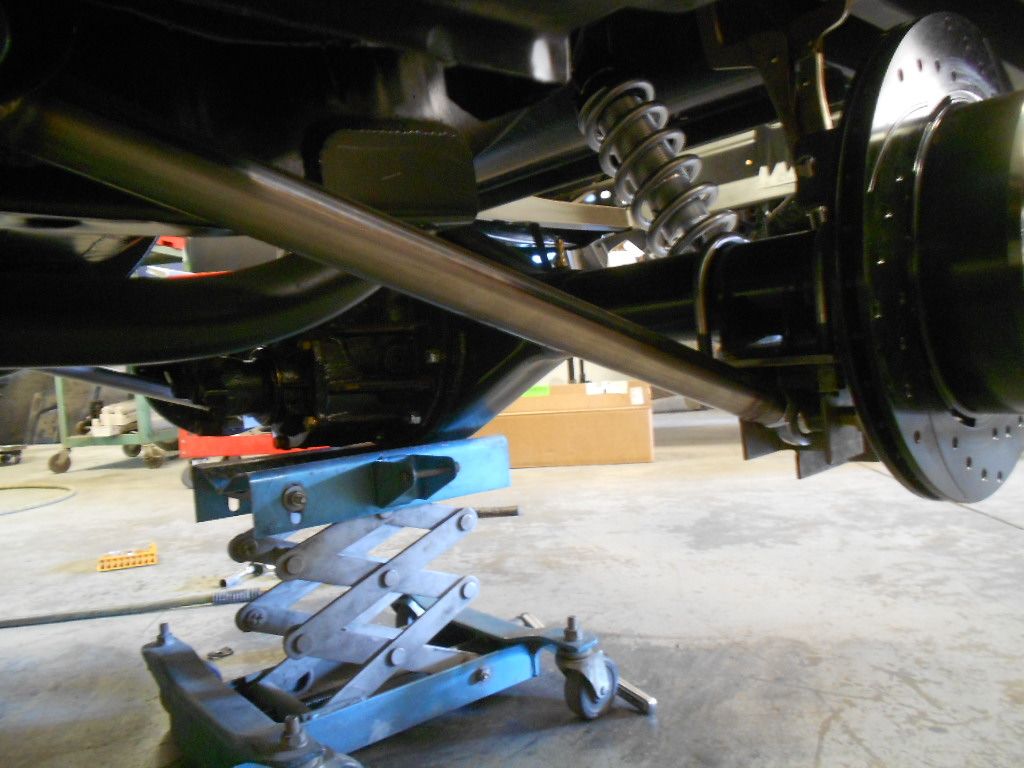
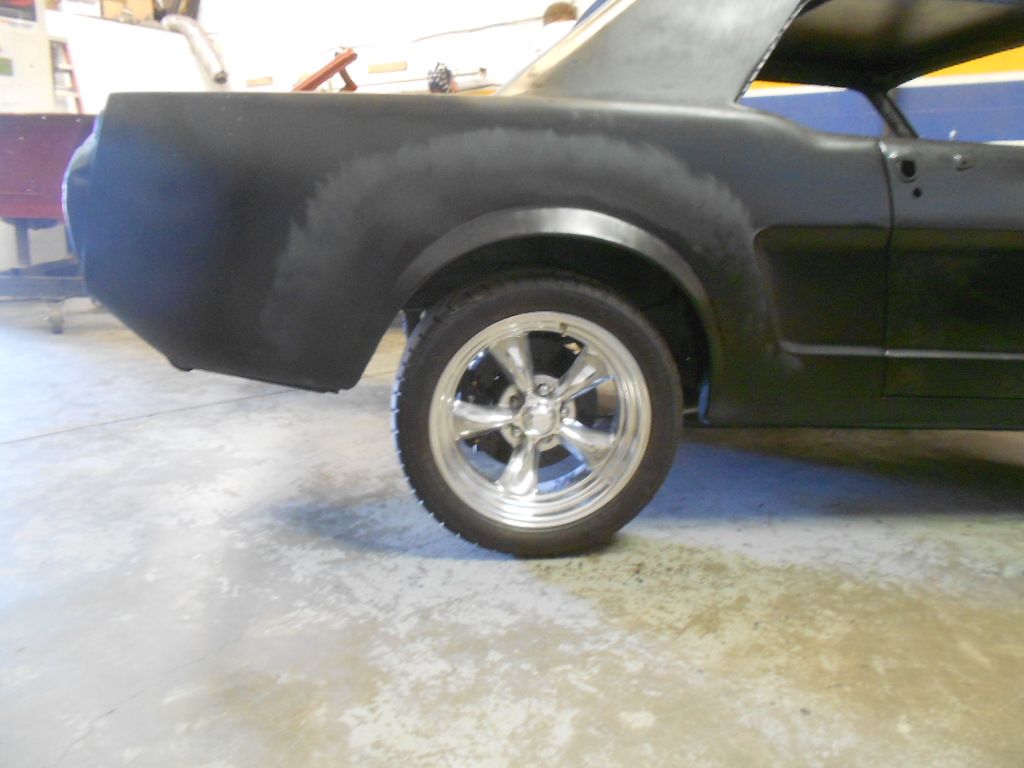
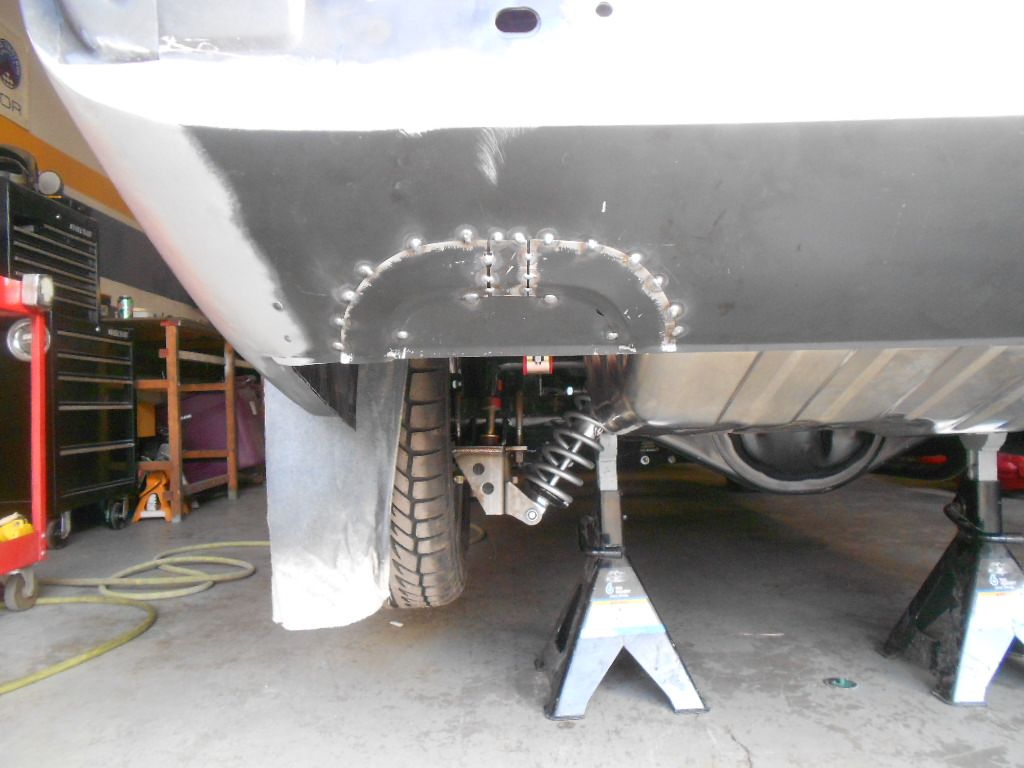
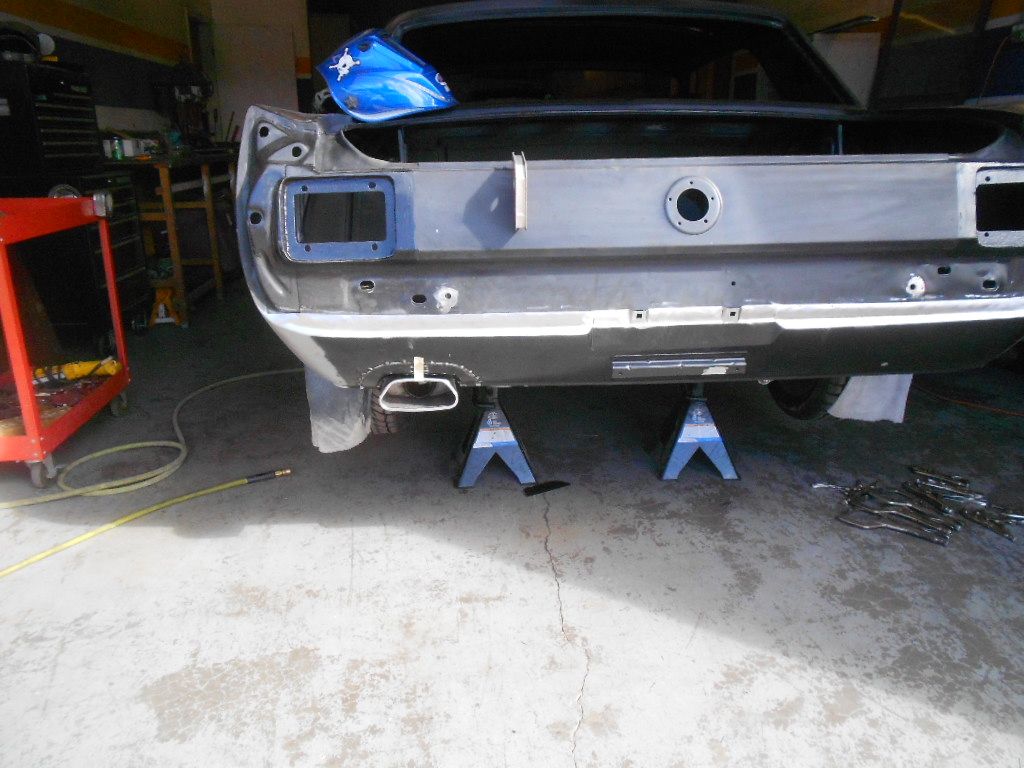
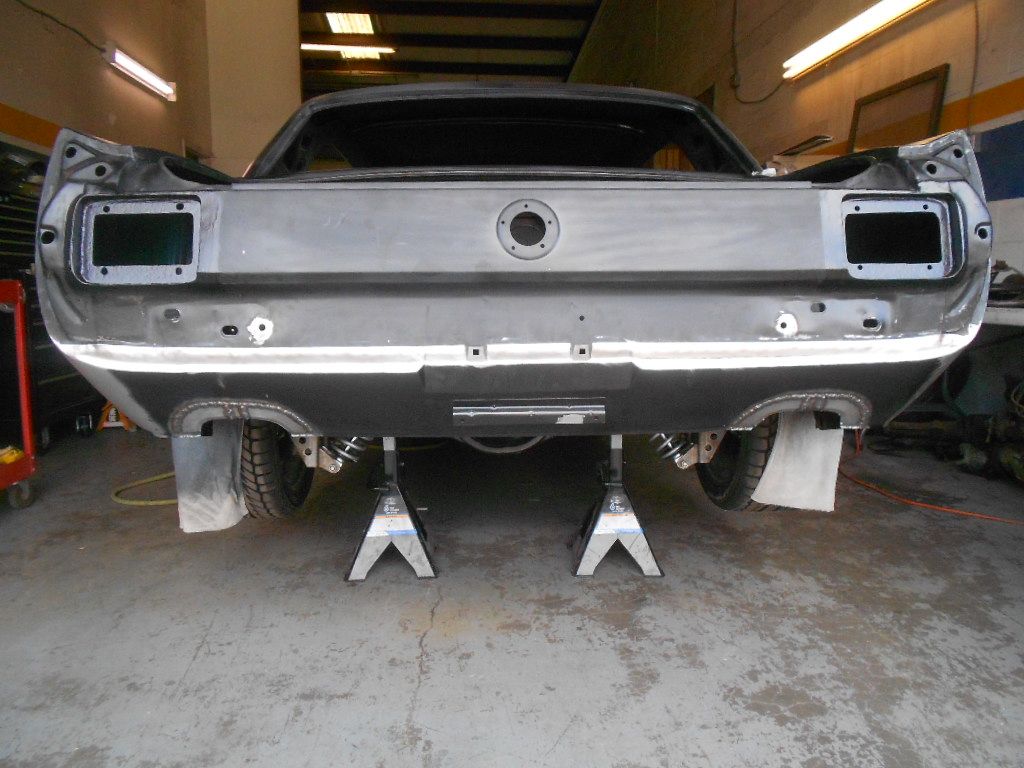
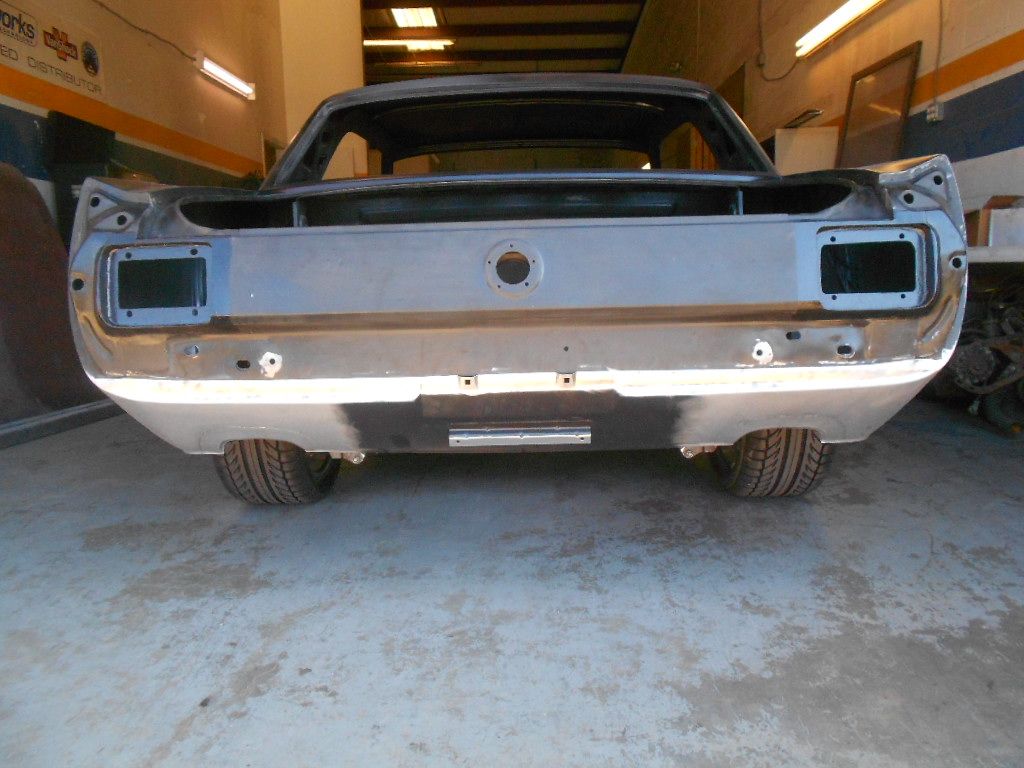
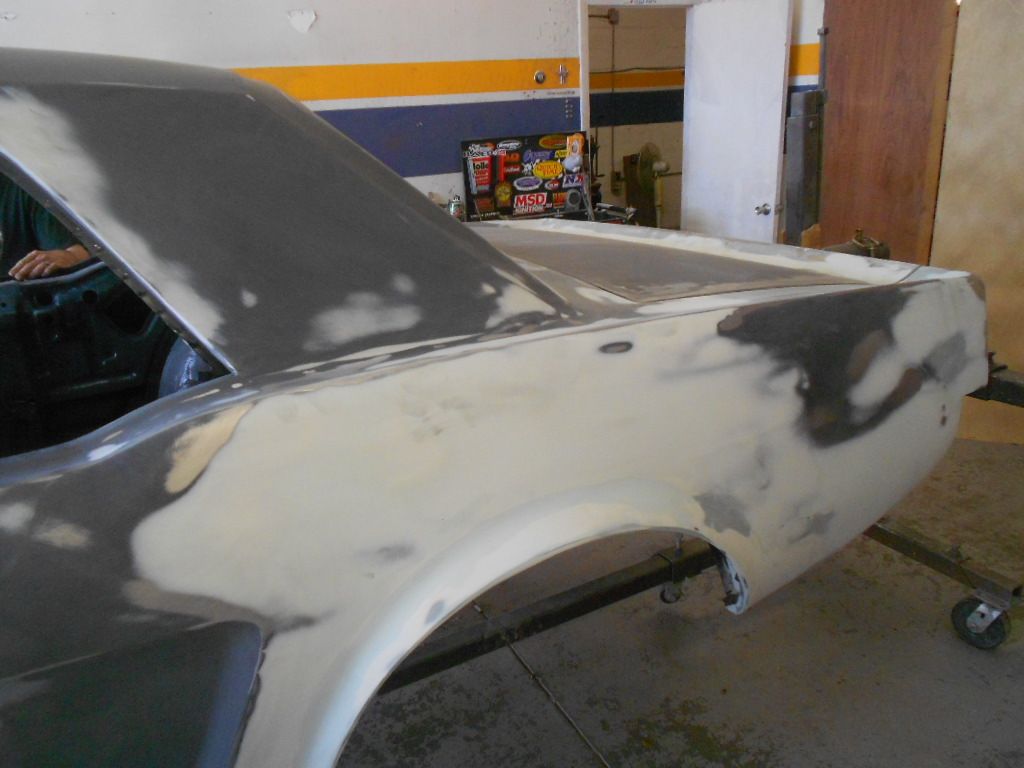
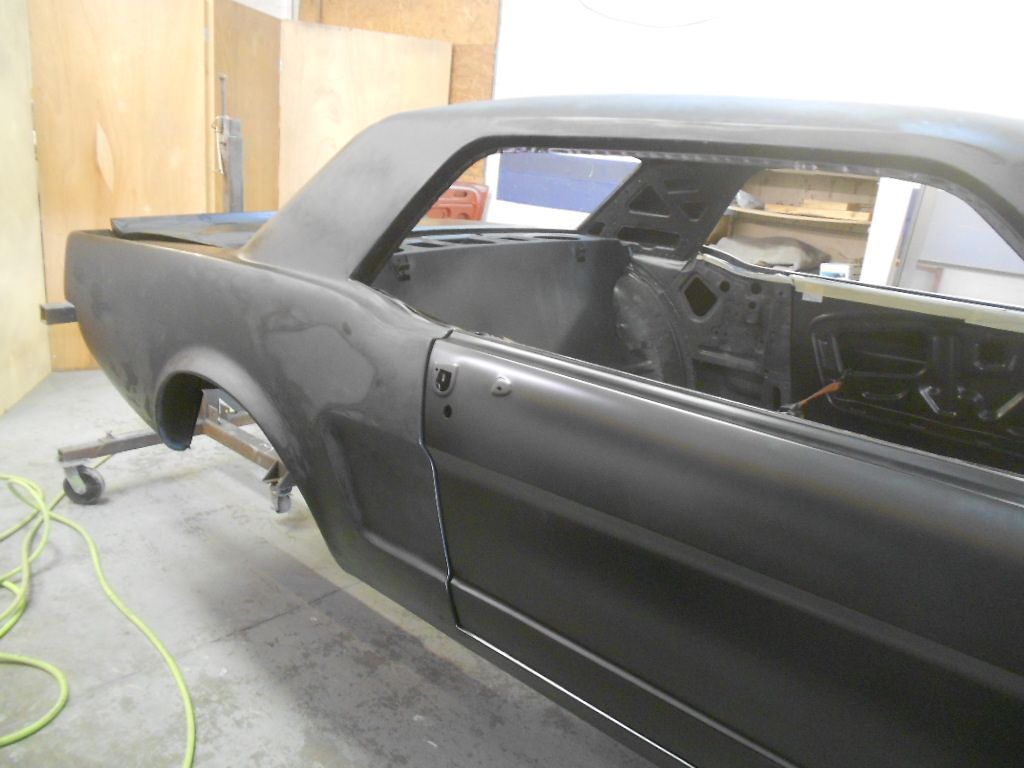
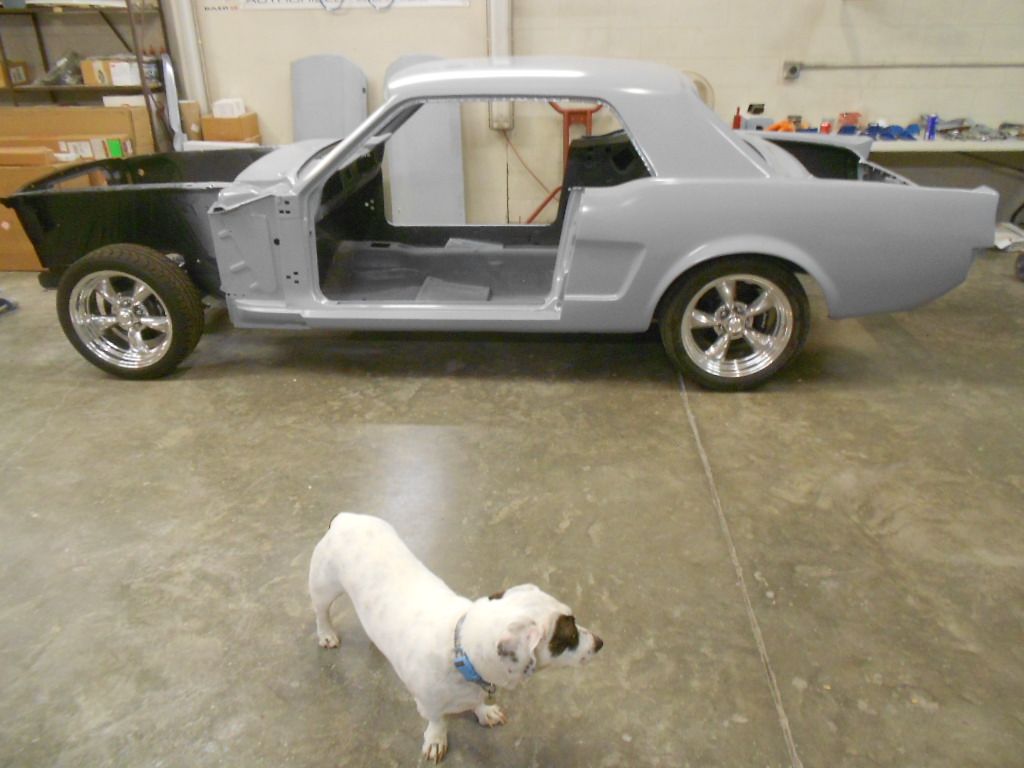
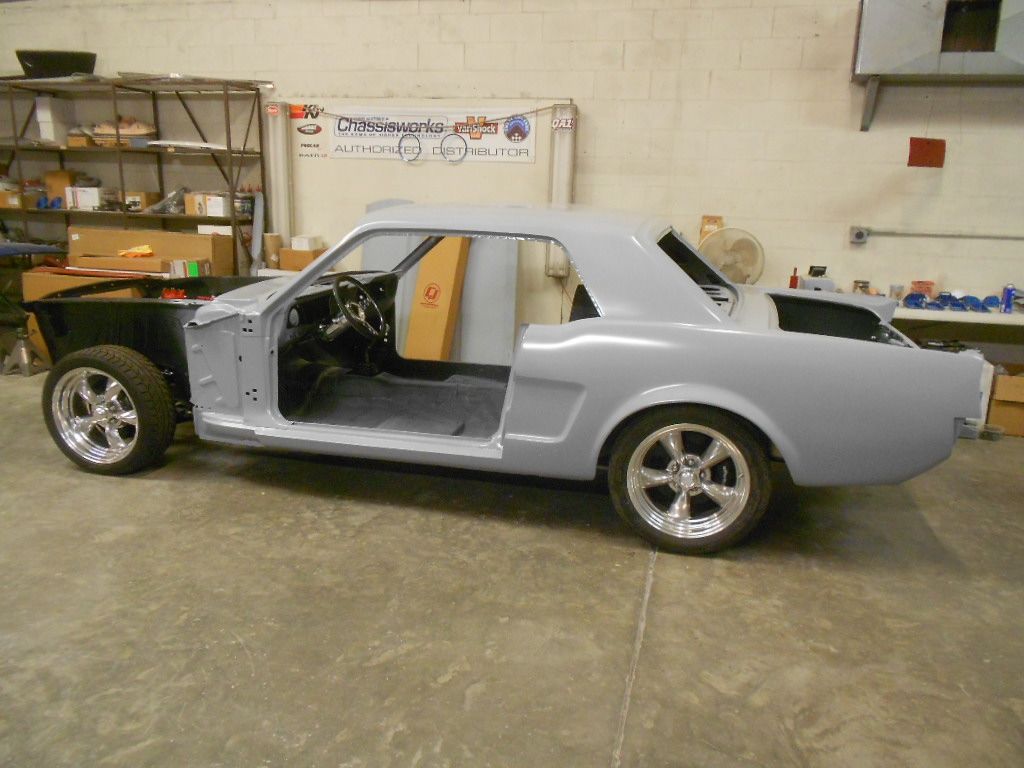
How much lower will it go once interior, glass etc are installed? Seems like it might be to low, if there is such a thing.