
Figured I'd write up how I managed to mount a Ford Contour fan onto a 24" radiator. The fan came out of a 98 Ford Contour, it is the dual fan unit. It was a pain to remove, be prepared to spend some time cleanly pulling it out, or you can buy a Dorman replacement.
The fan comes with 4 tabs that need to be cut off so the radiator has flat edges on the sides. I picked up some aluminum angle from Home depot and some nuts/bolts.
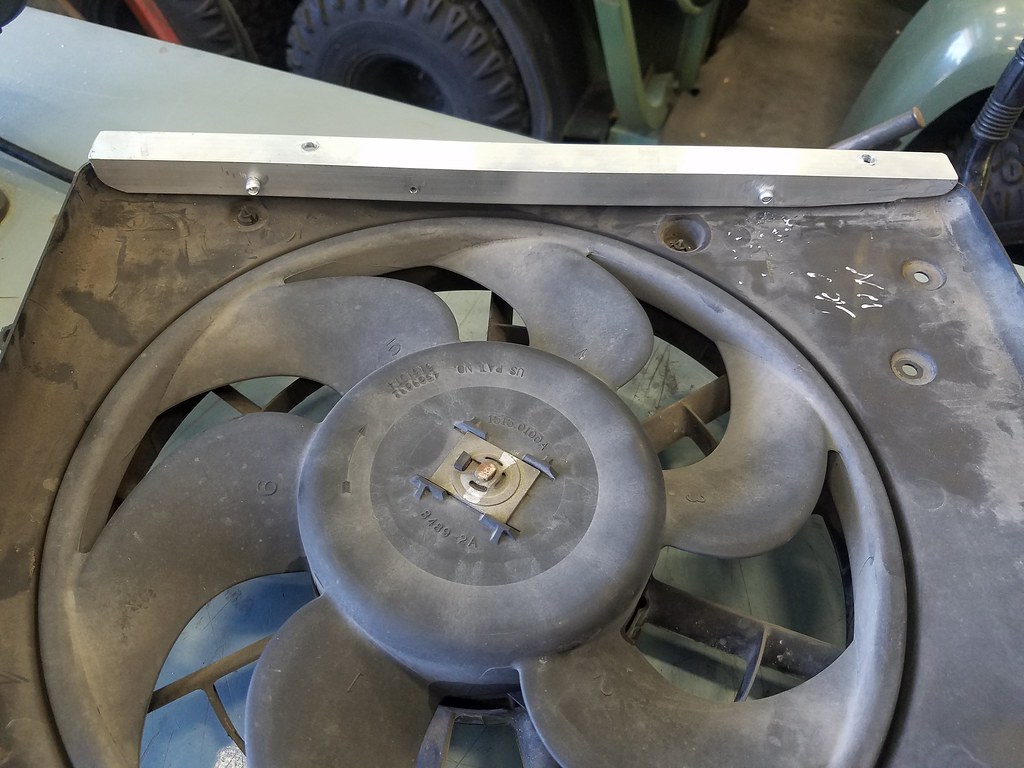
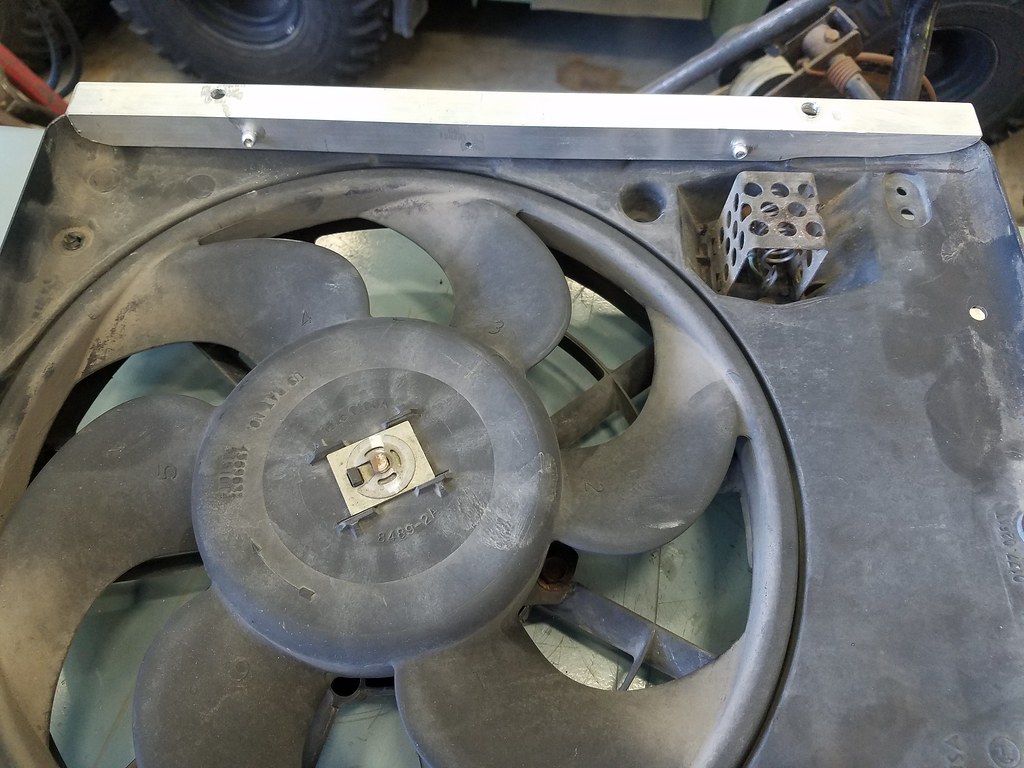
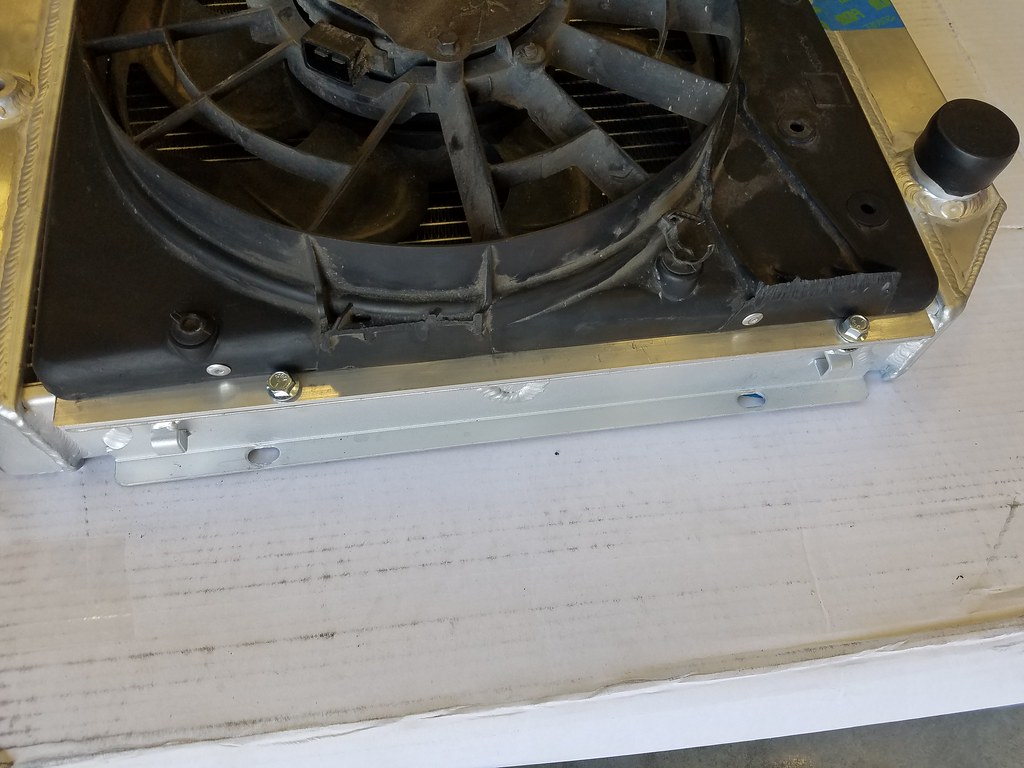
I trimmed the aluminum angle down to fit the edges of my radiator. I then decided it would be best to mount the lip on the inside of the fan shroud, to help with the overall width and to have a built in lip to keep the shroud from rubbing against the radiator fins. This required grinding the ends down so that the shroud sits all the way down on the metal. I then riveted the angle to the side of the fan shroud. The sides are not symmetrical so it requires a bit of patience and test fitting to get it right.
 20180330_130013 by Brett, on Flickr
 20180330_125956 by Brett, on Flickr
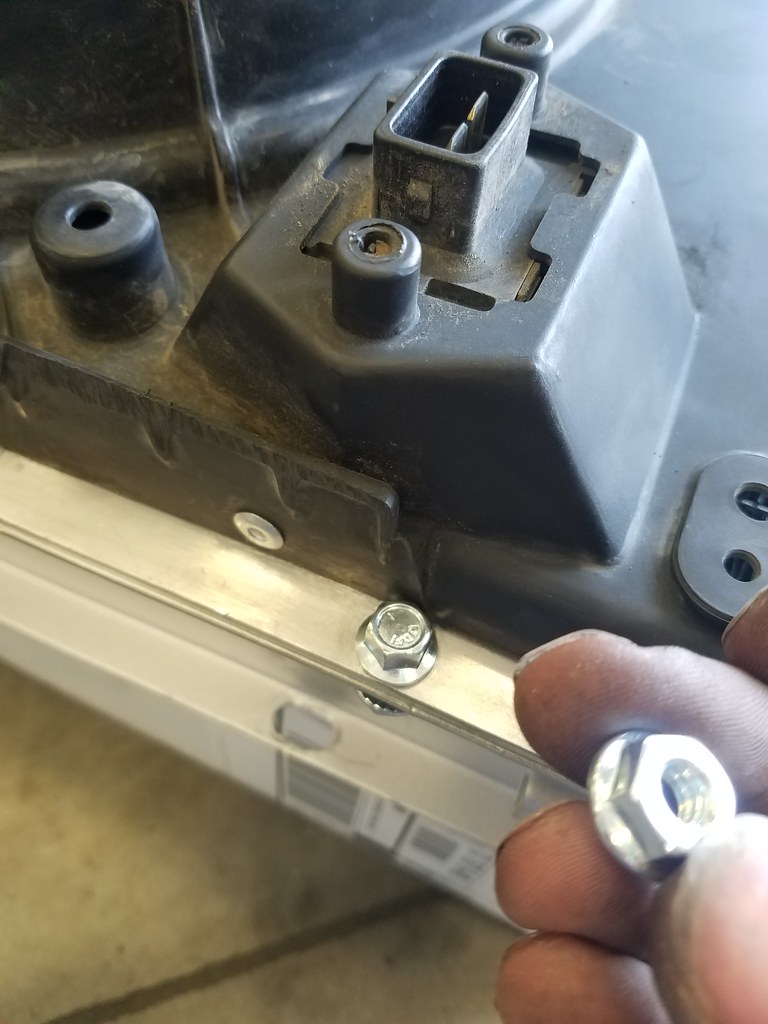
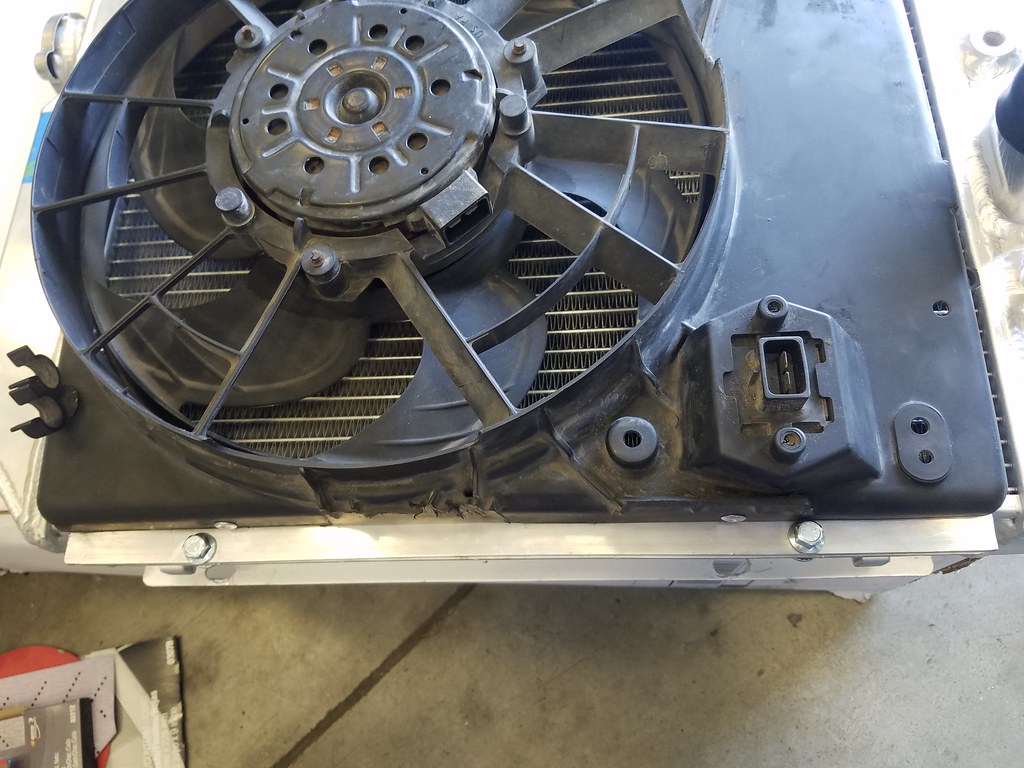
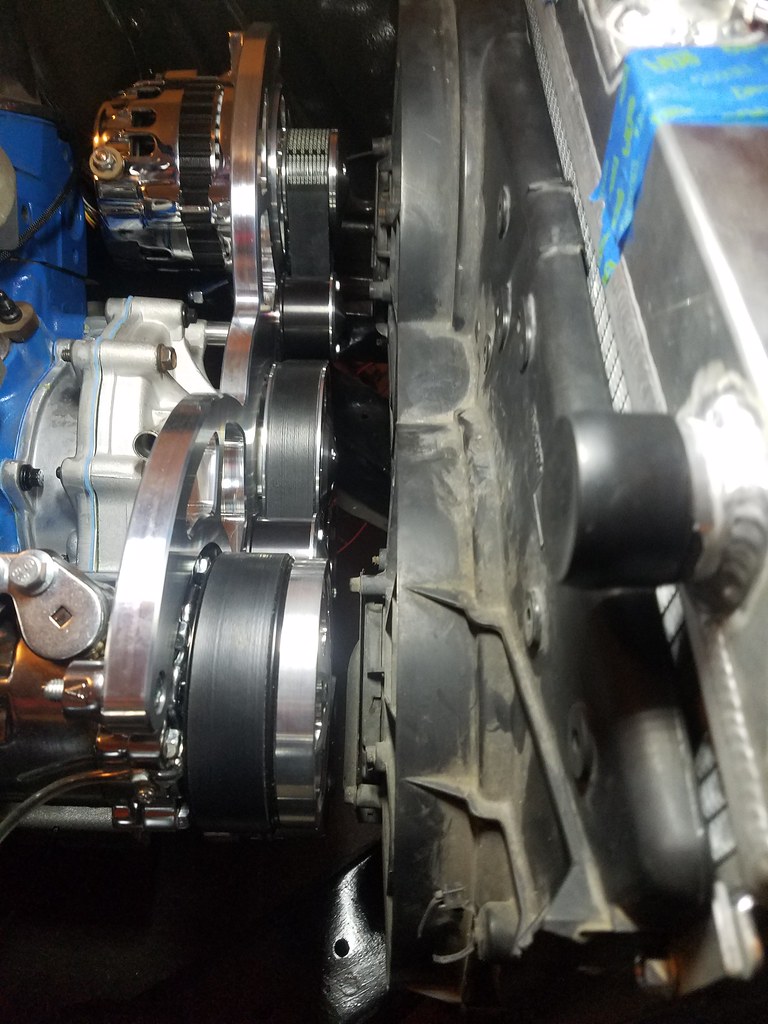
Then just set the unit on the radiator and mark where the mounting holes are to be drilled. I used 1/4" nuts/bolts with a flanged lip. Unfortunately the nuts are a bit too big to fit with my set-up so I am going to replace them with plain nuts.
 20180330_130223 by Brett, on Flickr
 20180330_130242 by Brett, on Flickr
 20180330_130247 by Brett, on Flickr
This is a super easy mod that requires only simple tools and is easy on the wallet.
Total cost:
$258 Radiator shipped from ECP Radiator
$50 Fan, pulled from local pick n pull Dorman replacement can be had for about $120
$20 Aluminum and nuts/bolts/rivets from Home Depot
Tools required for mounting
Rivet gun
Drill ( I used both a press and handheld since I had it available)
Grinder (to shape aluminum)
Hand saw (to trim original tabs off shroud)
wrenches (to tighten nuts/bolts)
I'll update this with what is need to actually install this assembly in my 68 fastback and what to do with the wiring.
The fan comes with 4 tabs that need to be cut off so the radiator has flat edges on the sides. I picked up some aluminum angle from Home depot and some nuts/bolts.
I trimmed the aluminum angle down to fit the edges of my radiator. I then decided it would be best to mount the lip on the inside of the fan shroud, to help with the overall width and to have a built in lip to keep the shroud from rubbing against the radiator fins. This required grinding the ends down so that the shroud sits all the way down on the metal. I then riveted the angle to the side of the fan shroud. The sides are not symmetrical so it requires a bit of patience and test fitting to get it right.
20180330_130013 by Brett, on Flickr20180330_125956 by Brett, on FlickrThen just set the unit on the radiator and mark where the mounting holes are to be drilled. I used 1/4" nuts/bolts with a flanged lip. Unfortunately the nuts are a bit too big to fit with my set-up so I am going to replace them with plain nuts.
20180330_130223 by Brett, on Flickr20180330_130242 by Brett, on Flickr20180330_130247 by Brett, on FlickrThis is a super easy mod that requires only simple tools and is easy on the wallet.
Total cost:
$258 Radiator shipped from ECP Radiator
$50 Fan, pulled from local pick n pull Dorman replacement can be had for about $120
$20 Aluminum and nuts/bolts/rivets from Home Depot
Tools required for mounting
Rivet gun
Drill ( I used both a press and handheld since I had it available)
Grinder (to shape aluminum)
Hand saw (to trim original tabs off shroud)
wrenches (to tighten nuts/bolts)
I'll update this with what is need to actually install this assembly in my 68 fastback and what to do with the wiring.
 20180331_120933
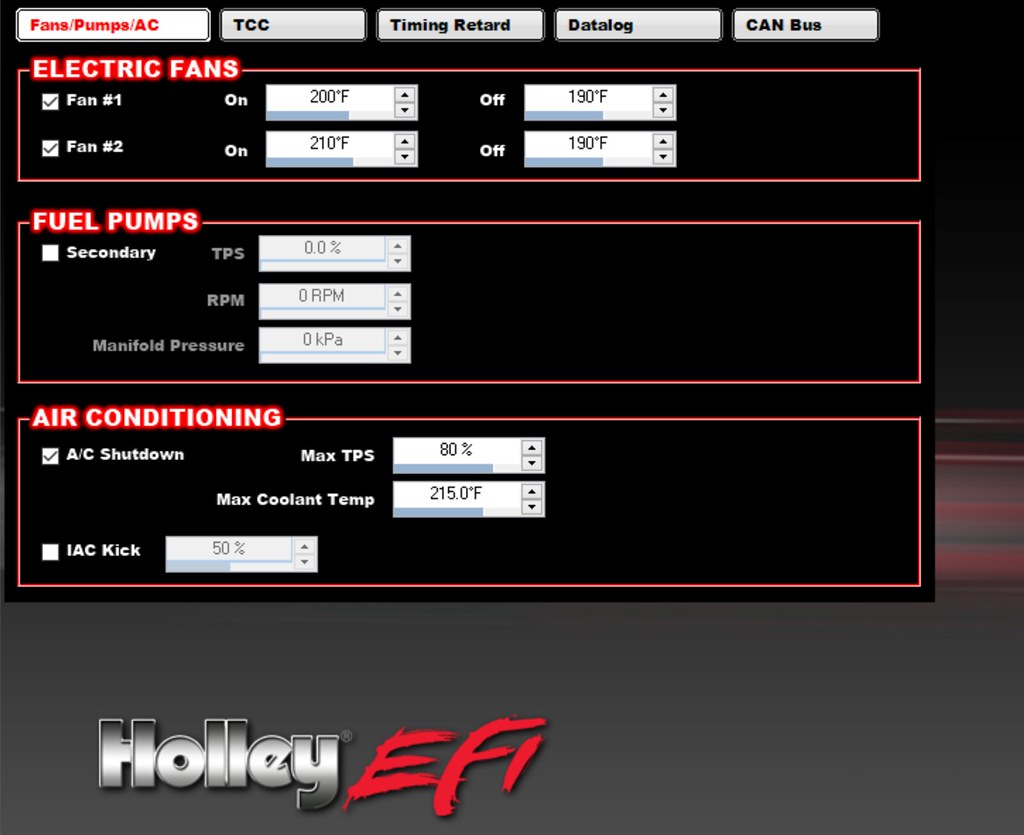 Holley fan settings